4 Cozy Reading Nooks You’ll Want in Your Home Right Now Constructing a reading nook doesn’t have to be hard. Sometimes all you need is lots of pillows and a little unused space. Reading nooks are also a great way to use dead, unused, or awkward space within a home. Nooks can help maximize living space and provide additional seating, along with providing a personal sanctuary. With these four easy DIY reading nook projects, it won’t be long before you find yourself dreaming of getting lost in a good book. 1. Make Use of Dead Space with a Corner Bench Do you have a dead corner in your house that’s just…there? A great remedy for that empty space is a corner bench. Creating an L-shaped bench will maximize your space. Not only will it provide additional seating, but it can also become storage. Create this bench with bookshelves, cushions, and pillows for the ultimate reading nook space. When the bookshelves are placed together, you can then determine what size cushion you will need to go on ...
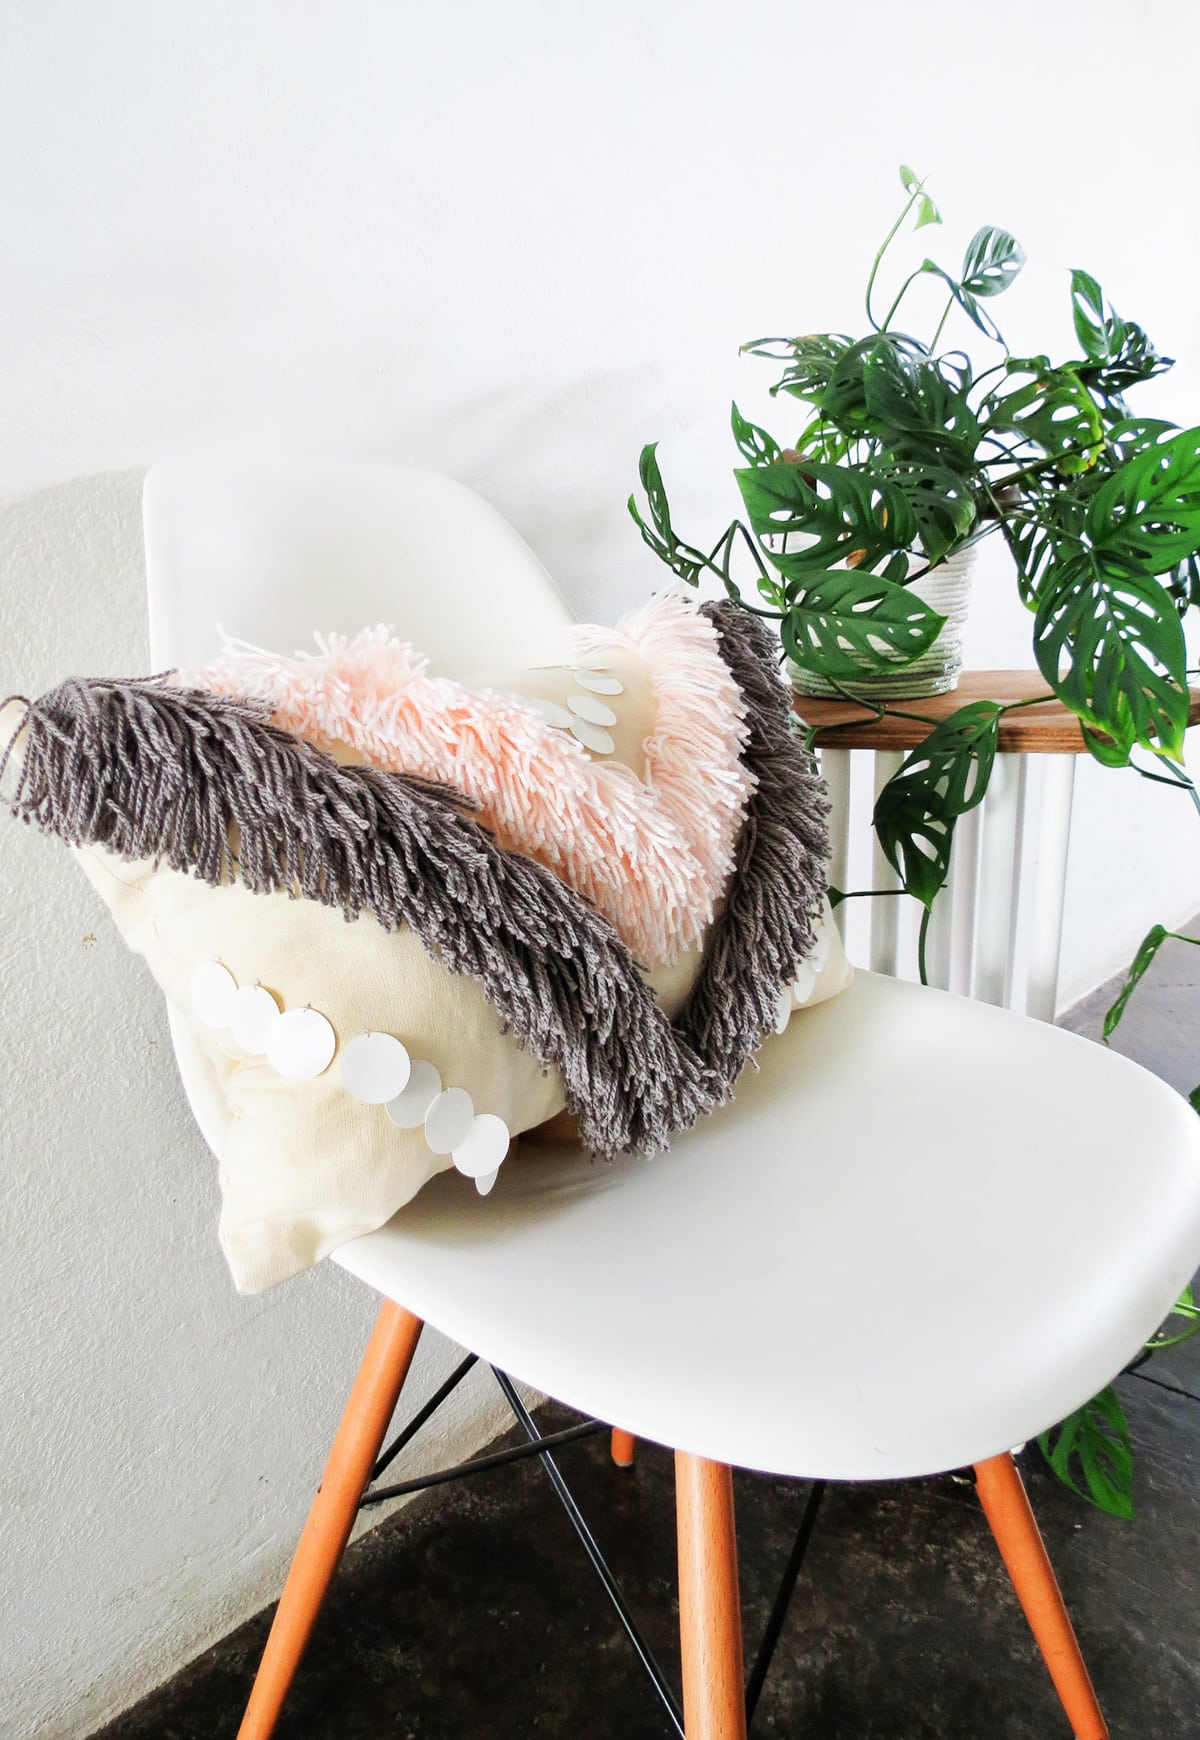
DIY Yarn Fringed Throw Pillow
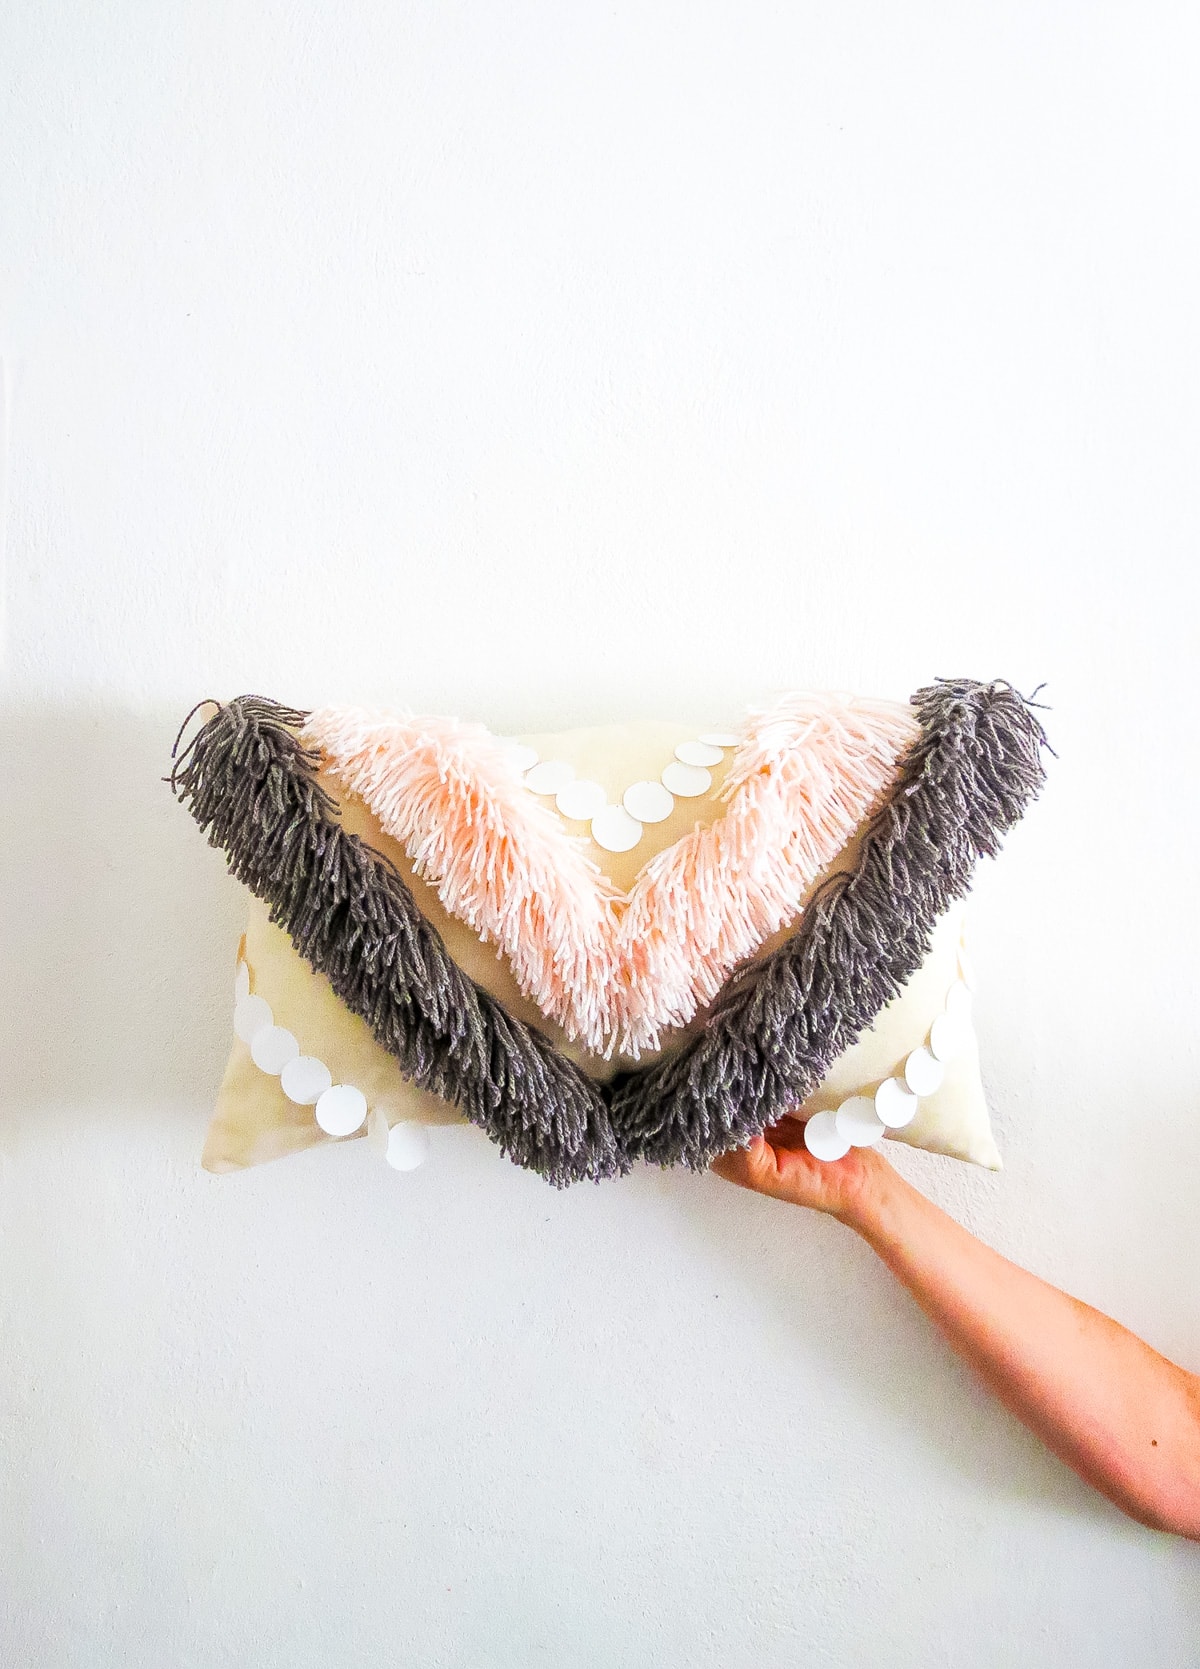
An easy and customizable DIY Yarn Fringed Throw Pillow.
Servings: 1
Cost: $45
Equipment
- Sewing machine
- Scissors
- Razor knife cutter
- Ruler
Ingredients
- Fabric
- Acrylic knitting yarn
- Sewing thread
- Cardboard to create your design template
- Pillow fiber foam filling
Instructions
- Cut two 12"x20" rectangles to make the cushion.
- Take the fabric piece that you will use for the front of the cushion and trace a line where you want to sew the yarn fringe. I made a V-shape centered in the fabric rectangle.
- To easily make fringes with the yarn, you need to create a template. Cut out a 9"x4" rectangle from the cardboard. And in the center of the cardboard rectange, make a 7"x1" slit.
- Start wrapping the yarn around the cardboard template.
- Once the yarn covers most of the template, place it on your fabric.
- Using your sewing machine: center the presser foot in the slit and sew following the line you previously traced on the fabric. Use a small zigzag point so that the yarn is well stitched with the fabric.
- Cut the yarn following the sides of the cardboard.
- Remove the template! Now you have your first row of fringe.
- Repeat the process as many time as needed to complete your design.
- Once you are happy with the design, you need to finish sewing the cushion. Place the second fabric rectangle on top of the decorated one, both right sides turned inward. Pin the edges together and sew along, leaving an unsewn gap of 5-inches.
- Turn the cushion through the 5" opening to have the right side out.
- Fill the cushion with foam.
- When you are done filling, pin both sides of the opening together and close it with a few hand stitches.
Notes
Feel free to go wild by making several fringe lines with different yarn colors or adding more texture by sewing a few beads or some sequins.
Source from here
Source from here
Komentar
Posting Komentar