4 Cozy Reading Nooks You’ll Want in Your Home Right Now Constructing a reading nook doesn’t have to be hard. Sometimes all you need is lots of pillows and a little unused space. Reading nooks are also a great way to use dead, unused, or awkward space within a home. Nooks can help maximize living space and provide additional seating, along with providing a personal sanctuary. With these four easy DIY reading nook projects, it won’t be long before you find yourself dreaming of getting lost in a good book. 1. Make Use of Dead Space with a Corner Bench Do you have a dead corner in your house that’s just…there? A great remedy for that empty space is a corner bench. Creating an L-shaped bench will maximize your space. Not only will it provide additional seating, but it can also become storage. Create this bench with bookshelves, cushions, and pillows for the ultimate reading nook space. When the bookshelves are placed together, you can then determine what size cushion you will need to go on ...
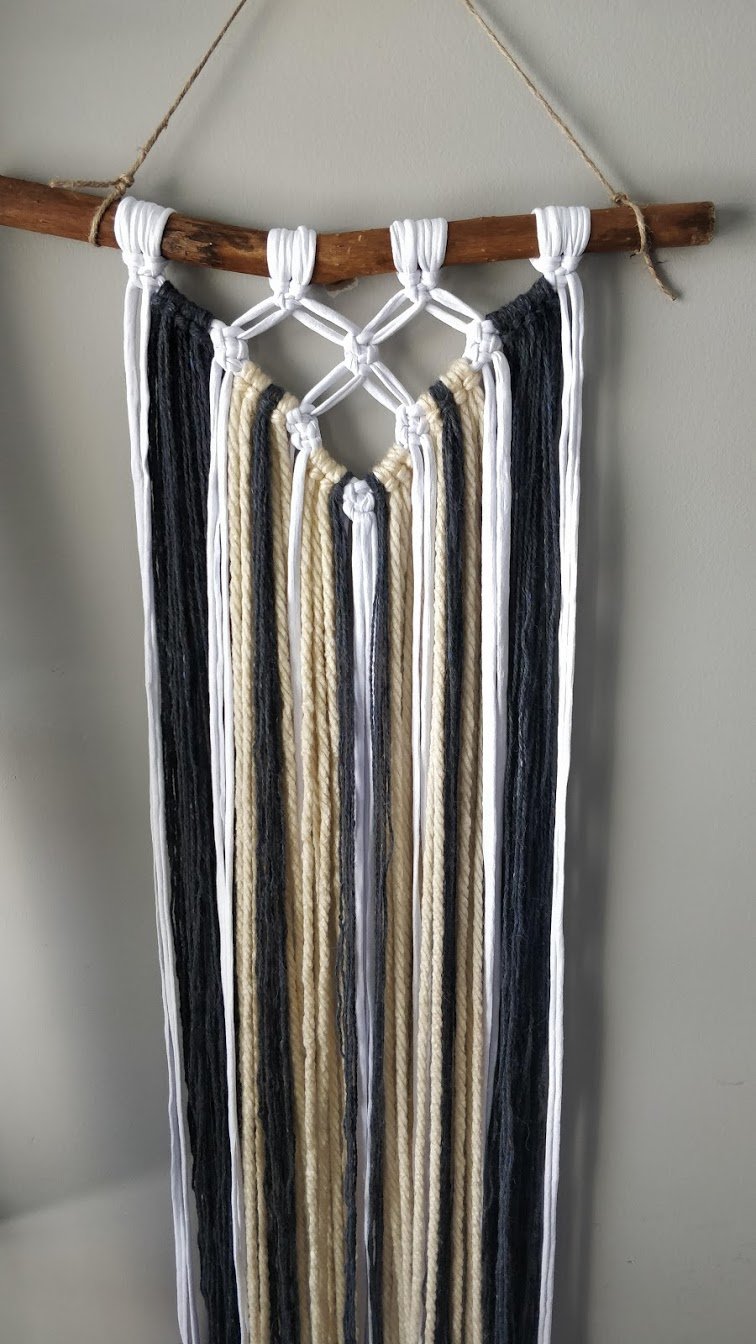
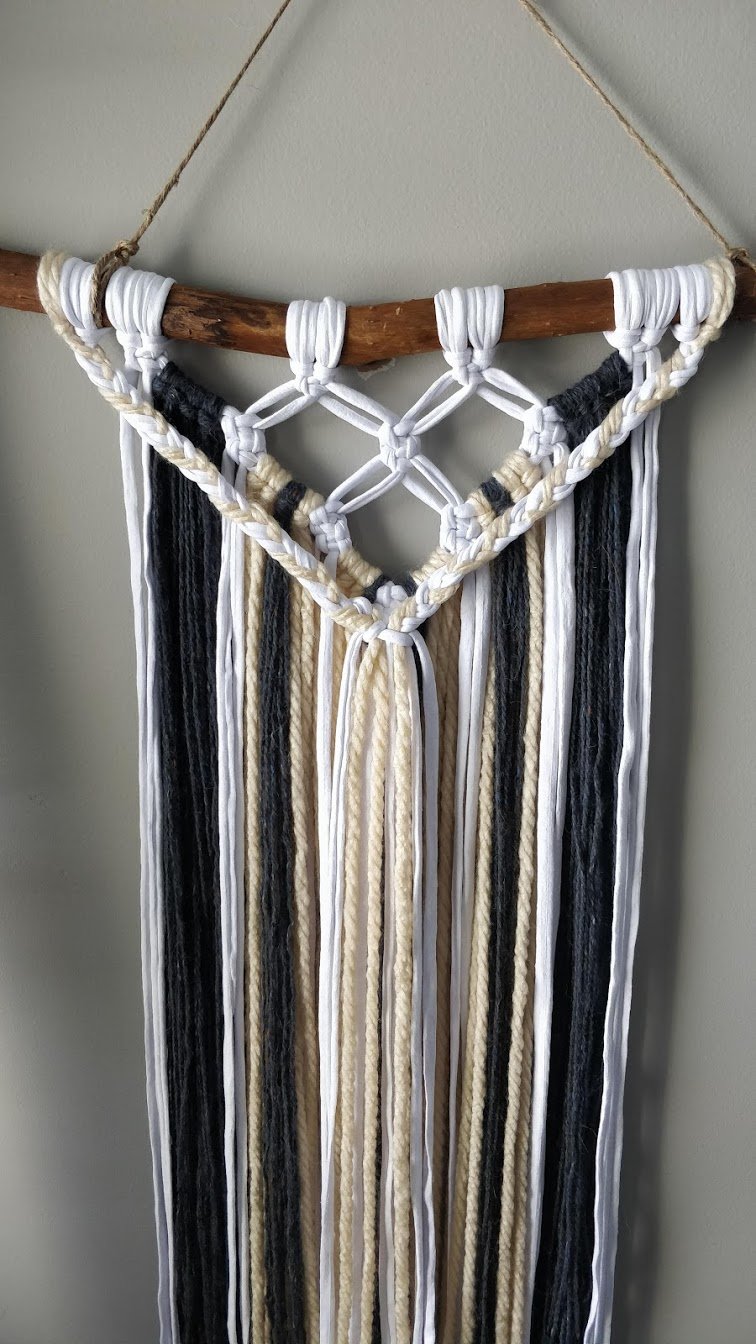
DIY 15 minute Macrame Wall Hanging
Materials
- -8 strands yarn, white (100 inches long each)
- -30 strands yarn, grey and beige (80 inches long each)
- -4 strands yarn, white and beige(70 inches long each)
- -12 strands yarn, white and beige (60 inches long each)
- -a tree branch, driftwood or a wooden dowel
- -scissors
- -measuring tape
Instructions
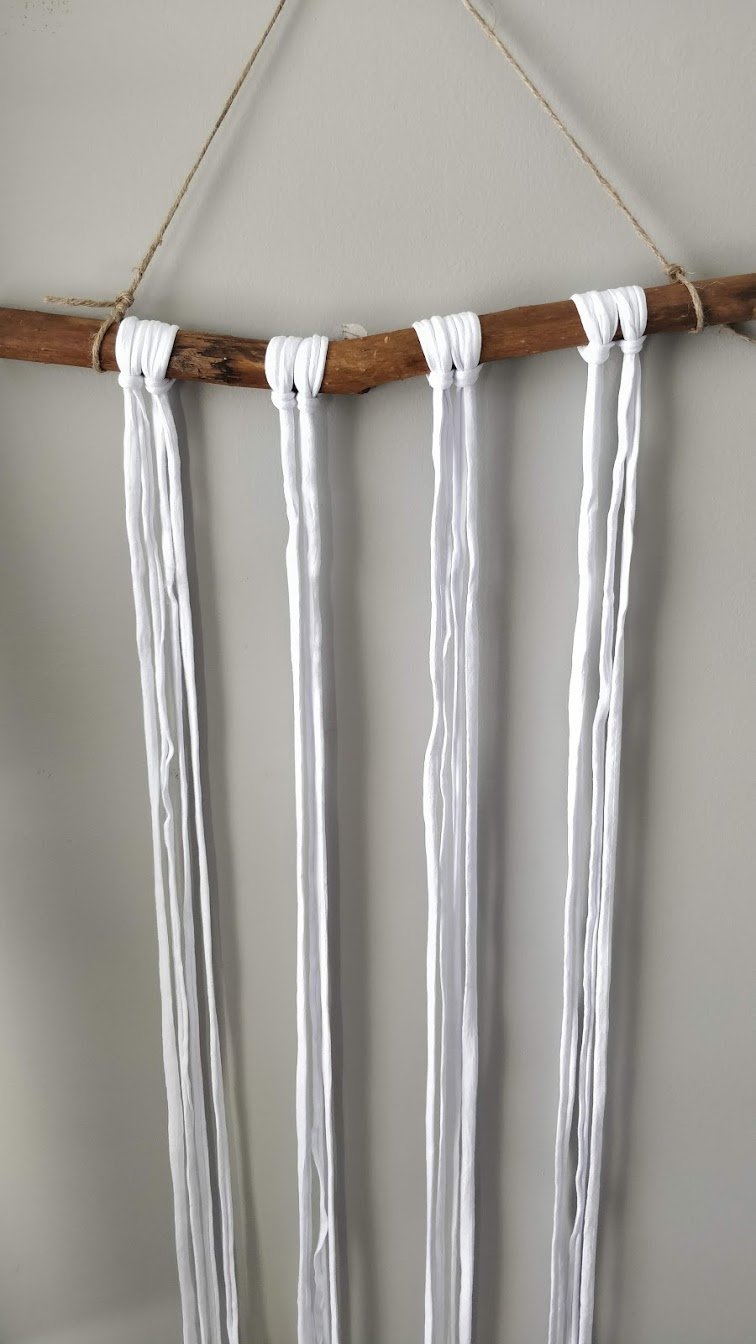
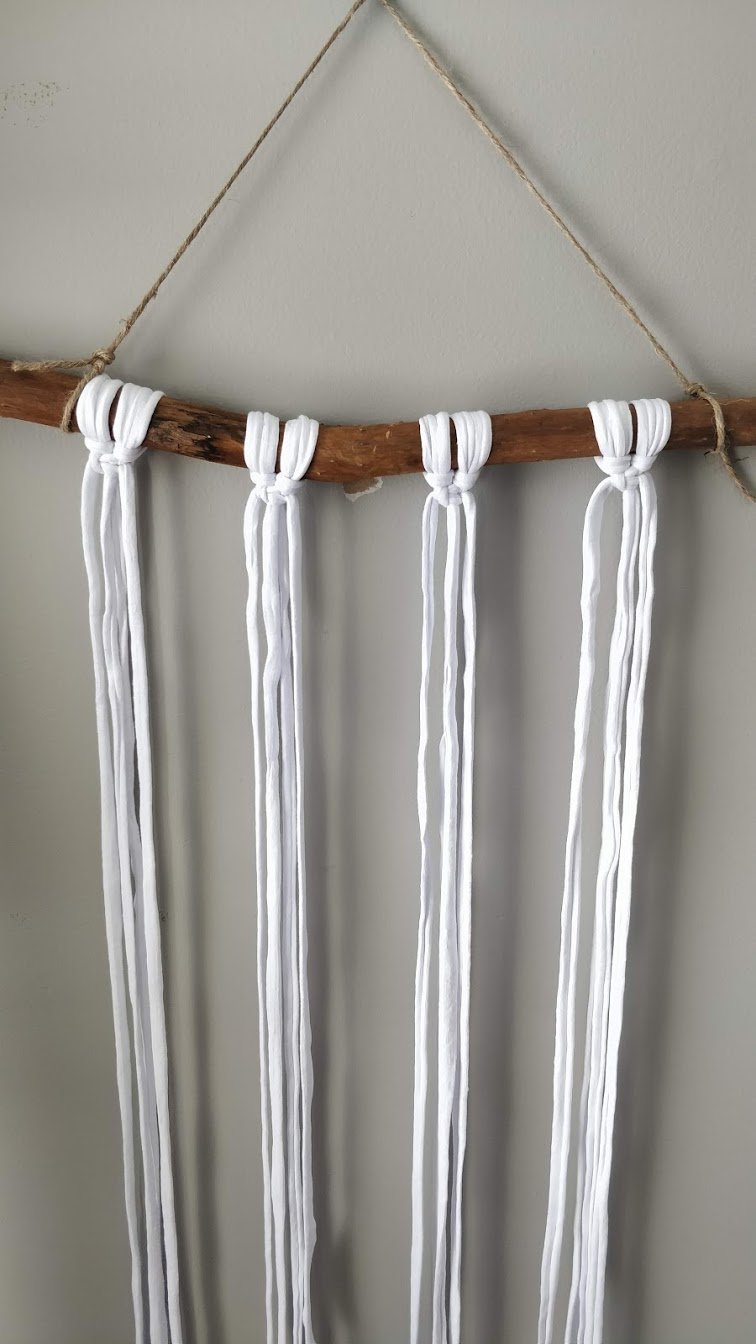
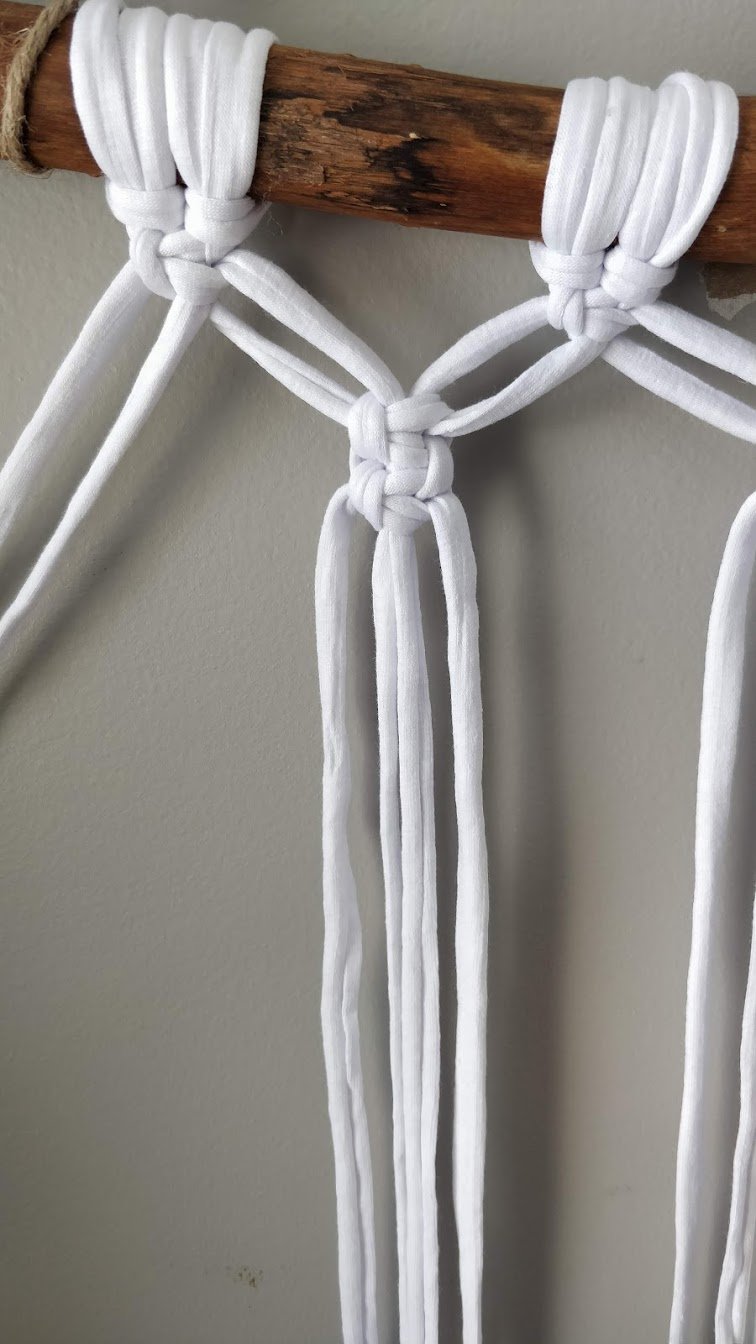
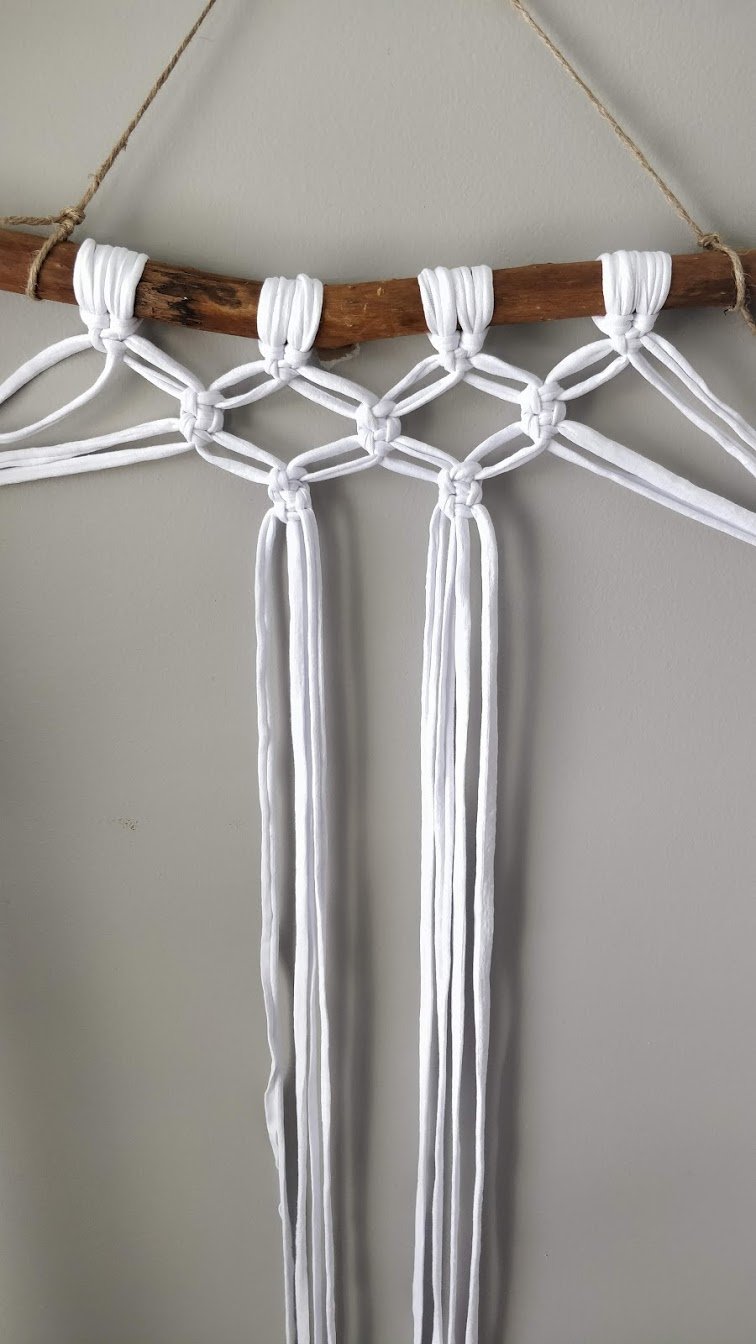
- Take your 8 (100 inch long) strands and attach them to the tree branch. To make a Lark's head knot, fold the string in half and take the middle of each strand (forming a loop) and put it behind the branch. Take the loose ends of the strand and put the through the loop. Pull the strings down and your lark's head knot is formed. do this for all 8 strands and group them in 2's to make 4 groups
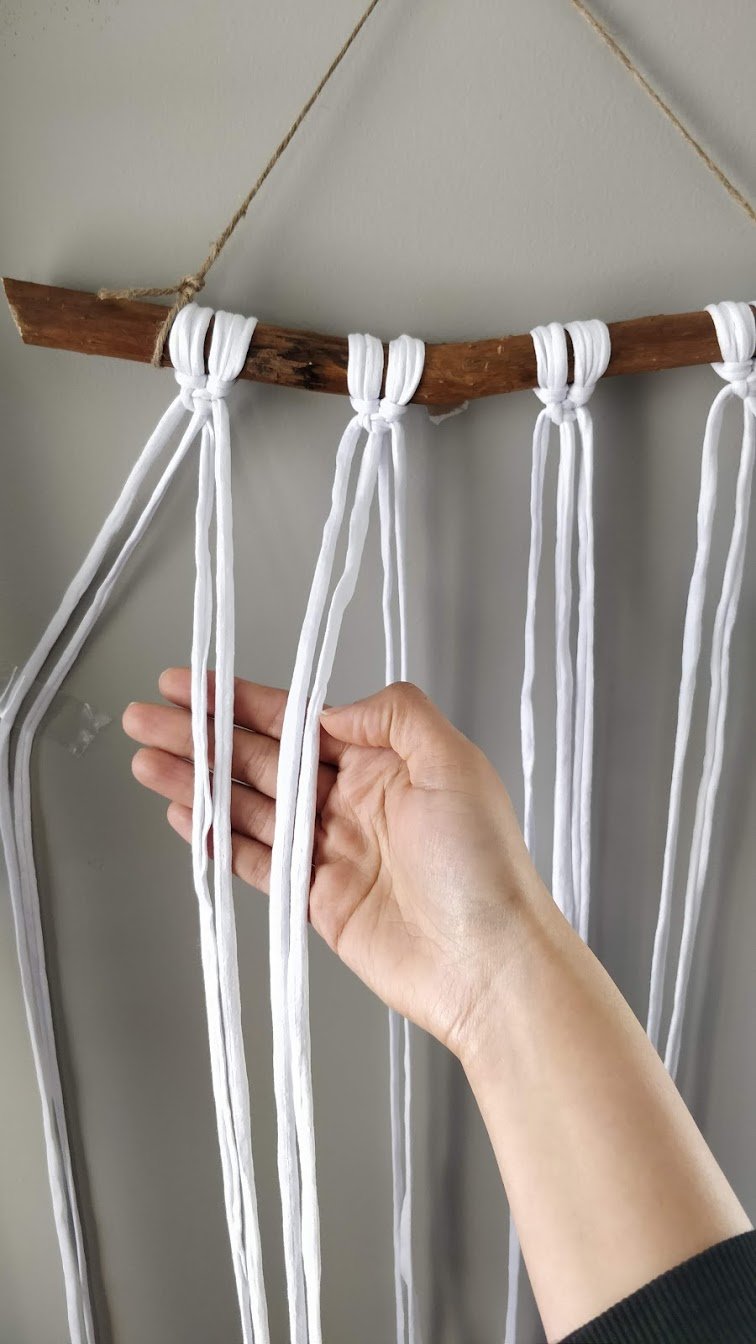
- With each group of 4 strands, follow steps 1-6 above and tie a row of square knots.
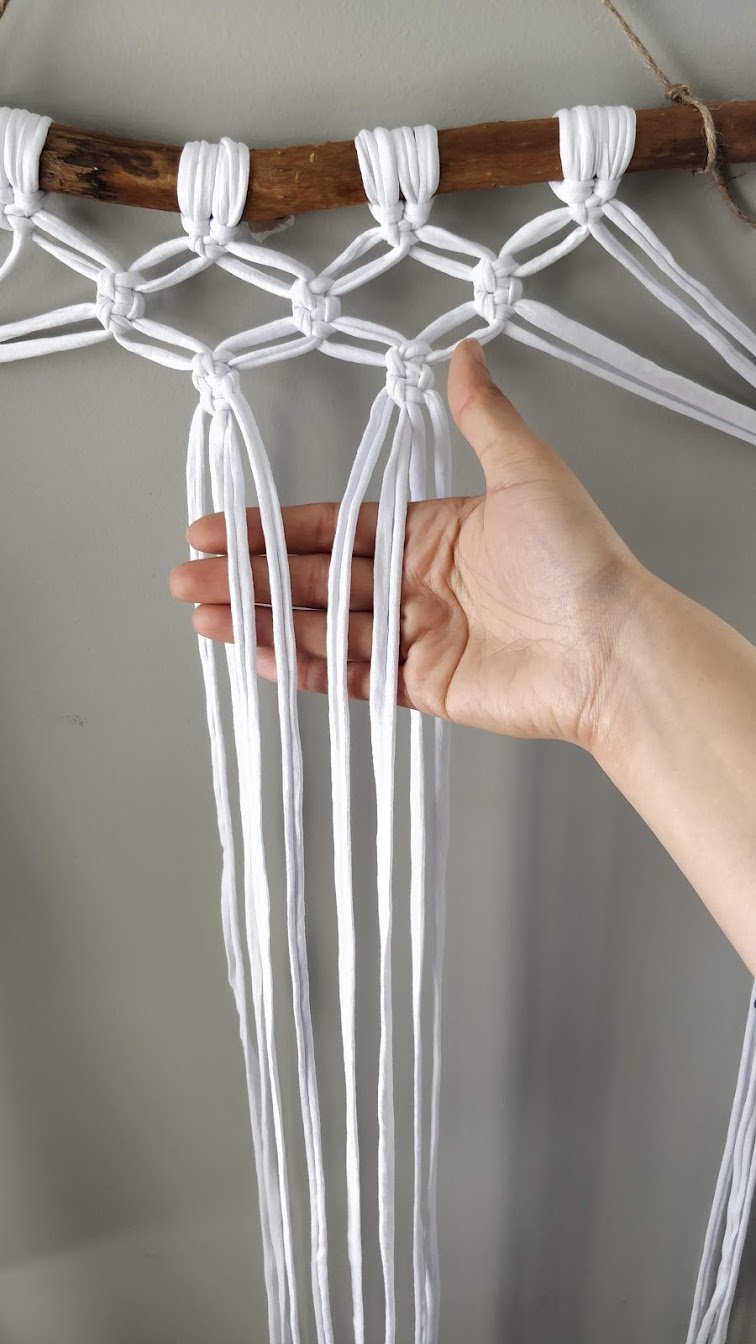
- Tape (or set aside) the 2 rightmost strands and 2 leftmost strands. You will not work with these. Take the first 4 strands on the left and tie a row of square knots.
- Take your next 4 strands and tie a row of square knots.
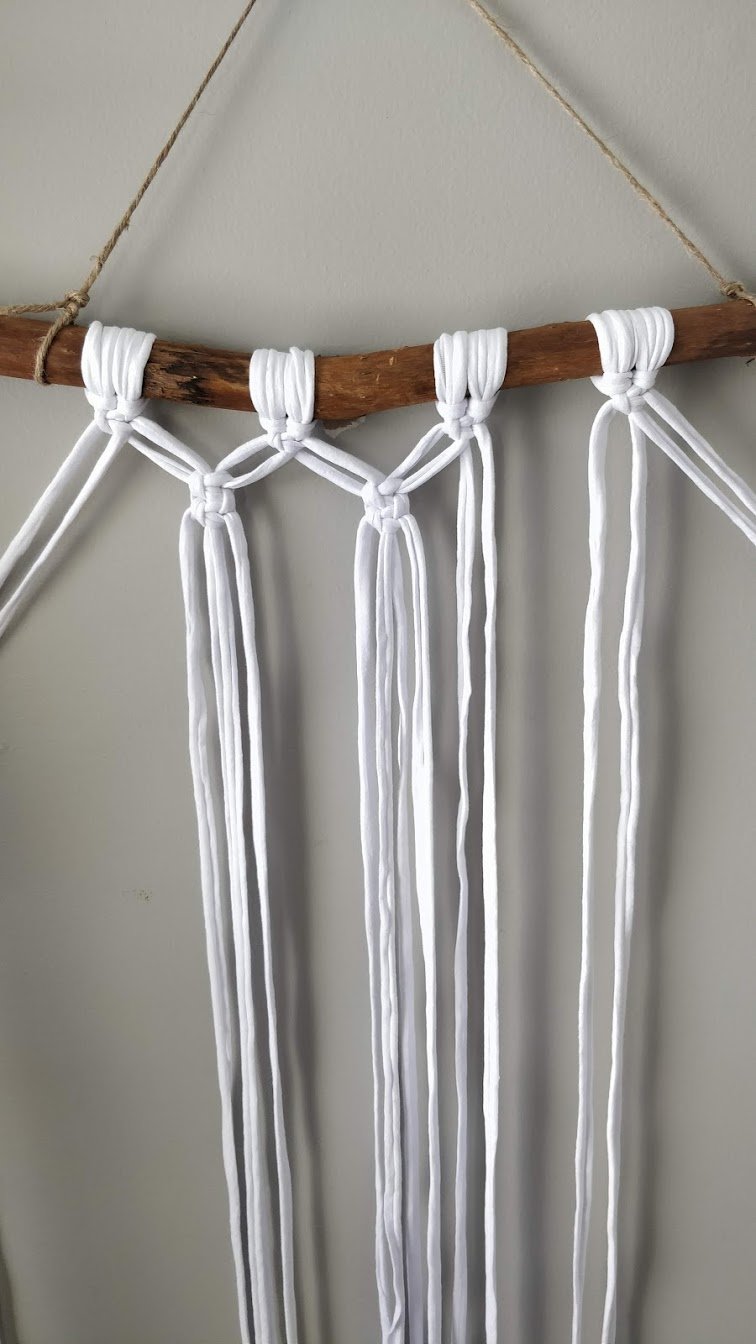
- Take your last 4 strands and tie a row of square knots.
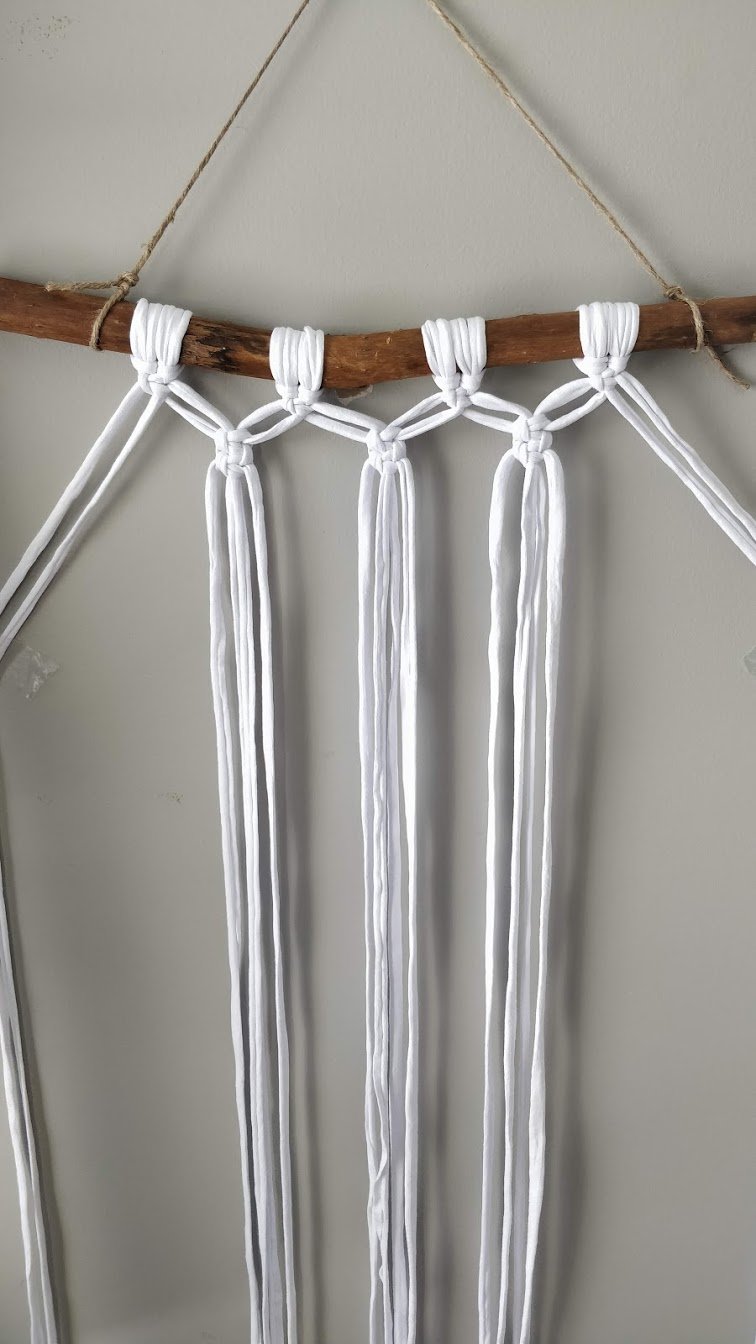
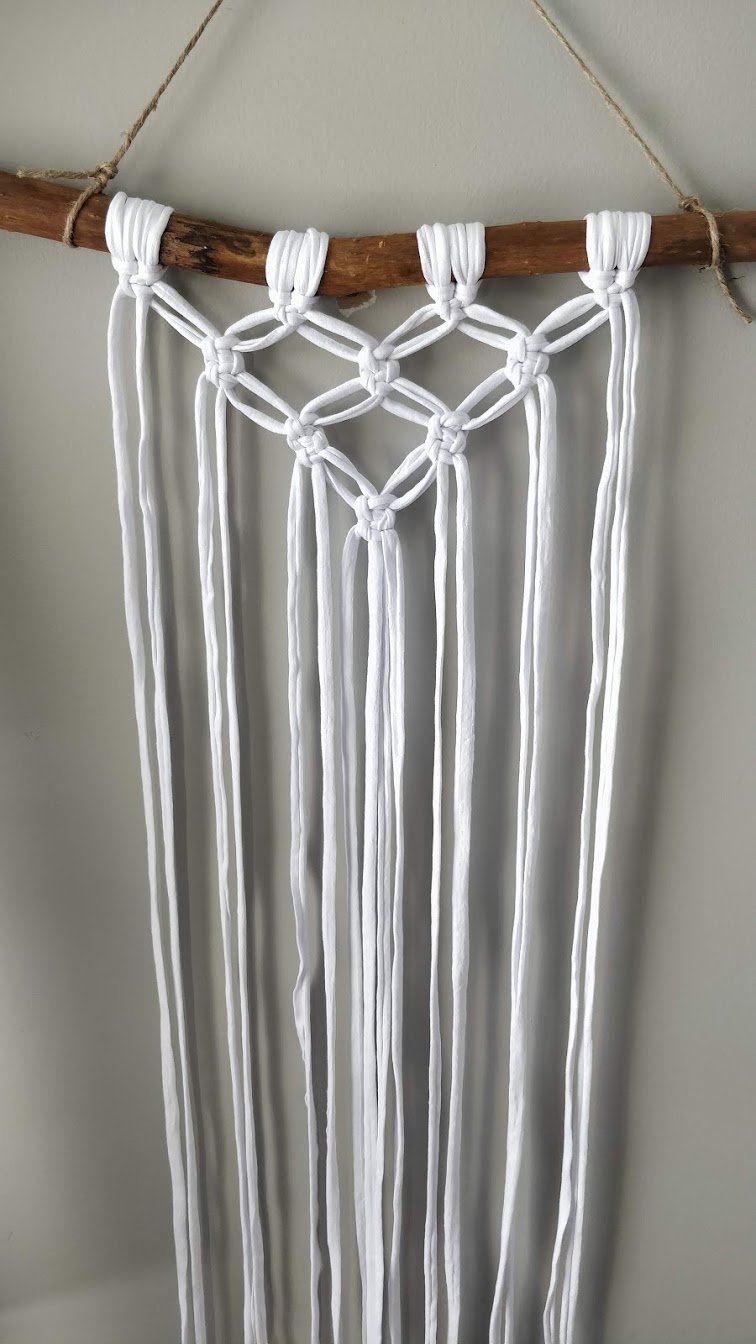
- Tape (or set aside) 4 rightmost and 4 leftmost strands. You will not work with these. Tie rows of square knots for the 2 groups of 4 strands.
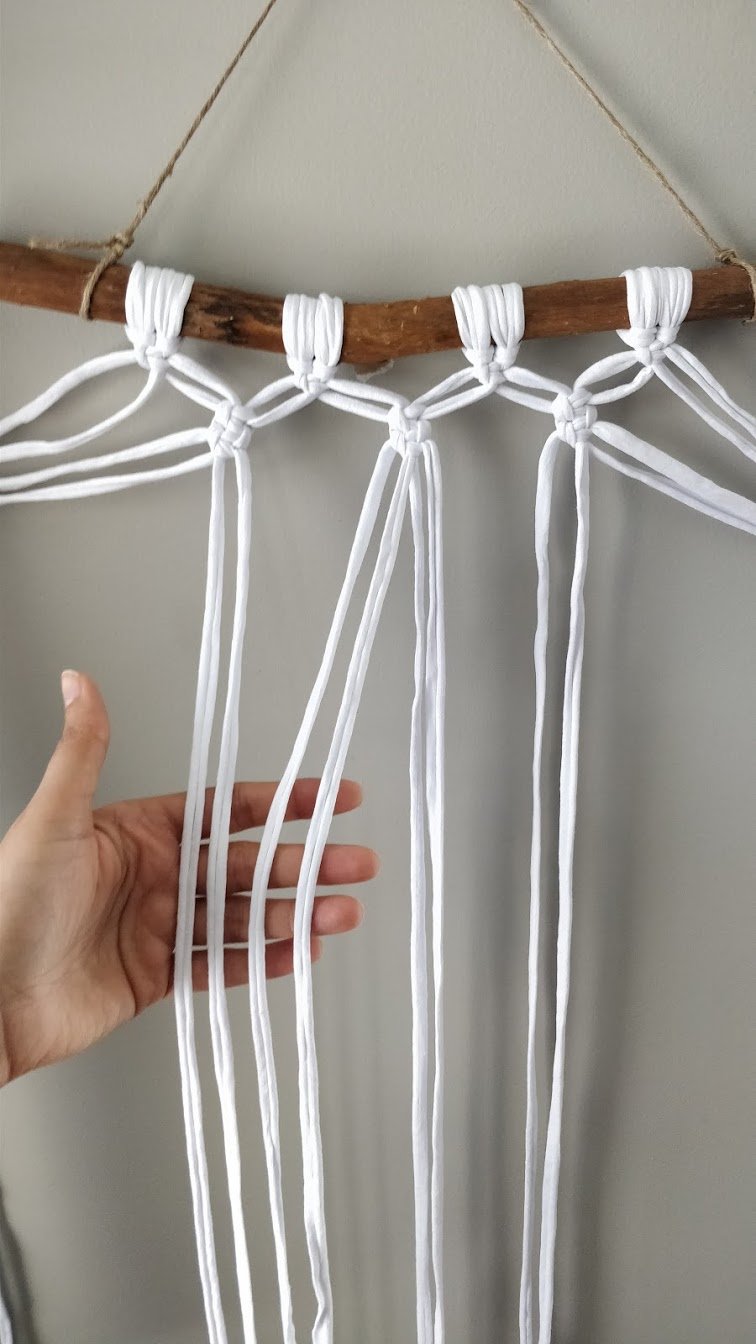
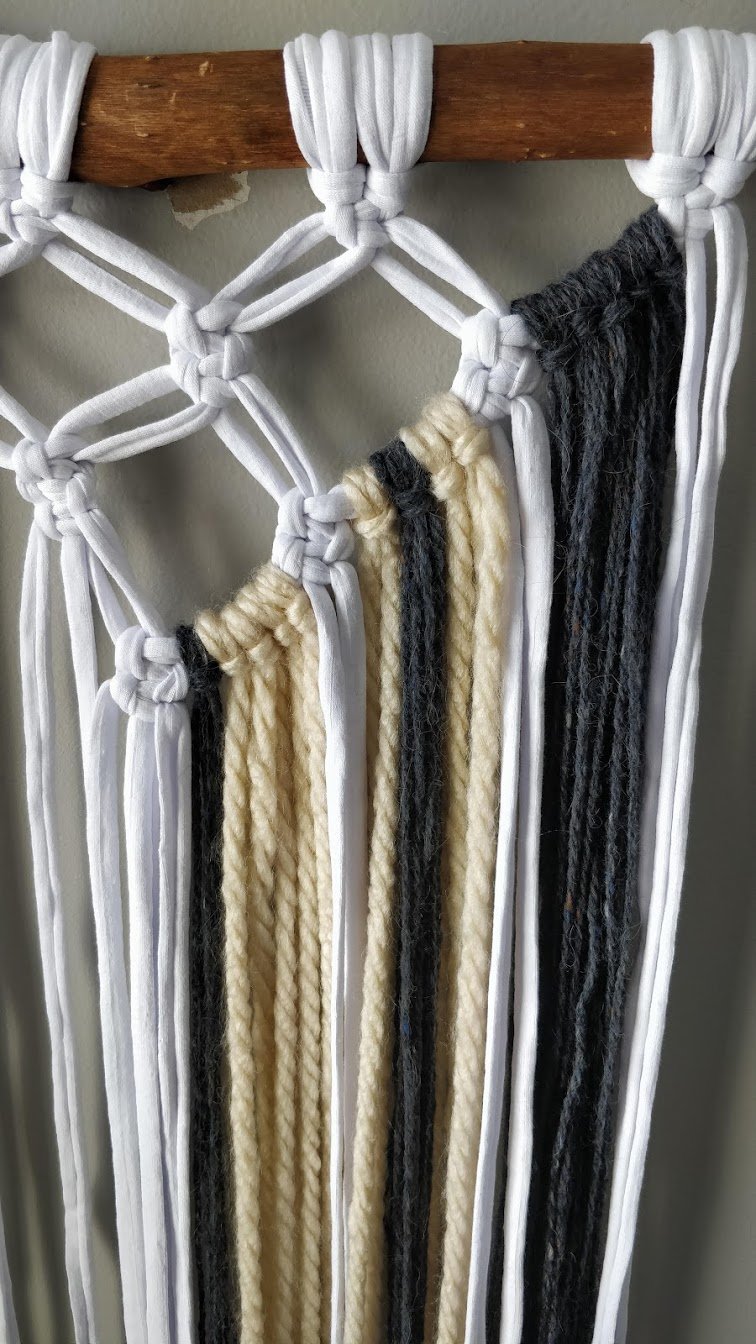
- Tape (or set aside) 6 rightmost and 6 leftmost strands. You will not work with these. Take your center 4 strands and tie a row of square knots. This completes the skeleton structure of the hanging
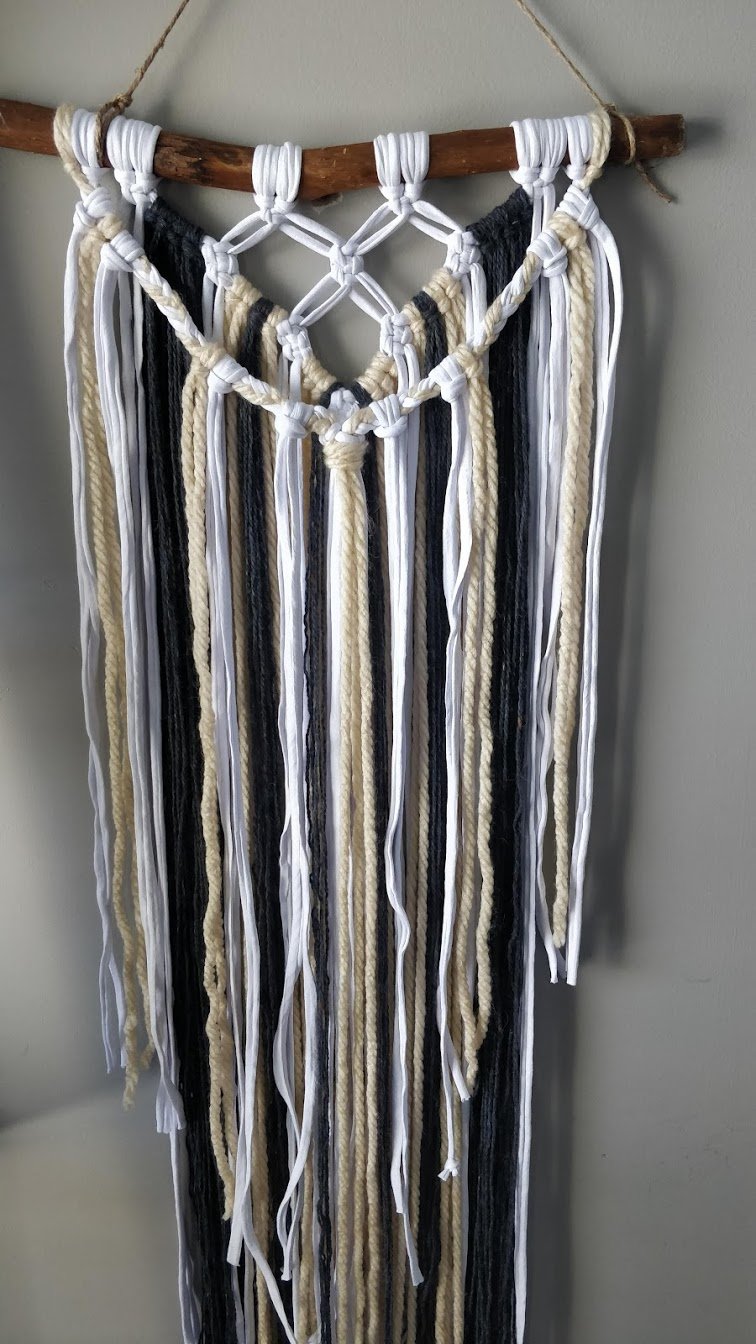
- Take your 30 strands (80 inches long each) and tie Lark's head knots along the bottom portion of the design. Use different colors, and texture yarns to create more interest.
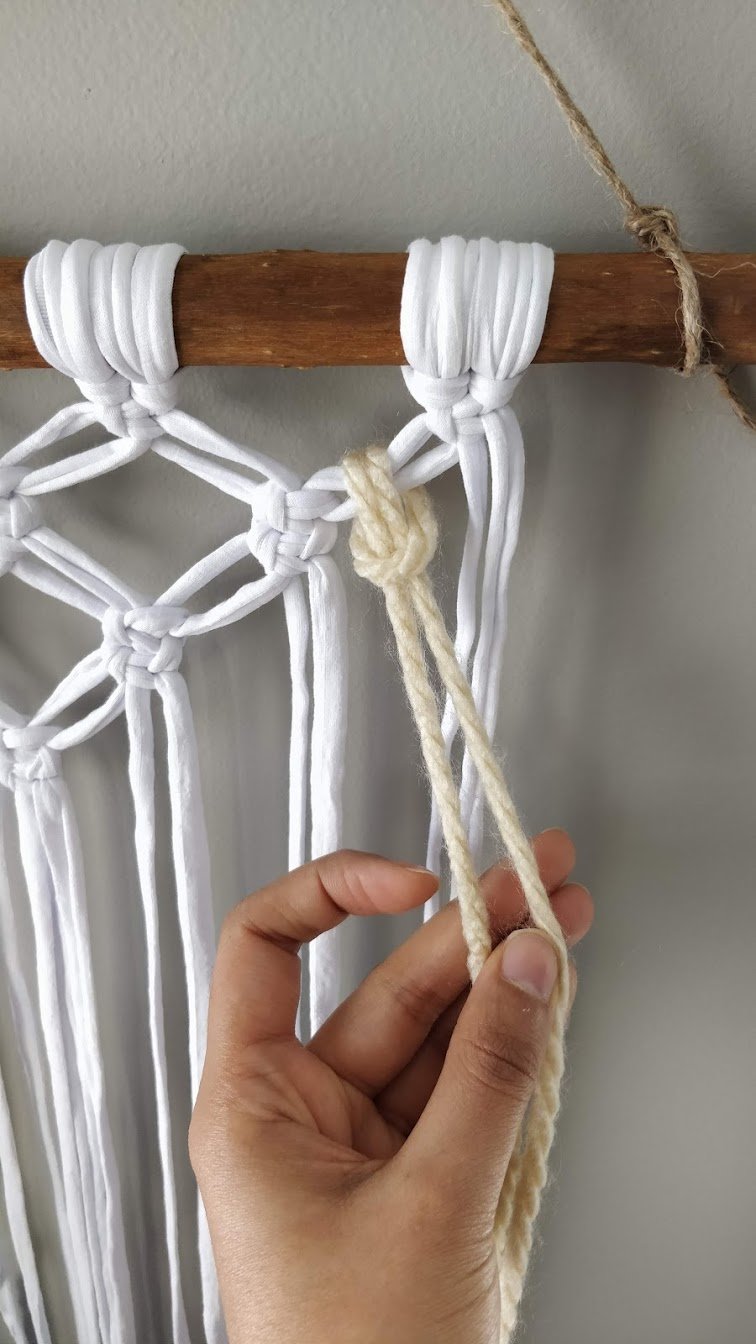
- Take your 4 strands (70 inches long) and tie 2 Lark's head knots on each end of the branch.
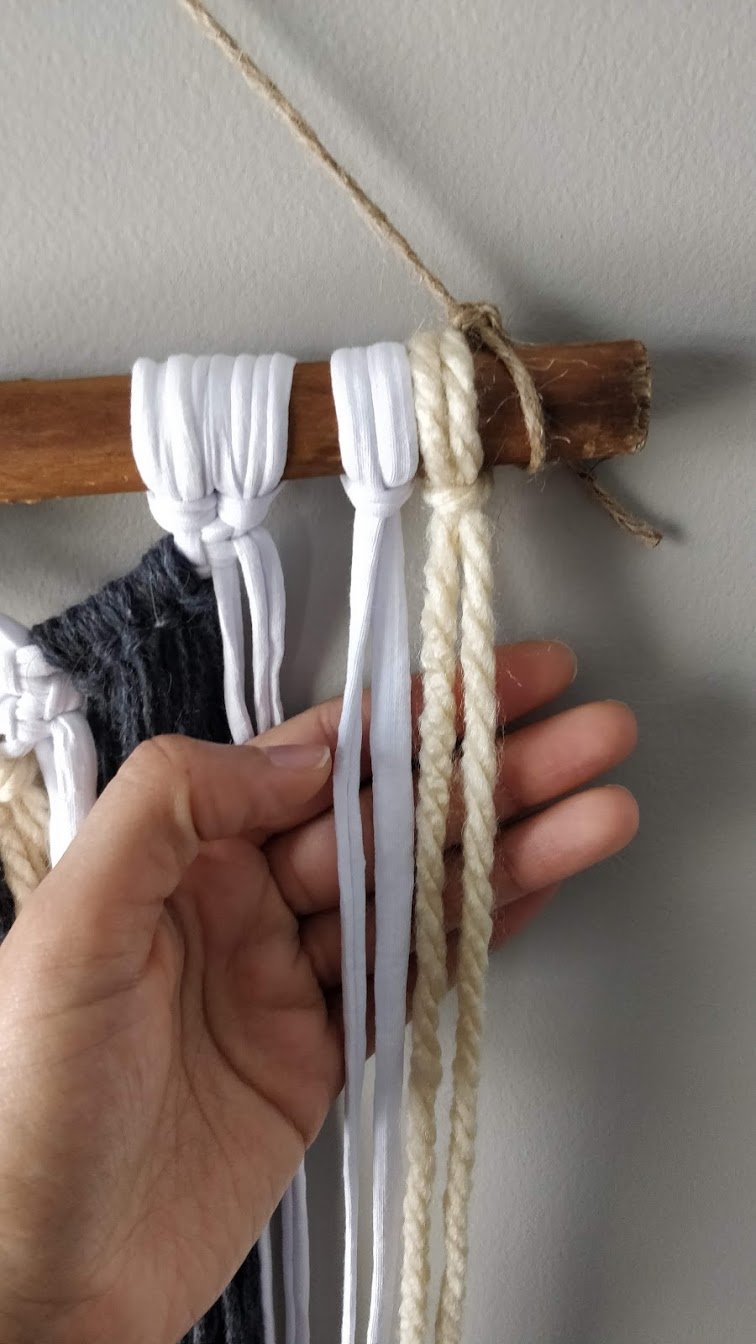 .
. - With the strands from step 9, tie a braid on both ends of the branch (using 4 strands).

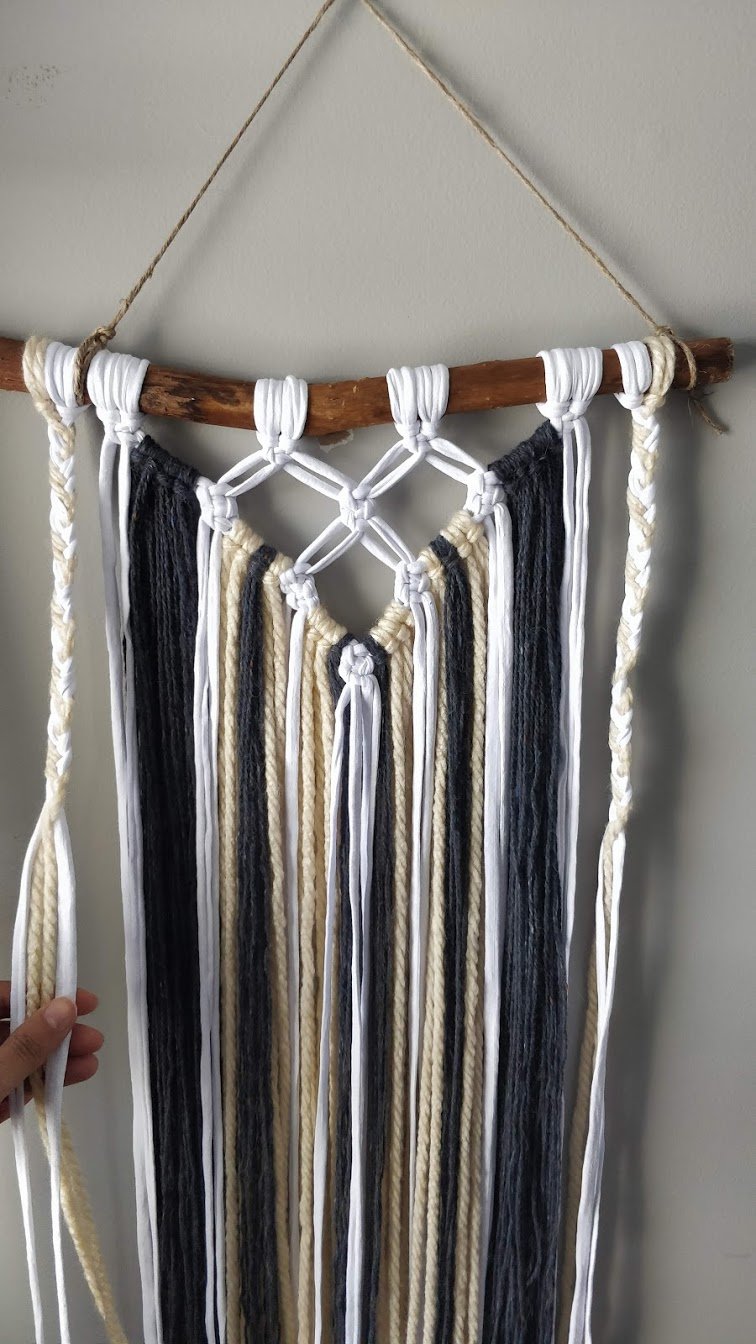
- Bring the braids to the center and tie them together using a small piece of string
- Take your final 12 strands (60 inches long) and tie them onto the braid portion using Lark's head knots. In this design I tied 3 strands at the top of the braid, 2 in the middle and 1 at the bottom-center (and repeated this on the other side).
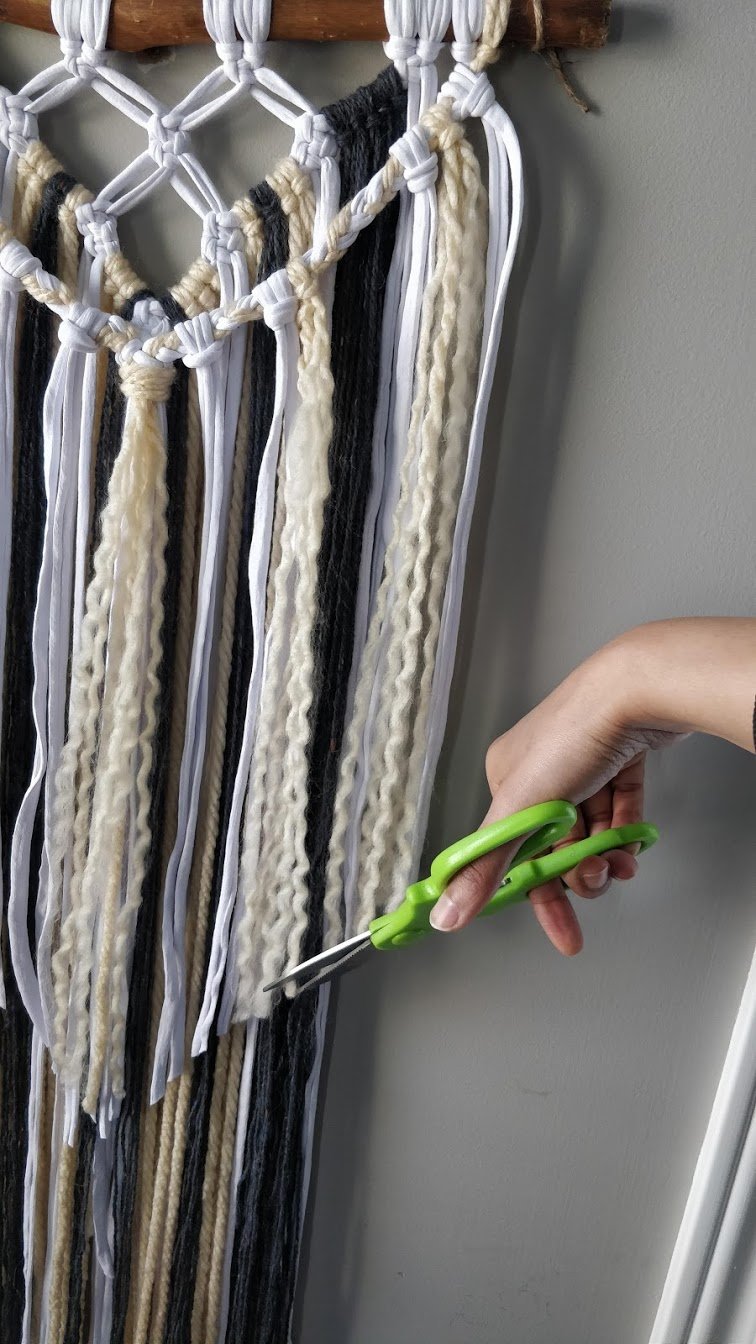
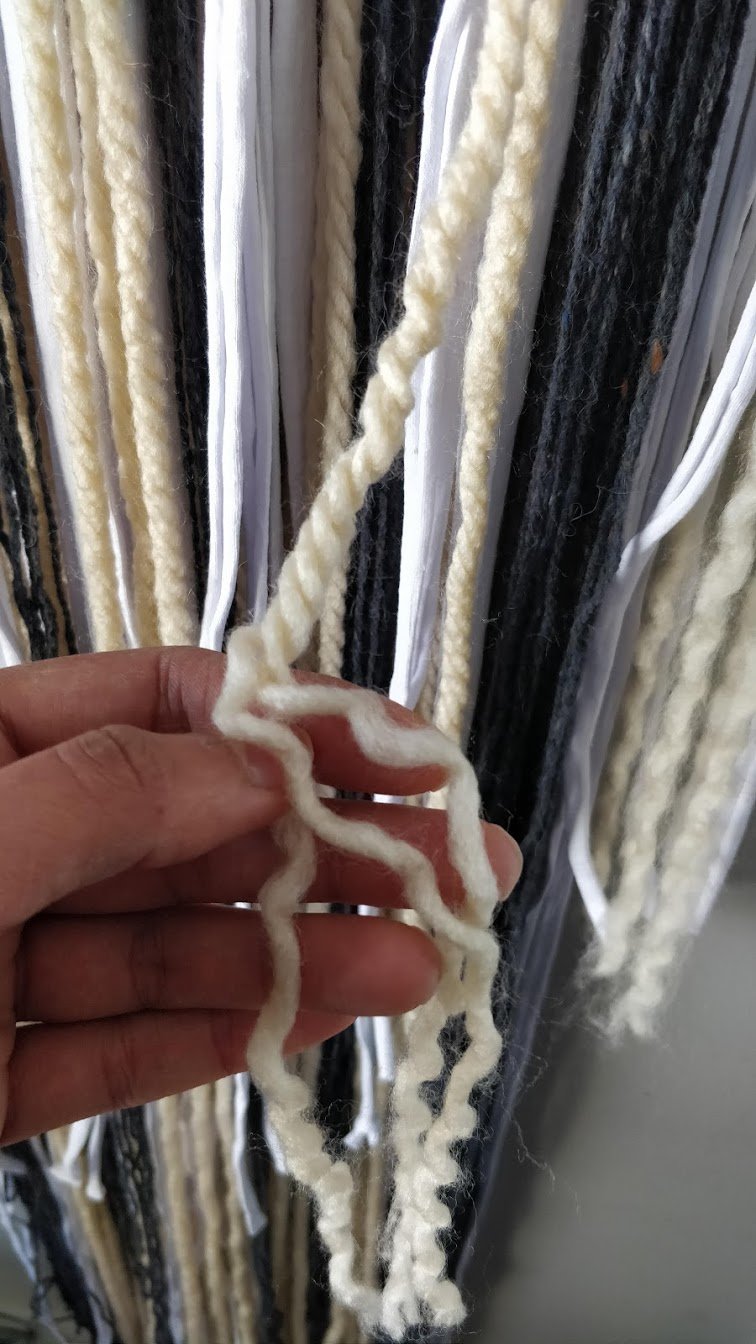
- I unraveled some of my chunky yarn, to give even more nifty texture variance. Just use your fingernails to unravel each strand of yarn.
- Take a pair of sharp scissors and cut/shape the bottom of your wall hanging
Source from here
Komentar
Posting Komentar