4 Cozy Reading Nooks You’ll Want in Your Home Right Now Constructing a reading nook doesn’t have to be hard. Sometimes all you need is lots of pillows and a little unused space. Reading nooks are also a great way to use dead, unused, or awkward space within a home. Nooks can help maximize living space and provide additional seating, along with providing a personal sanctuary. With these four easy DIY reading nook projects, it won’t be long before you find yourself dreaming of getting lost in a good book. 1. Make Use of Dead Space with a Corner Bench Do you have a dead corner in your house that’s just…there? A great remedy for that empty space is a corner bench. Creating an L-shaped bench will maximize your space. Not only will it provide additional seating, but it can also become storage. Create this bench with bookshelves, cushions, and pillows for the ultimate reading nook space. When the bookshelves are placed together, you can then determine what size cushion you will need to go on ...
DIY DOUBLE LAYER FRINGE
Materials:
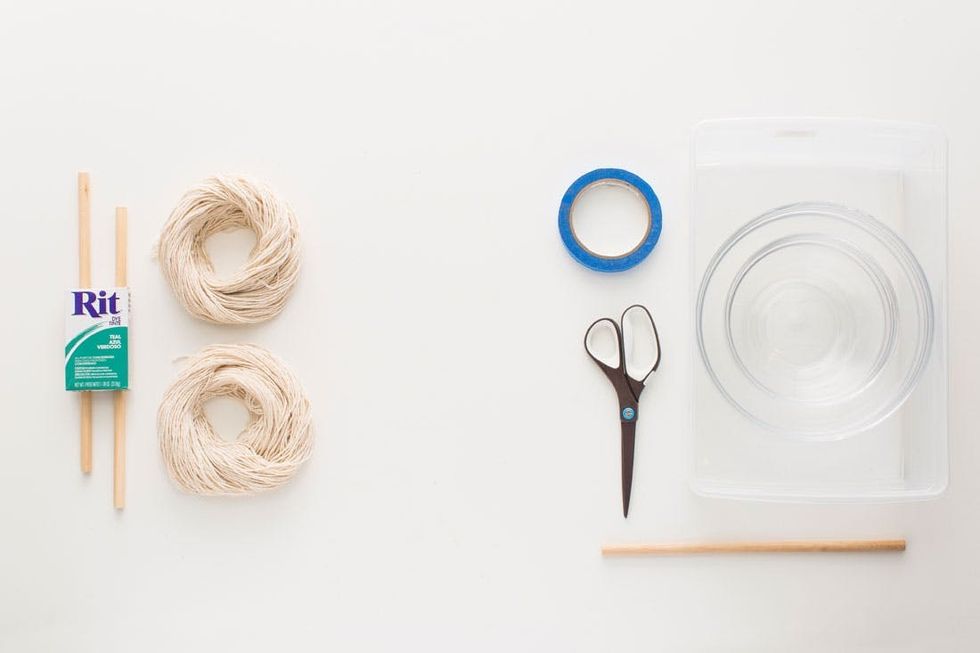
– pre-cut cotton twine
– wood dowels
– fabric dye powder
Additional Tools and Materials:
– plastic bin or bucket
– dowel (or other mixing instrument)
– mixing bowls
– 1 cup measure
– scissors
– masking tape
DOUBLE LAYER FRINGE
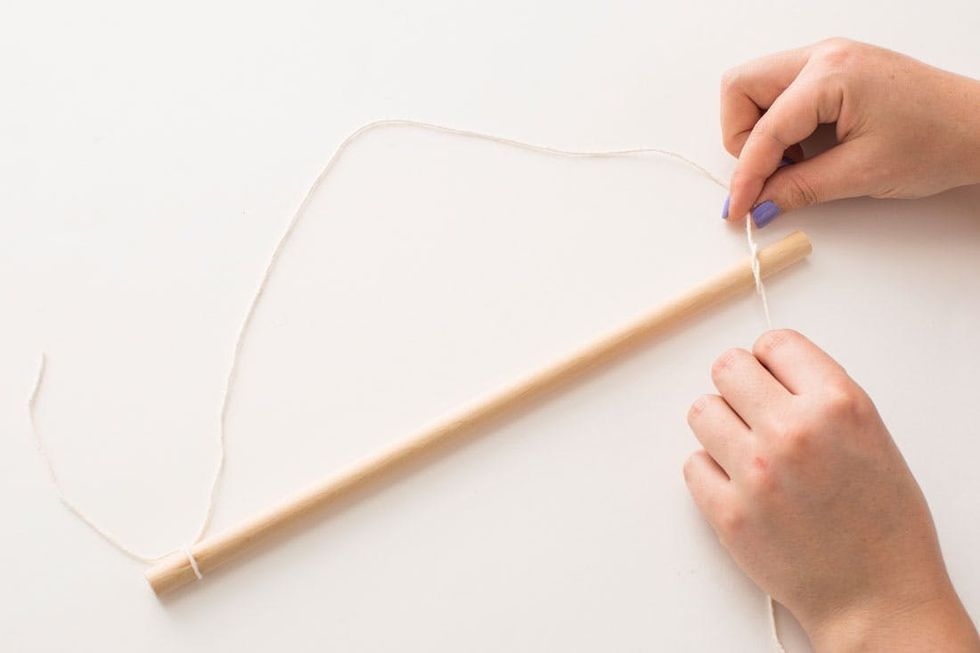
To hold your dowel in place while you tie on your fringe, first tie one piece of string to both ends of the dowel using double knots.
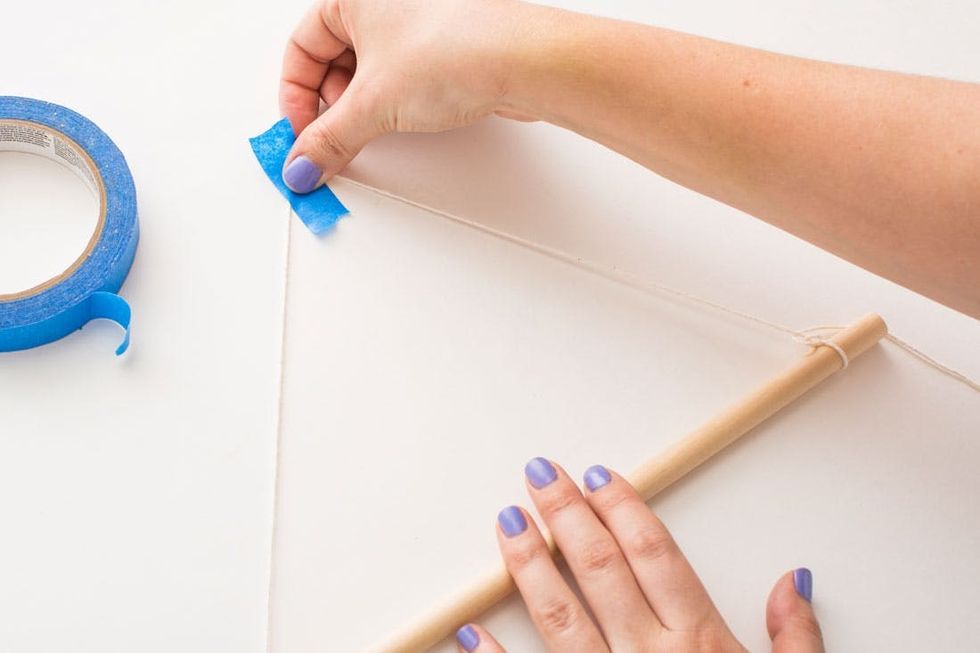
Pull the string tight and tape it to your work surface using masking or painter’s tape.
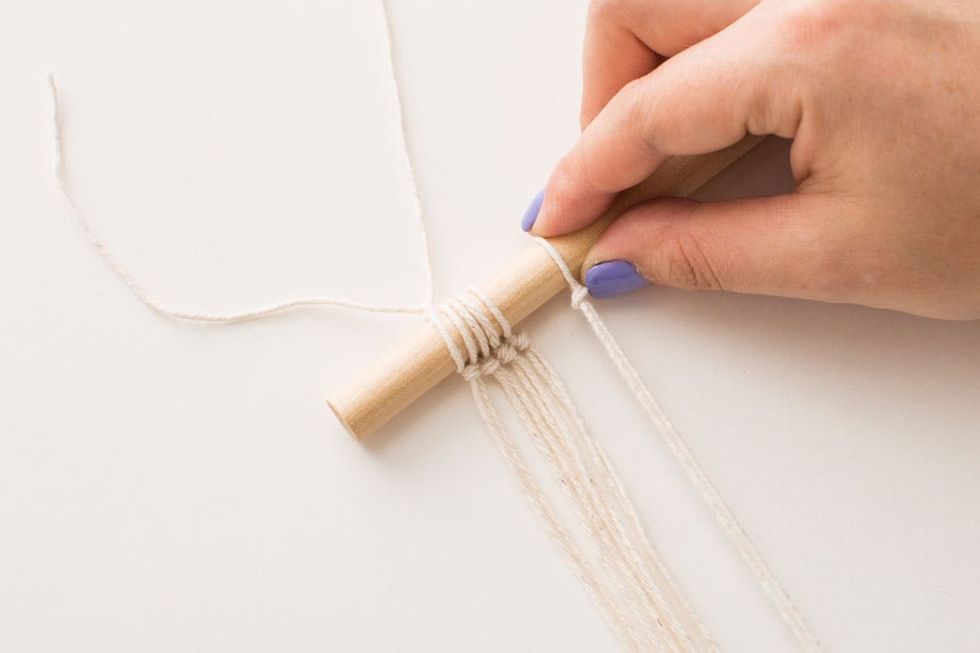
Tie a whole packet of twine (that’s 100 strands) onto your dowel by folding the twine in half over the dowel and tying a small knot right underneath it. This is definitely a job best done listening to some good tunes, binge-watching your fave show, or hanging out with friends.
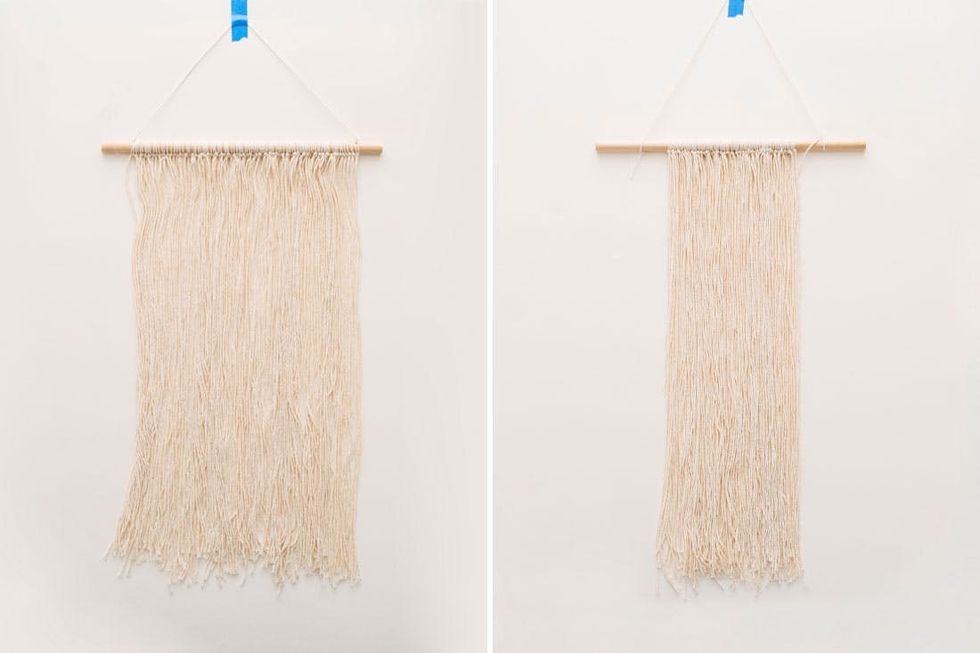
You’ll see that when you fold the twine in half you get an 18-inch-tall fringe. To make your second fringe layer, tie half a packet of twine (approximately 50 strands) onto your second dowel.
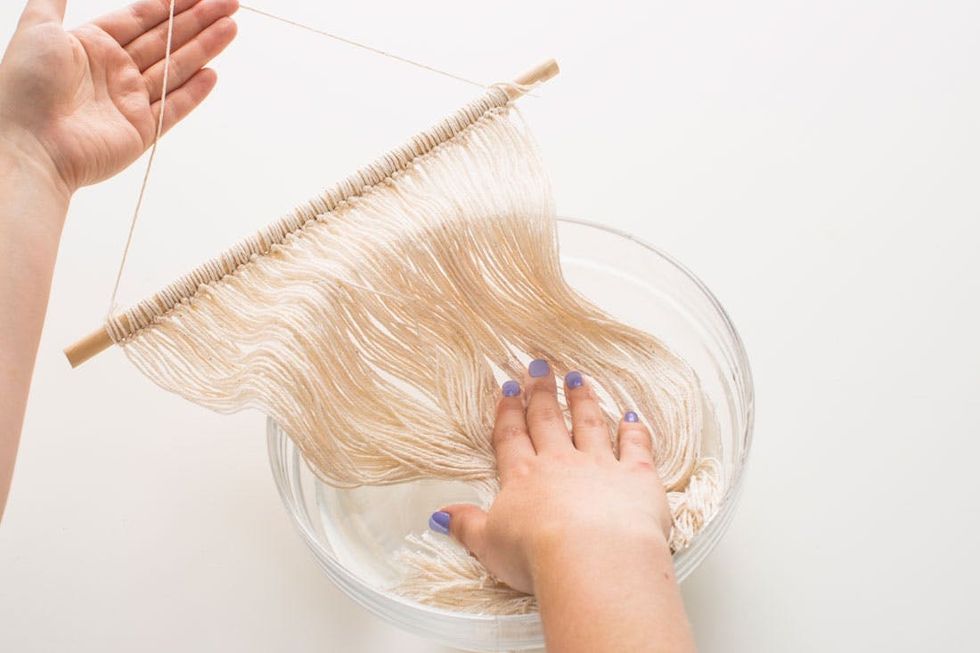
To dip dye the larger fringe layer, first soak the bottom half of your cotton fringe in a bowl of water for five to ten minutes.
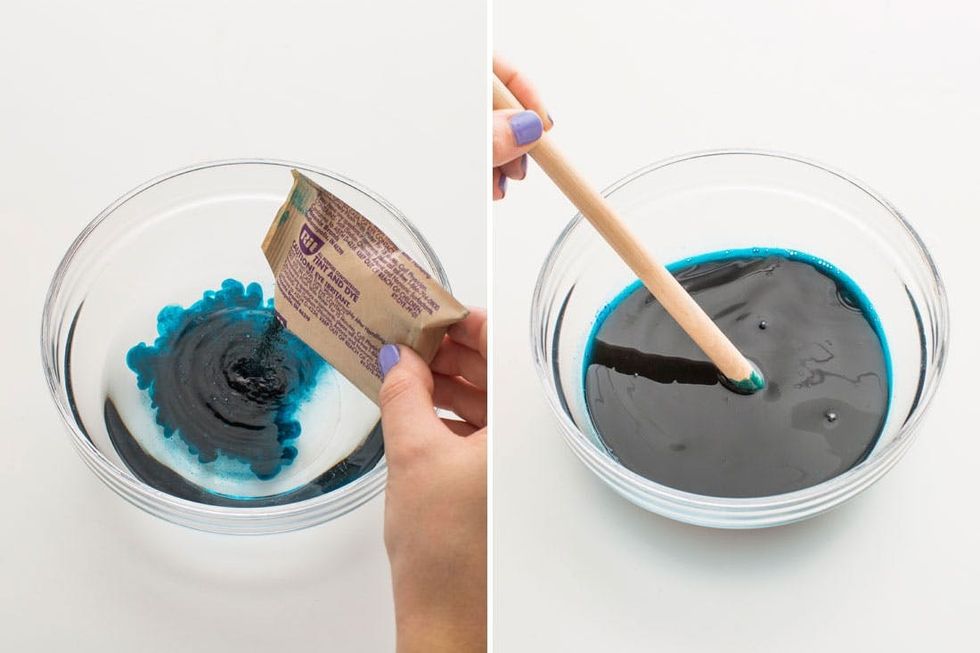
While your fringe is soaking, mix half of the dye powder into one cup of hot water and stir with a disposable dowel or other mixing instrument until dissolved.
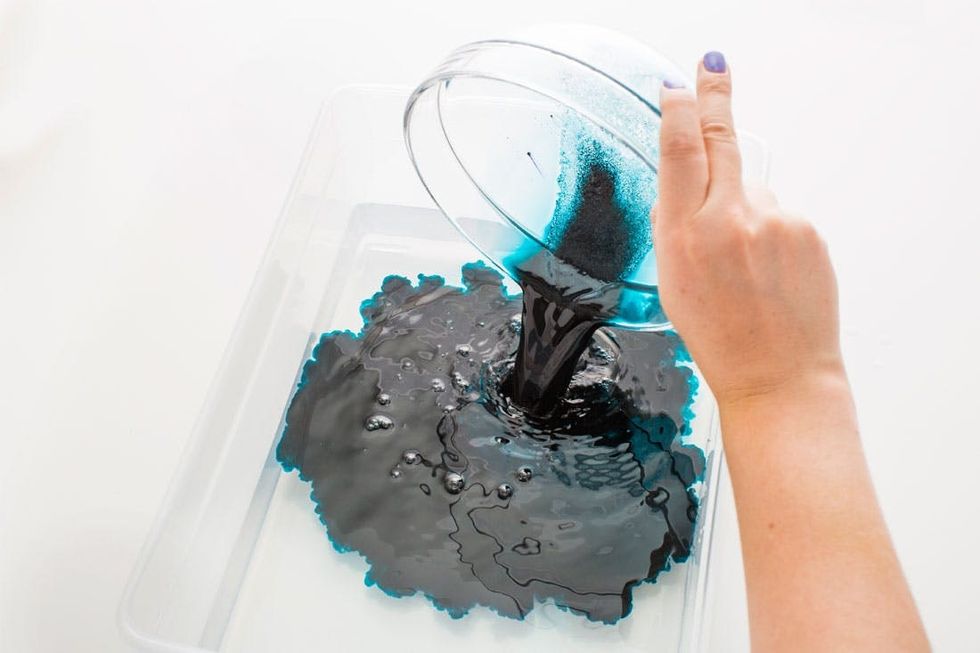
Pour your hot water and dye mixture into a plastic bin or bucket of water and stir with the same mixing instrument until mixed thoroughly.
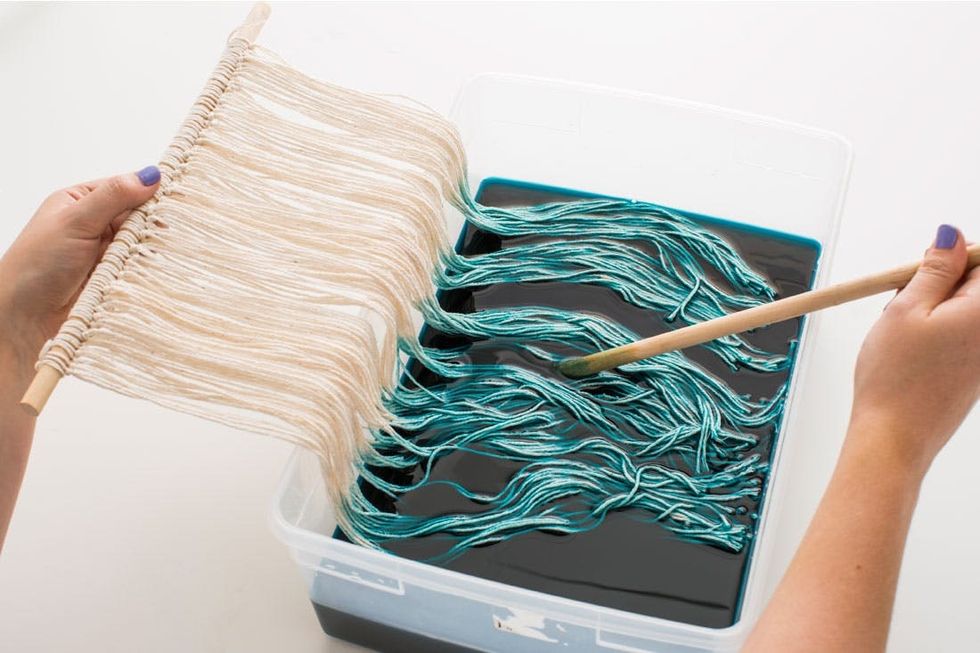
Place the soaked half of your fringe into the dye, holding the dry top half of your fringe off to the side of the bucket and submerging the soaked bottom half using your stirring instrument.
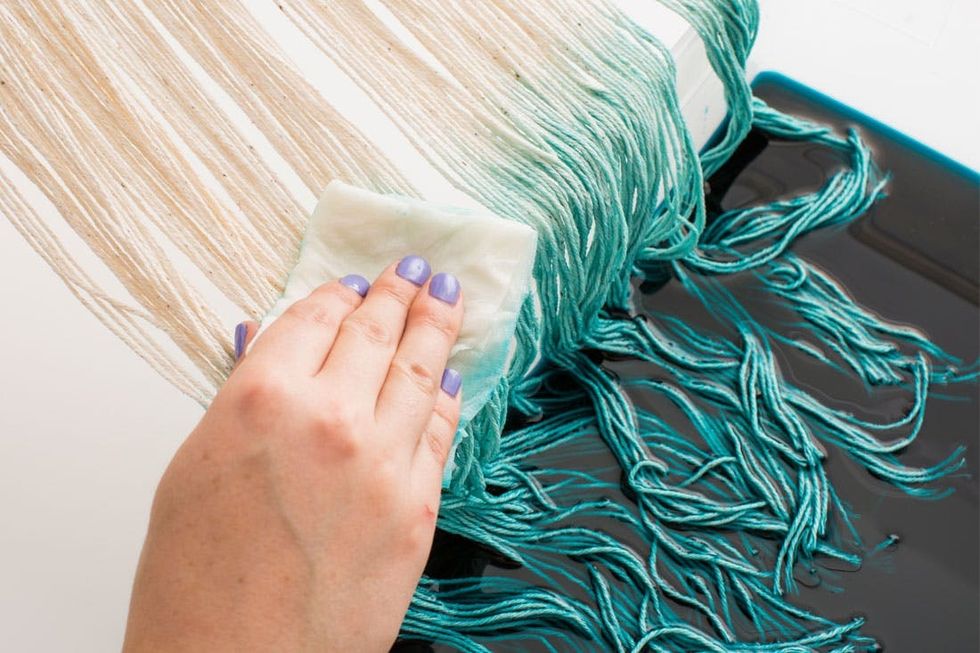
Immediately pull out a few inches of your dyed fringe and blend the dye upwards with a wet paper towel. Then hang the top 2/3 of your fringe over the side of the bin and let the bottom 1/3 soak in dye for an hour or so before removing to dry overnight.
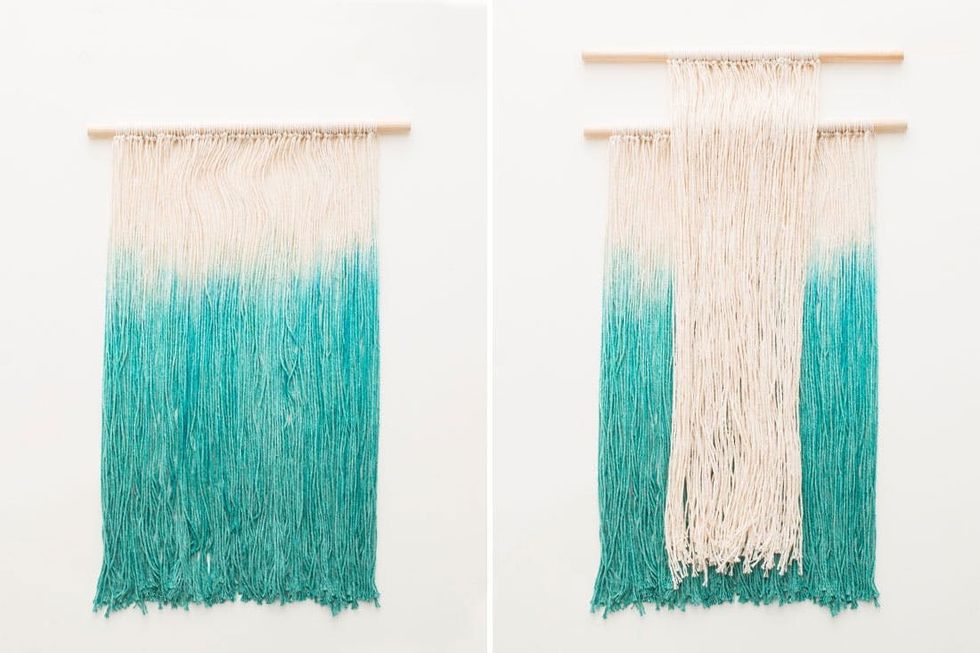
Once your dip dyed fringe is dry, lay it on a clean surface and layer the smaller fringe on top of it so that there is a gap between the two dowels.

Attach both dowels together with a piece of twine in a triangle. Tie a double knot around the lower dowel and then work up to the second higher dowel, leaving some space at the top to hang it, and then work back down to the other side, securing each level with a double knot.
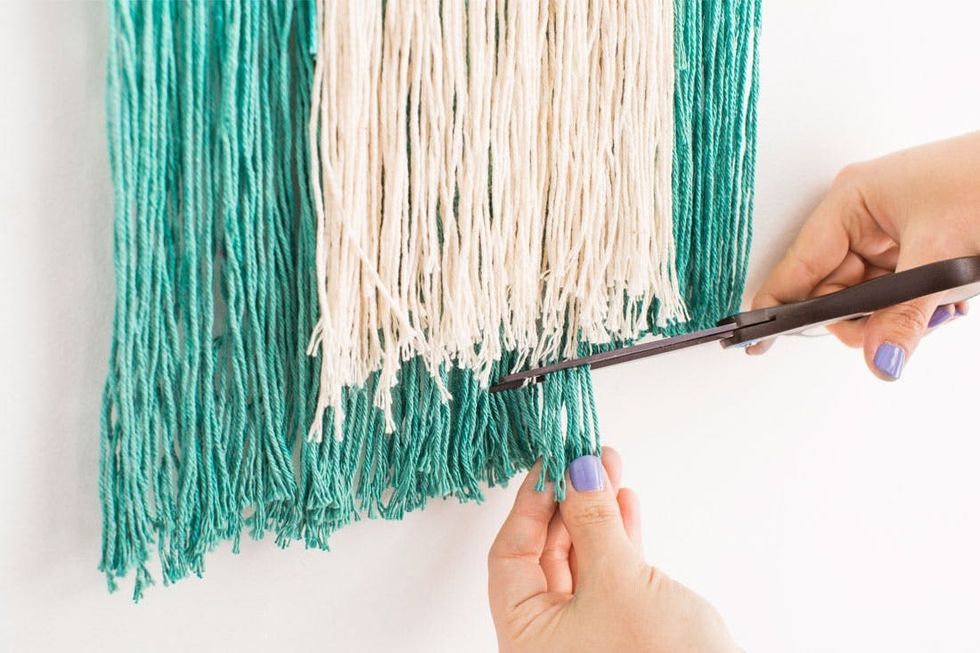
Now it’s time to trim! Hang your fringe on the wall and trim the ends with scissors into whatever shape you would like. We chose to cut the dyed layer straight across.
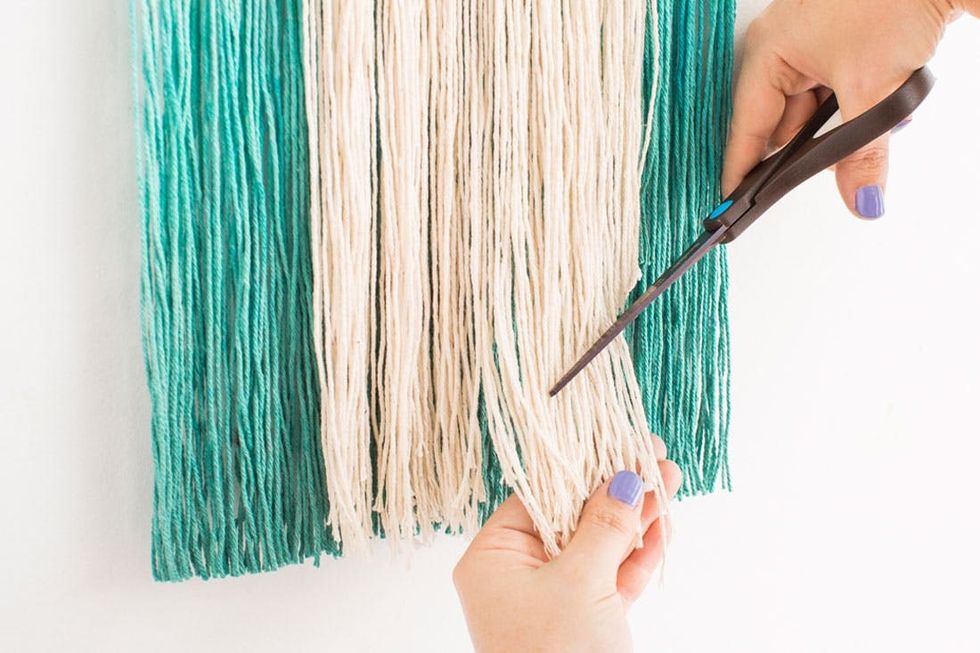
For the second layer, we made an arrow pointed toward the floor. Make sure to hold the second layer away from the first while cutting.

Ta da! It may have taken a bit of time in the knot tying department, but this warm, textural addition to our gallery wall was well worth it!

Komentar
Posting Komentar