4 Cozy Reading Nooks You’ll Want in Your Home Right Now Constructing a reading nook doesn’t have to be hard. Sometimes all you need is lots of pillows and a little unused space. Reading nooks are also a great way to use dead, unused, or awkward space within a home. Nooks can help maximize living space and provide additional seating, along with providing a personal sanctuary. With these four easy DIY reading nook projects, it won’t be long before you find yourself dreaming of getting lost in a good book. 1. Make Use of Dead Space with a Corner Bench Do you have a dead corner in your house that’s just…there? A great remedy for that empty space is a corner bench. Creating an L-shaped bench will maximize your space. Not only will it provide additional seating, but it can also become storage. Create this bench with bookshelves, cushions, and pillows for the ultimate reading nook space. When the bookshelves are placed together, you can then determine what size cushion you will need to go on ...
DIY FACE MASK PATTERNS – FILTER POCKET & ADJUSTABLE TIES!

MATERIALS
- Tightly woven Cotton or Cotton Blend Fabric (a quarter of a yard) for the first two layers
- Heavyweight T-shirt (for the third layer)
- 1/4" - 3/8" ribbon or ties (at least 72 inches)
- Thread
- (Optional) 20-22 gauge wire (floral wire works)
- Cricut Fabric Marker (Optional)
- Freezer paper (if you're cutting this on a Cricut Explore)
- (Optional) Elastic (1/8" - 1/4" and length of 6" to 9")
TOOLS
- A way to cut your fabric
- Pink FabricGrip Mat (for Maker) or Green StandardGrip Mat (for Explore)
- Sewing Machine or a hand needle & thread
- Iron or EasyPress (I used both -- the iron for seams, the EasyPress for the freezer paper)
- Scissors (for cutting fabric and ribbons)
- Ruler (for measuring fabric and ribbons)
- Pins (for keeping pieces of fabric together)
INSTRUCTIONS
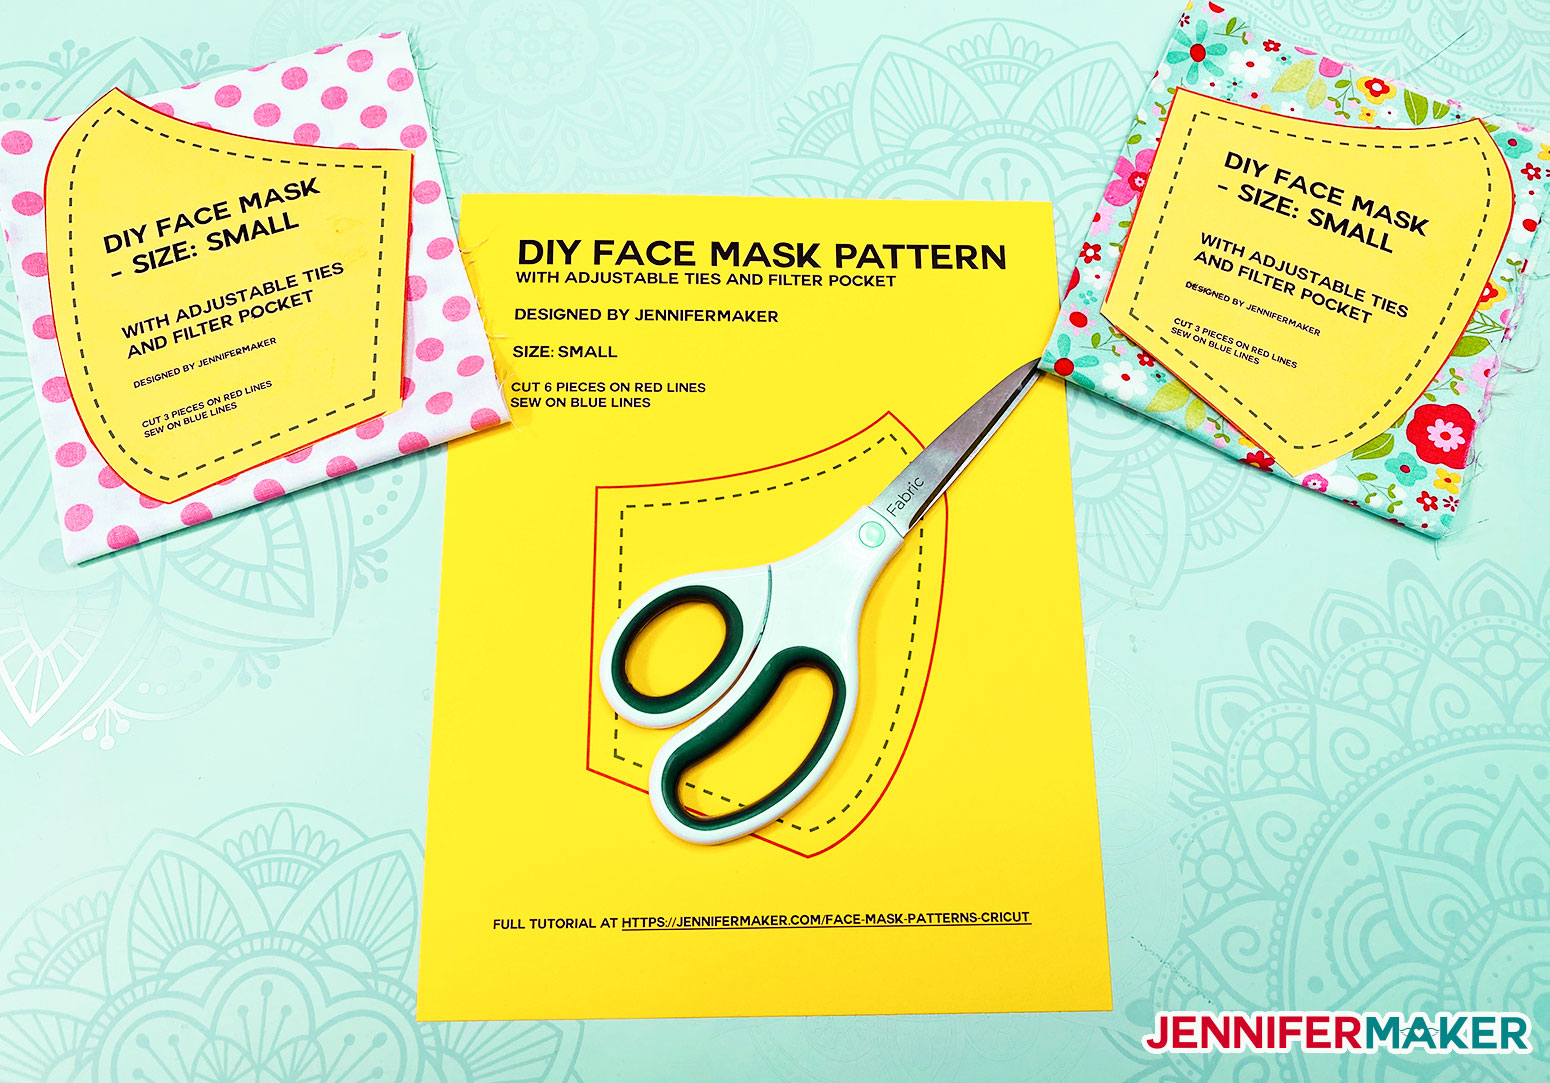
STEP 1: GET MY FREE DIY FACE MASK PATTERN
My free DIY Face Mask Pattern comes in several formats. You can get a printable PDF for cutting by hand, or an SVG cut file for cutting with a Cricut from internet
Here's an example:
And here’s what the uploaded SVG cut file will look like once uploaded to Cricut Design Space:
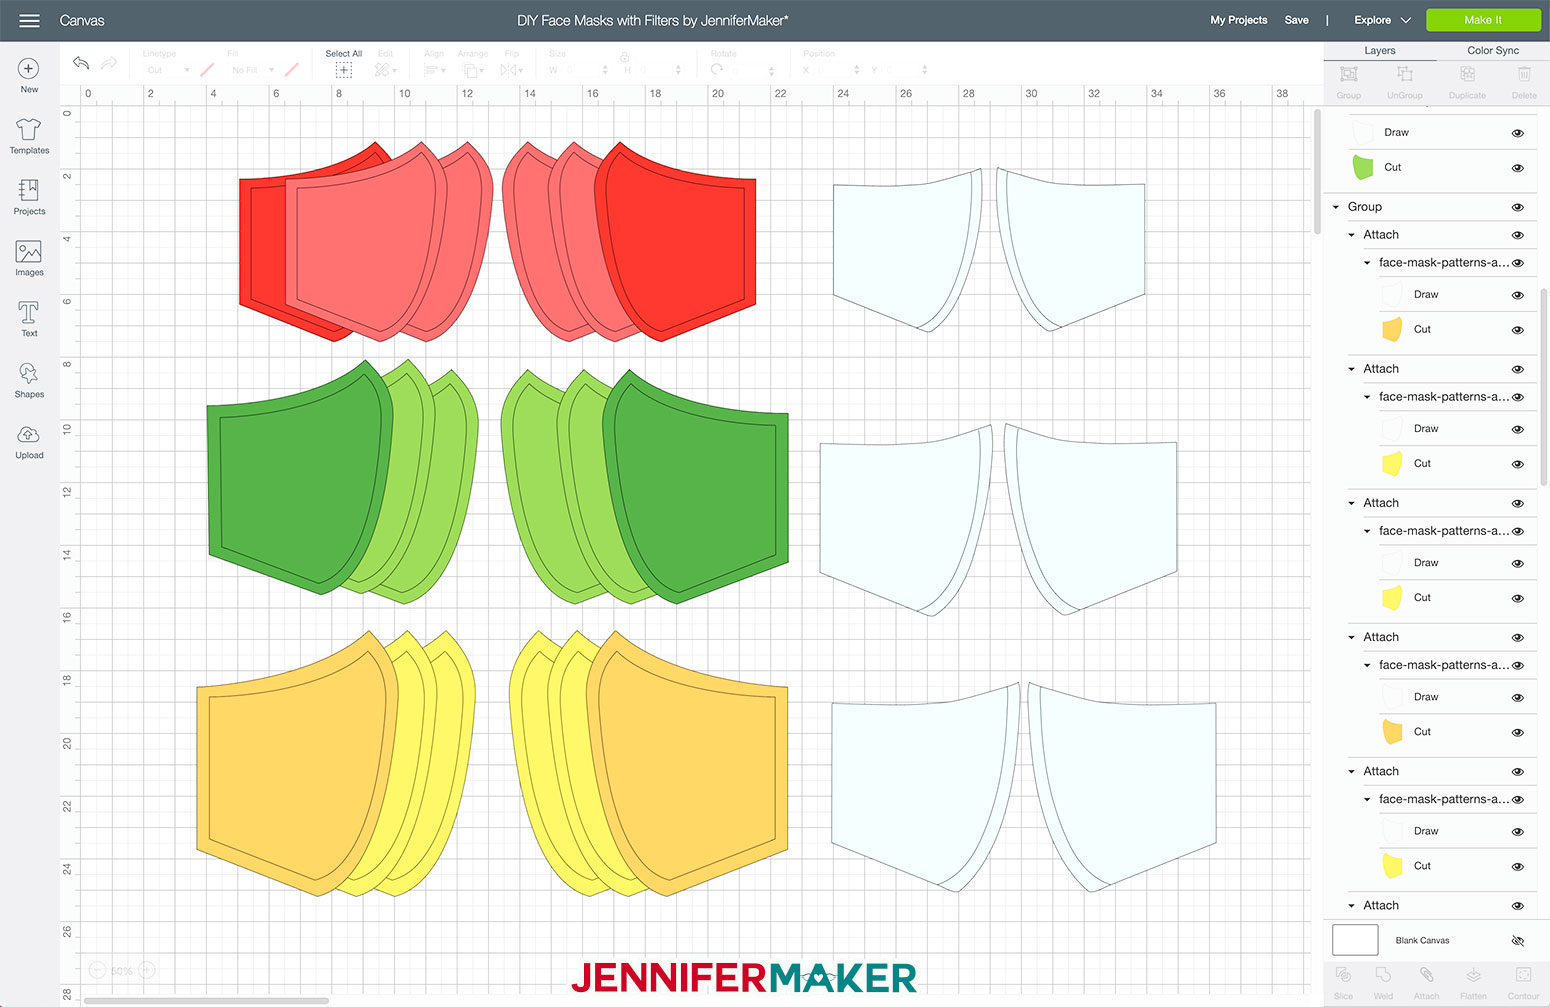
And here are the individual dimensions of each piece in each size mask:
Small Face Mask: 5.15" W x 6.4" H
Medium Face Mask: 6" W x 7.5" H
Large Face Mask: 6.4" W x 8.5" H
STEP 2: CUT OUT YOUR DIY FACE MASK PATTERN PIECES FROM FABRIC
There are three different sizes to choose from - small, medium, and large. I am wearing a medium in my photo, and I have to snug it pretty tight.
Tip: If you plan to make a LOT of these, print out your patterns on card stock for tracing!
Note: This pattern can be made without the filter pocket -- just don't cut or sew one of the layers.
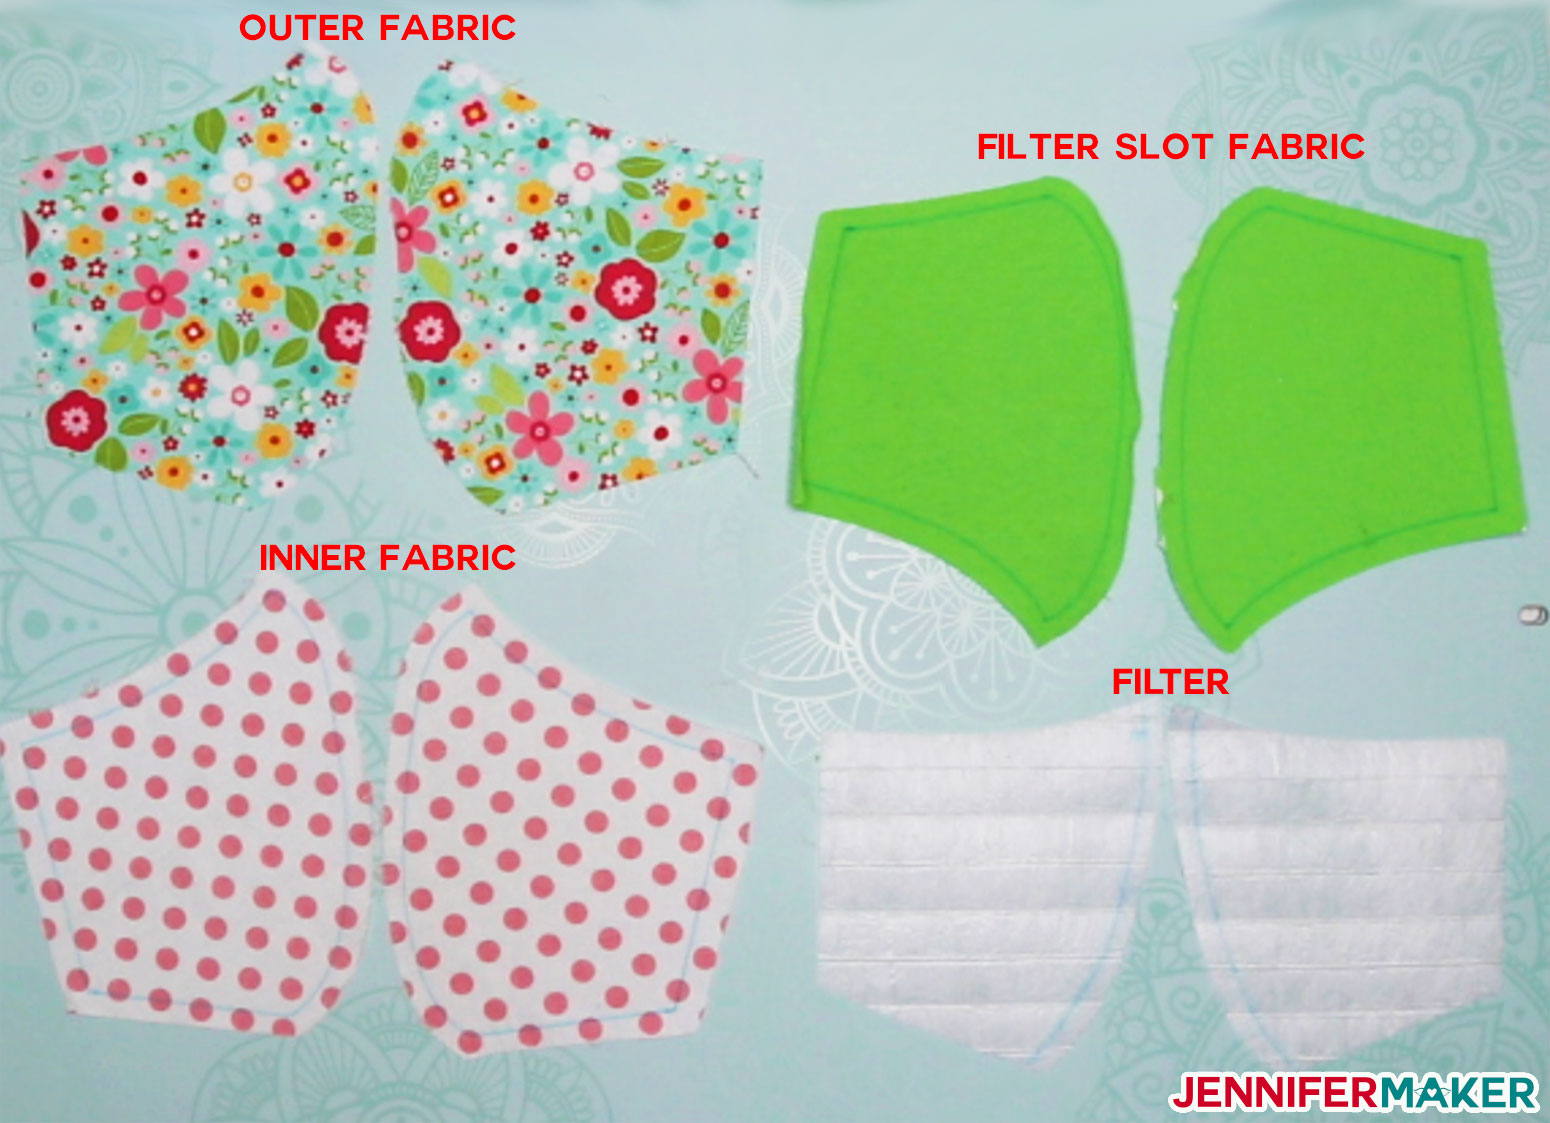
If you're cutting this face mask on a Cricut Maker: Place your fabric right side down on a pink FabricGrip cutting mat. Load your rotary blade and fabric marker into your Cricut machine, load your mat, and press the flashing button to begin your cut.
If you're putting on a Cricut Explore, you must first bond your fabric. To bond, your fabric, cut a piece of freezer paper the same size as your material and attach it to the wrong side of your fabric by pressing with an EasyPress or iron for 30 seconds at 350°F. Once your fabric is bonded, place the bonded fabric freezer paper side DOWN on your cutting mat (you can use the pink mat or a green mat), load your regular fine point or bonded fabric blade in (both will work), put in your Cricut fabric marker (optional), load your mat, and press the flashing button to begin your cut. When done with your cut, remove the cut pieces from the mat and peel off the freezer paper.
STEP 3: SEW YOUR DIY FACE MASK HALVES TOGETHER
After you've finished cutting out your face mask pieces, take your fabric pieces and line up the two halves of each set, right sides together, and sew along the curved outer edge, attaching the two pieces together.
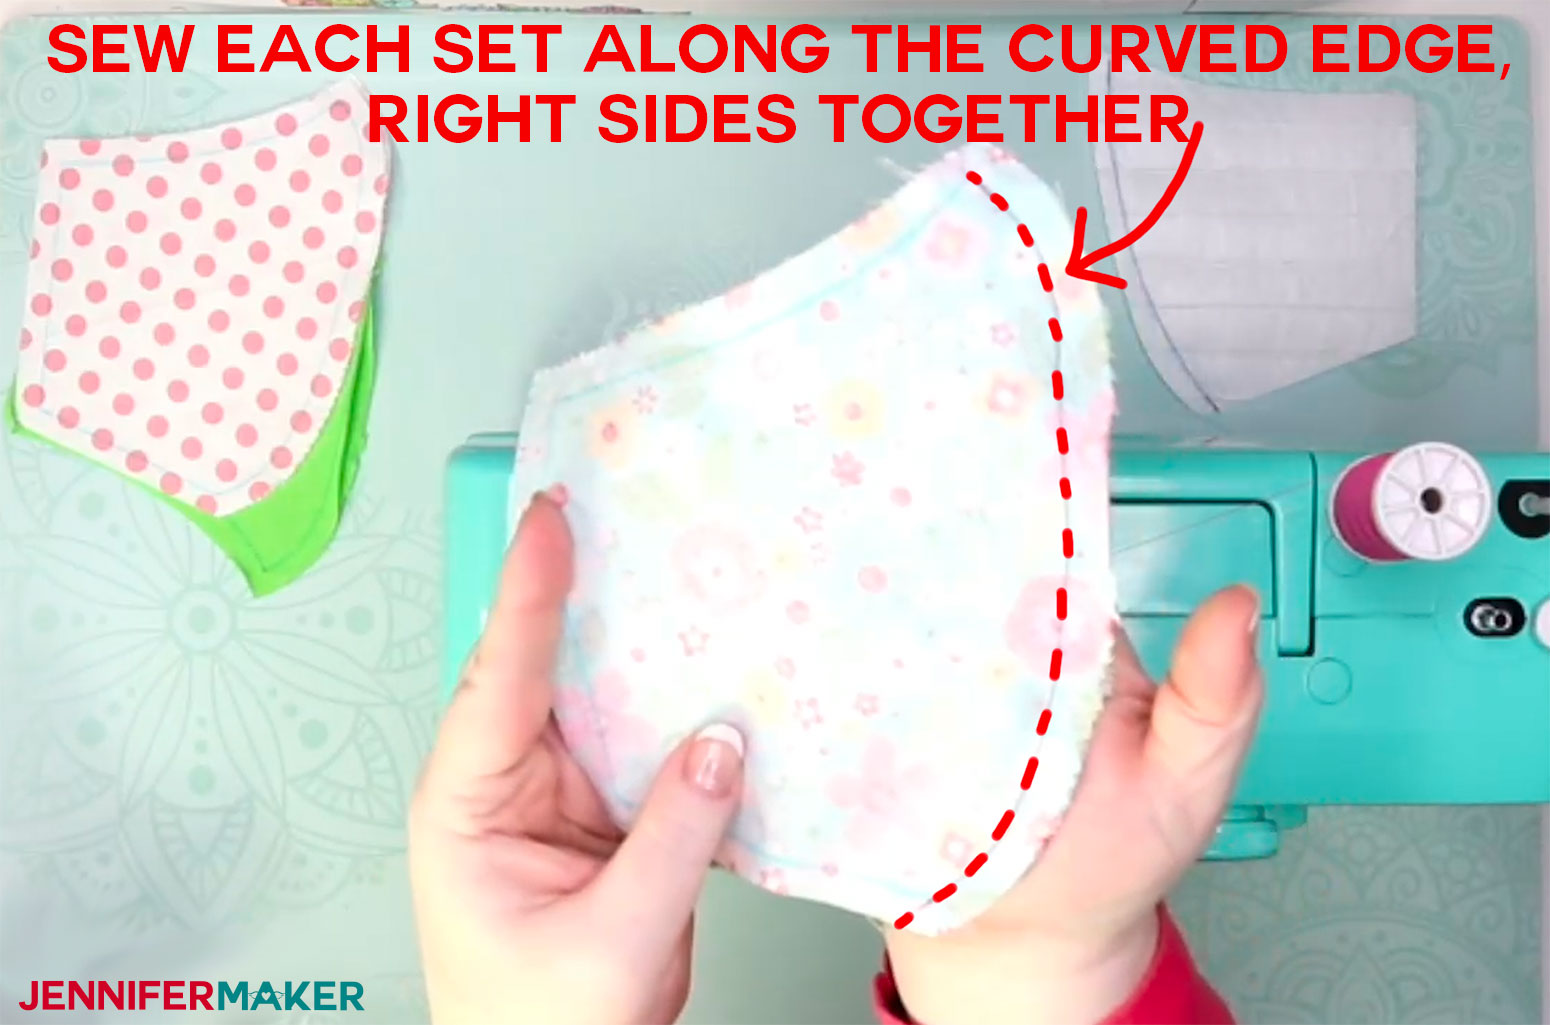
Do the same thing for all matching sets until they are all attached along the curved edge.
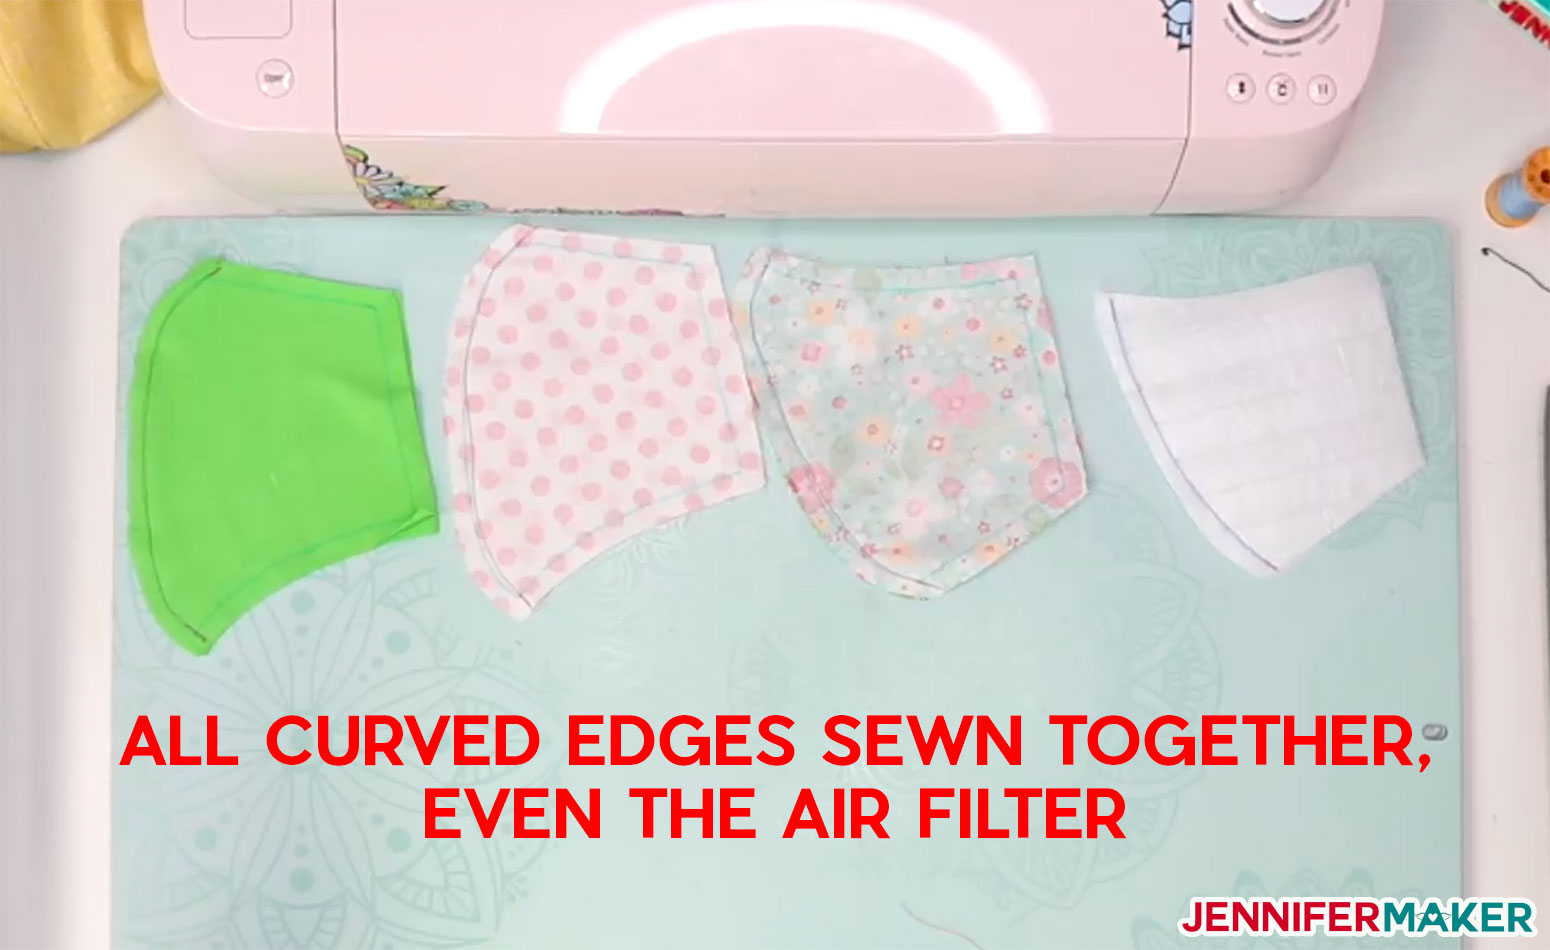
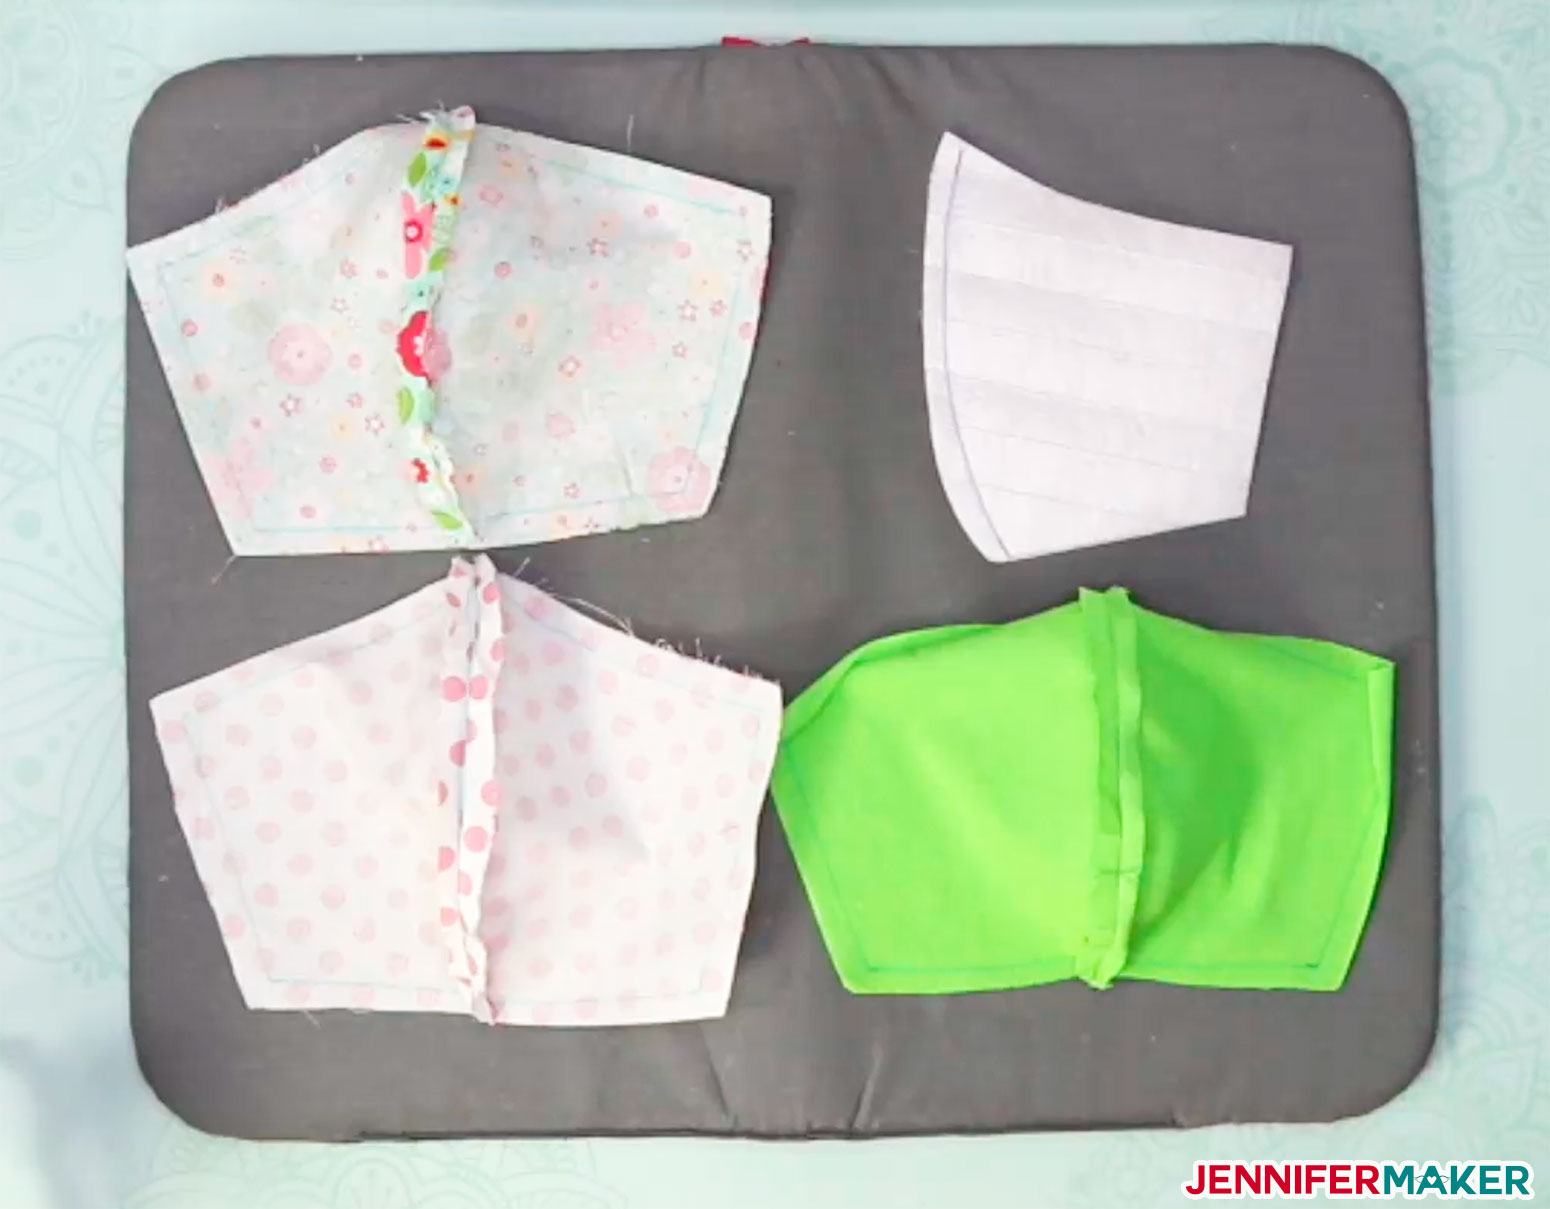
Set your iron to the cotton setting and press your seams open and flat on all pieces except the filter piece.
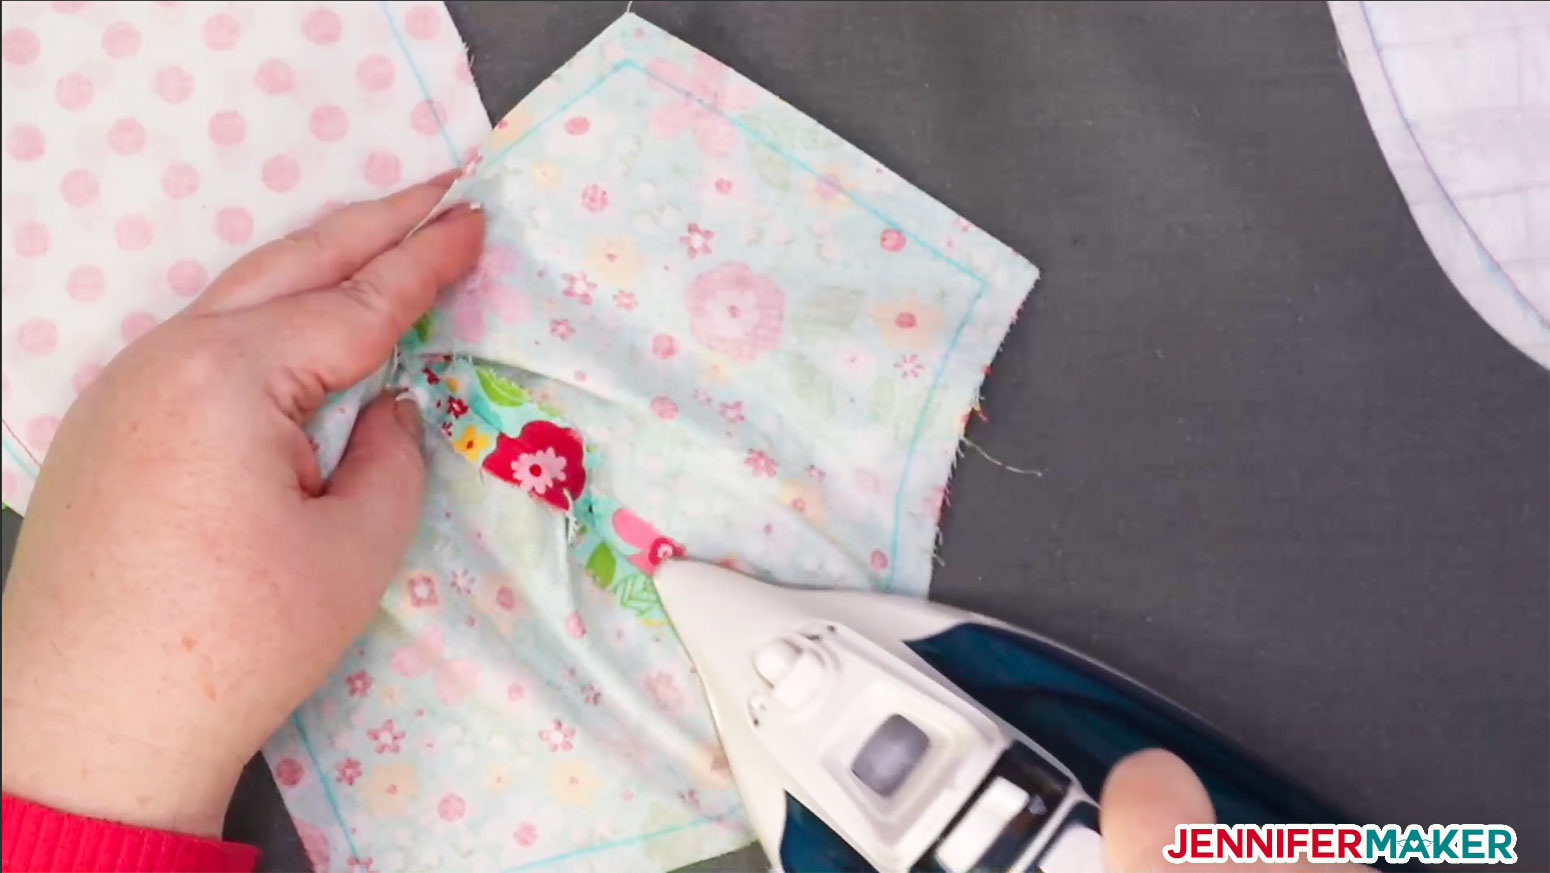
Tip: Have problems getting those seams to lay flat because of the face masks' curve? Put something curved underneath it and then press it! I used a roll of paper towels to press the seams open on and it worked great.
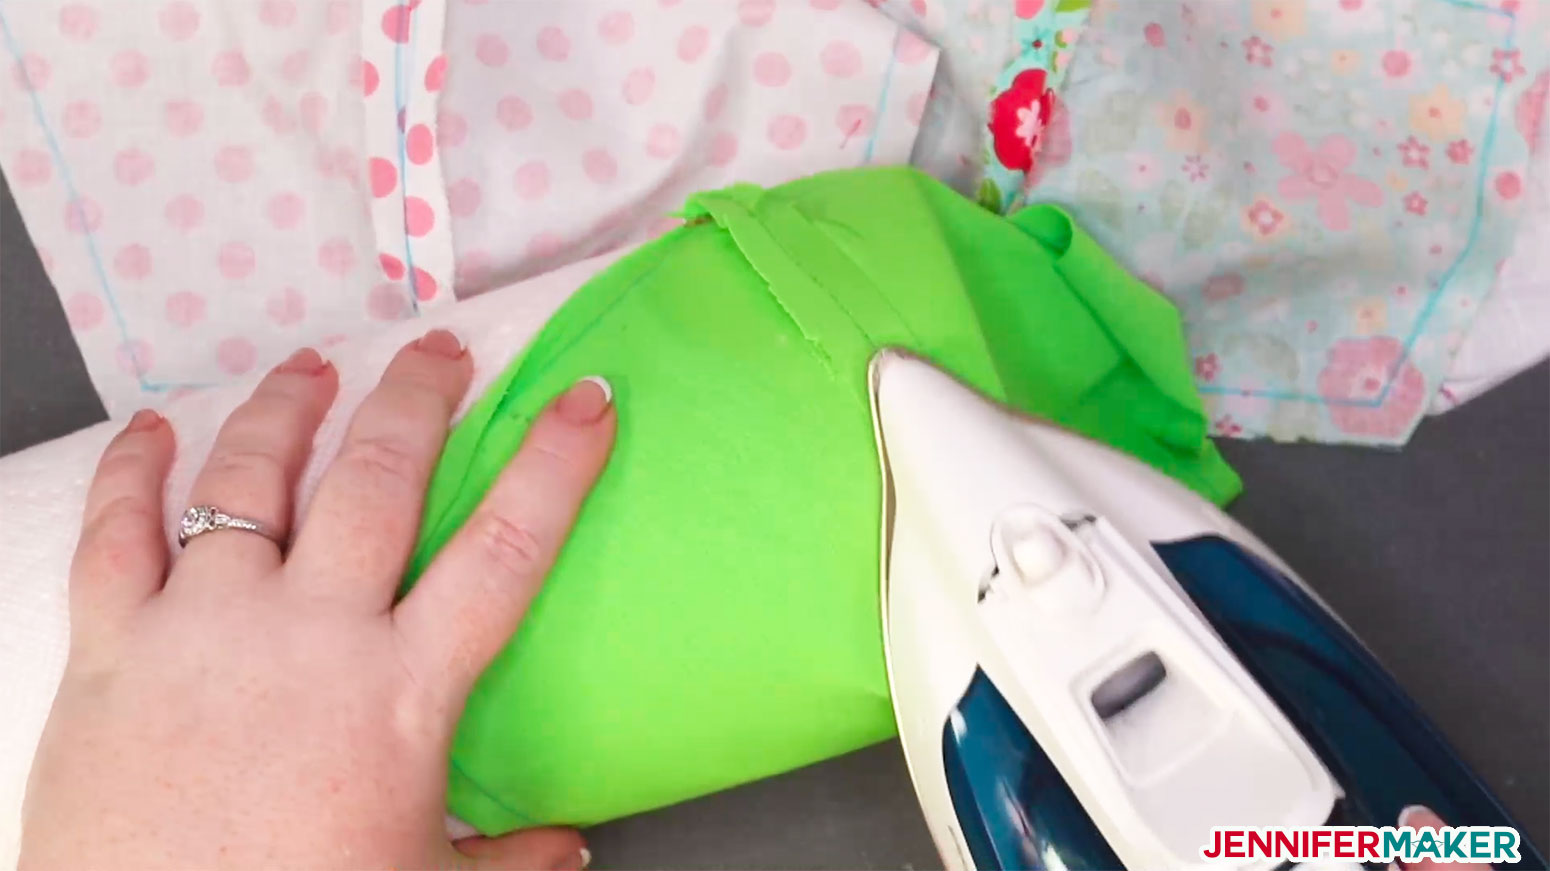
Here's what the face mask pieces look like with the seams all pressed open EXCEPT for the filter (which you do not need to press open):
STEP 4 (OPTIONAL): PREPARE YOUR FILTER POCKET LAYER
If you're putting the optional filter pocket layer in your DIY face mask, fold over one end of the pocket layer TWICE about 1/2" with each fold, like this:
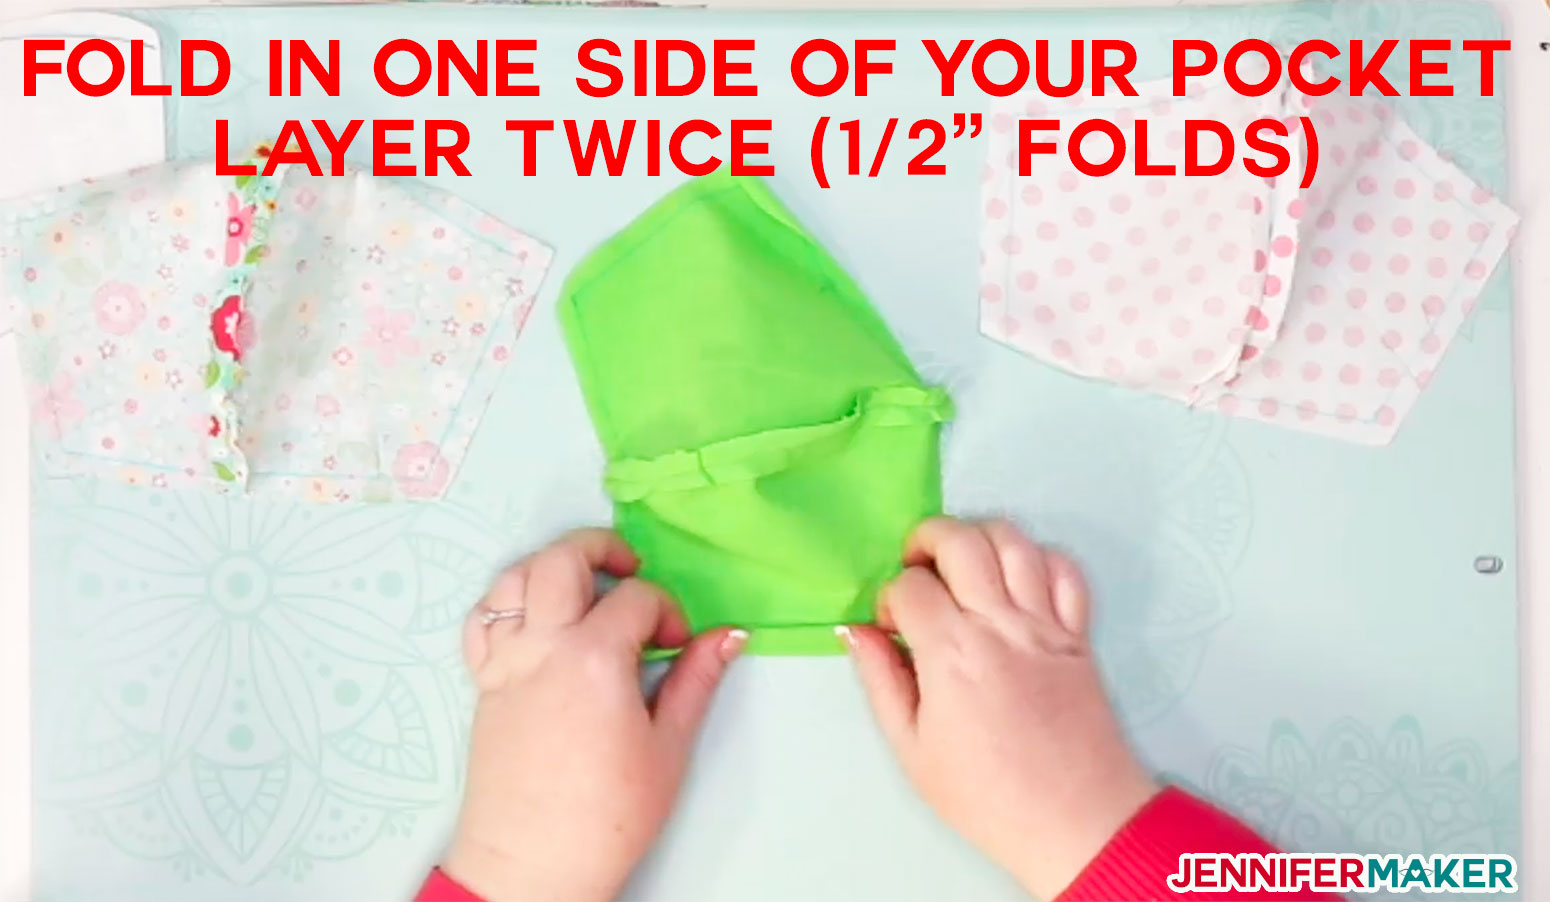
The purpose of this fold is to give you a clean edge for your pocket so you don't have threads unraveling or edges curling that could make it difficult to put your filter in and out.
Now place your filter pocket fabric layer inside your inner fabric layer, the right side of the inner layer against the wrong side of the pocket layer (so you can see both right sides at the same time), like this:
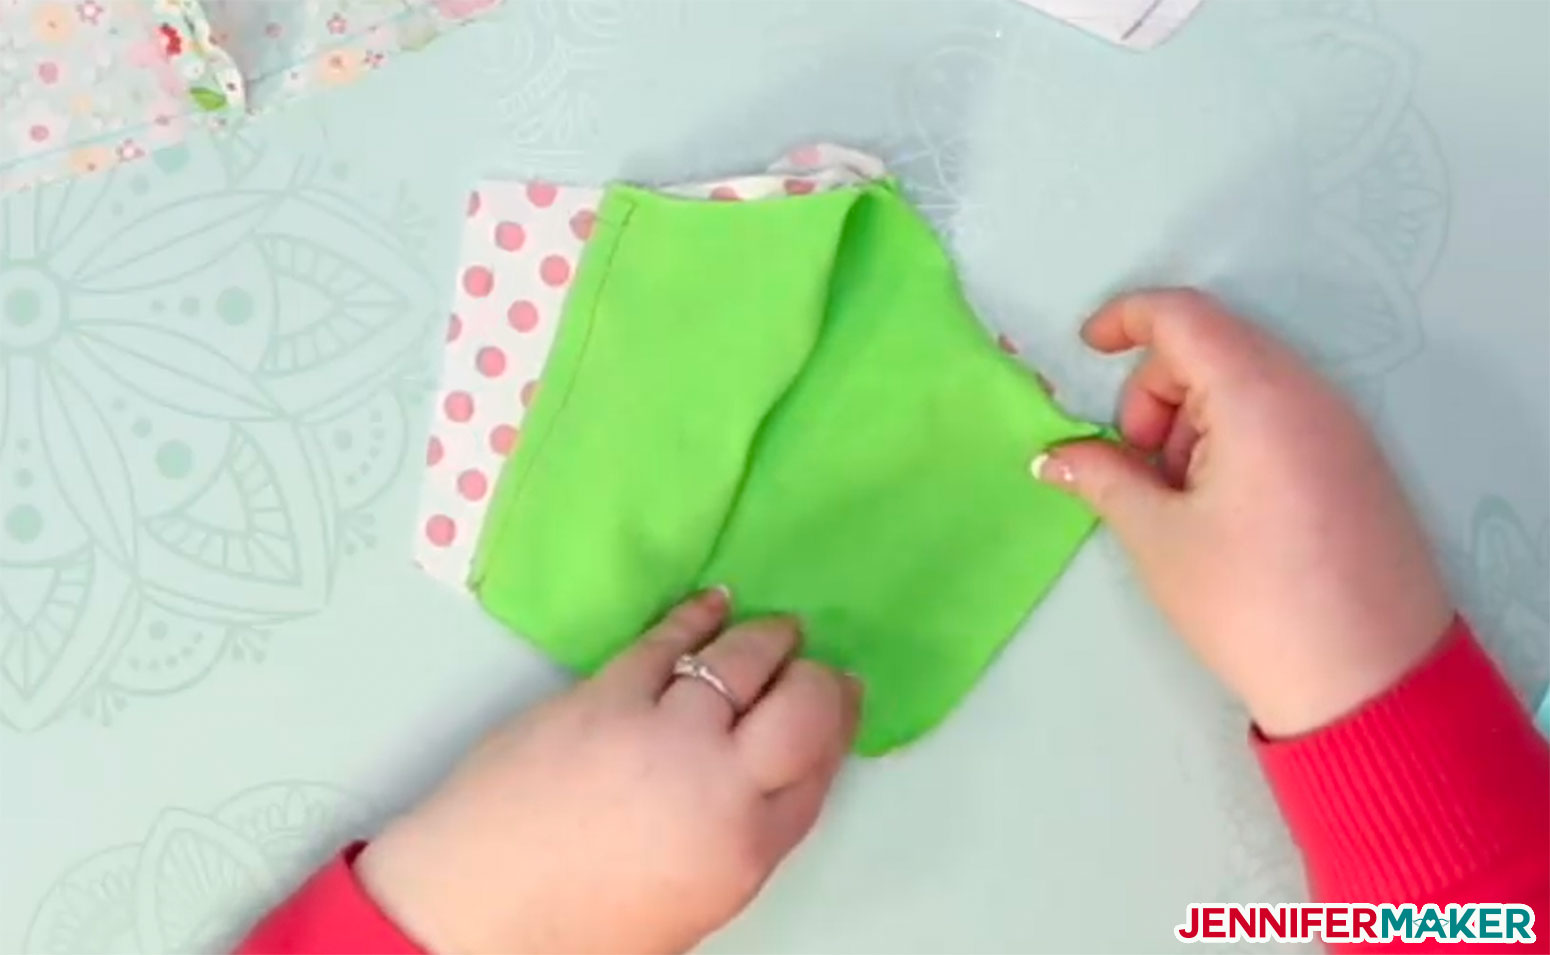
Tip: Feel free to pin it in place (I didn't bother).
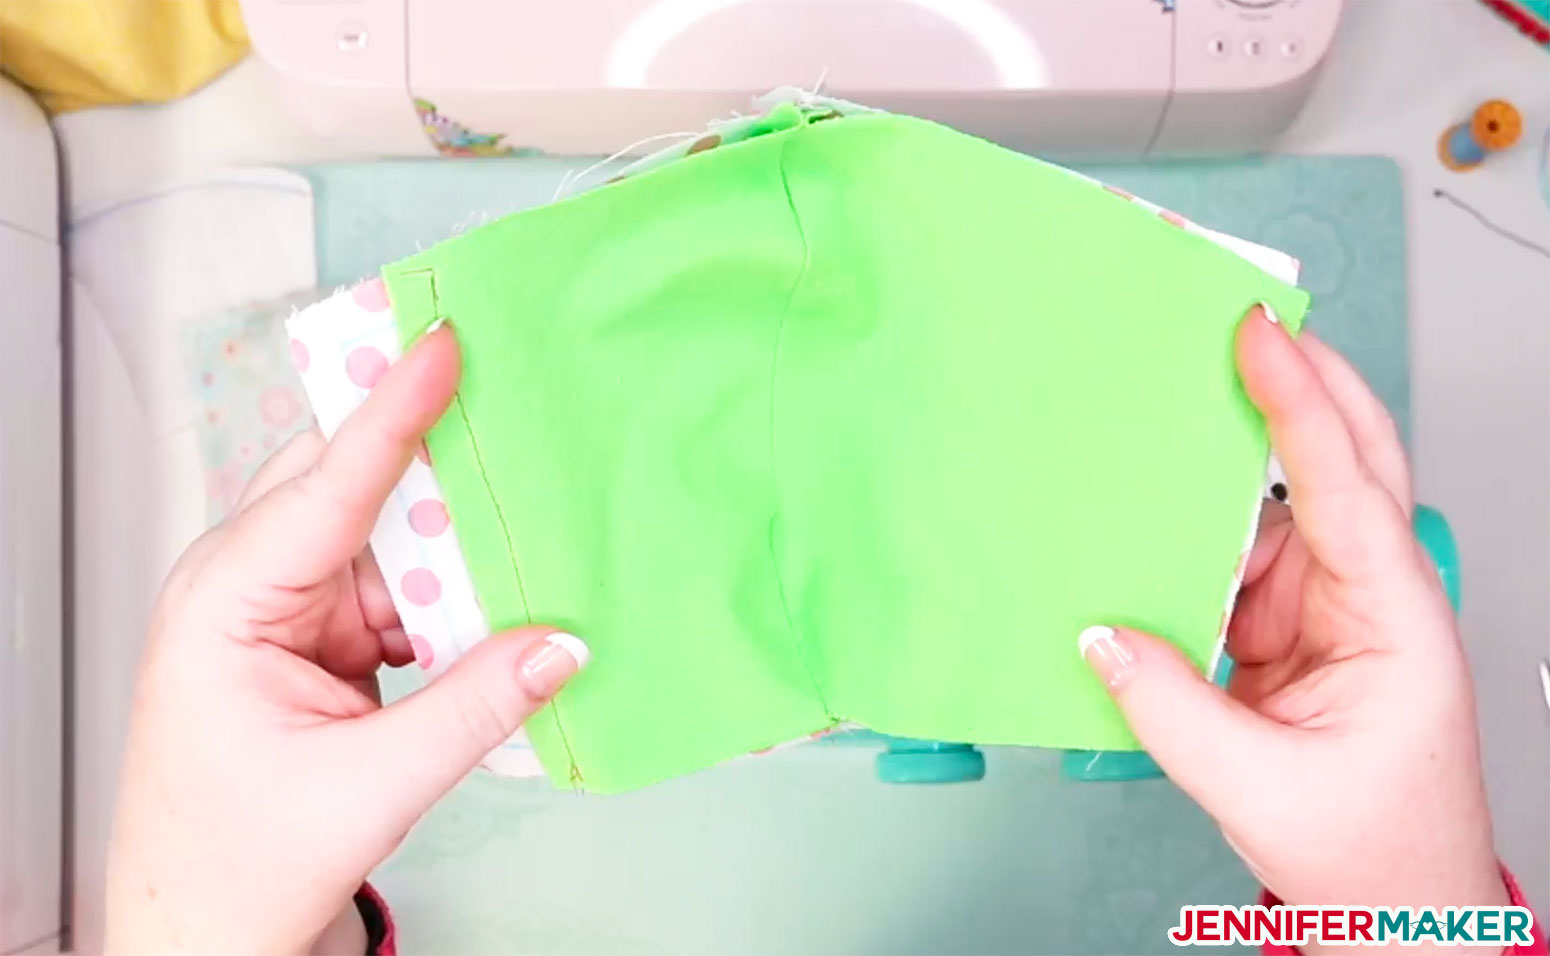
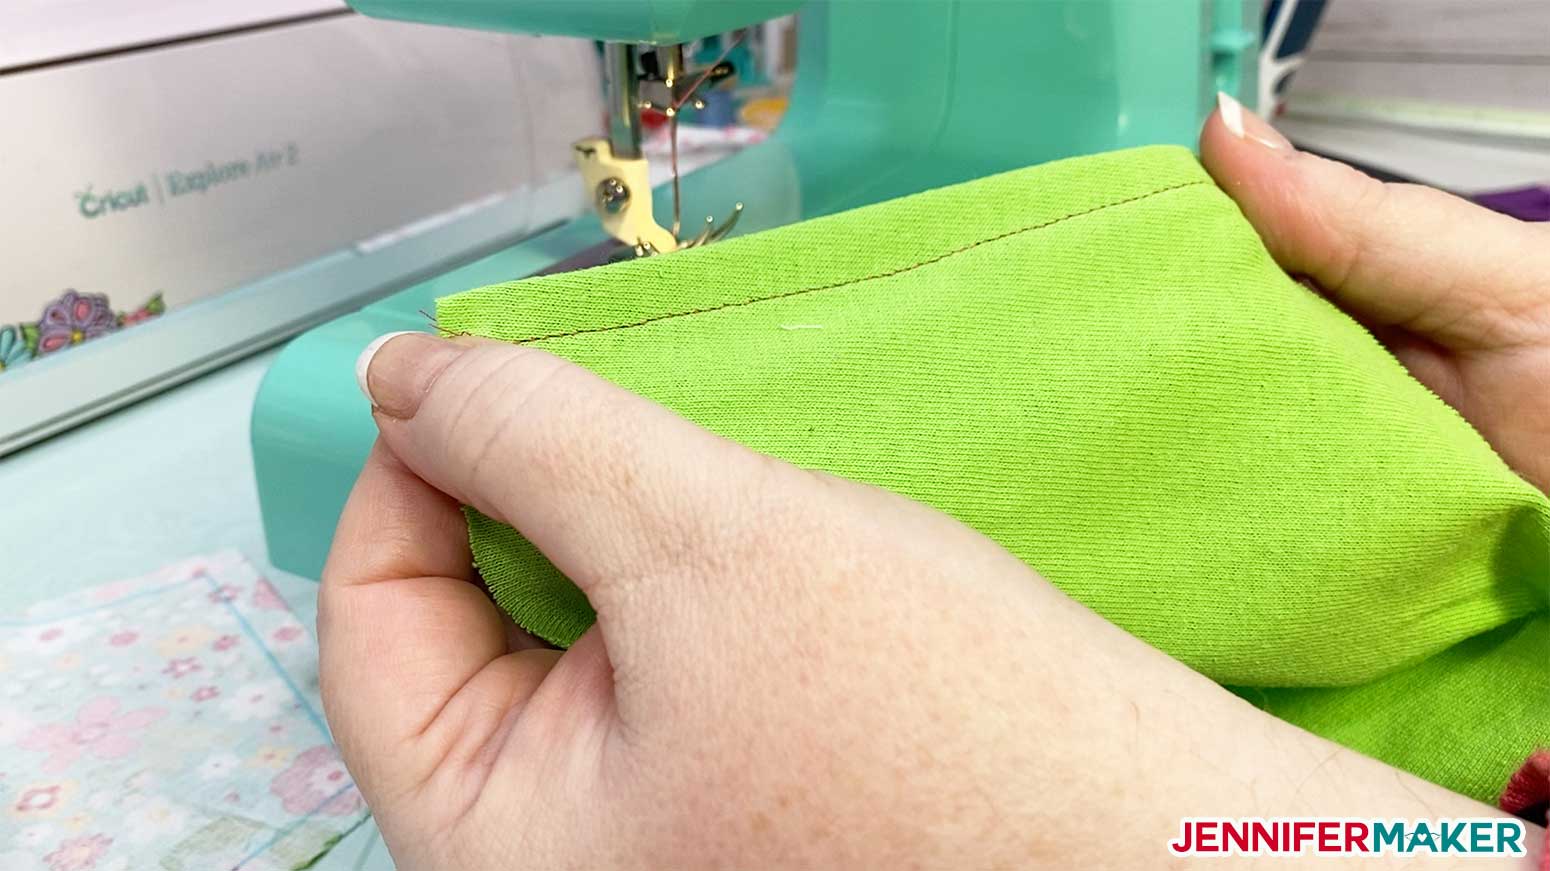
Now sew your folded edge to keep it folded:
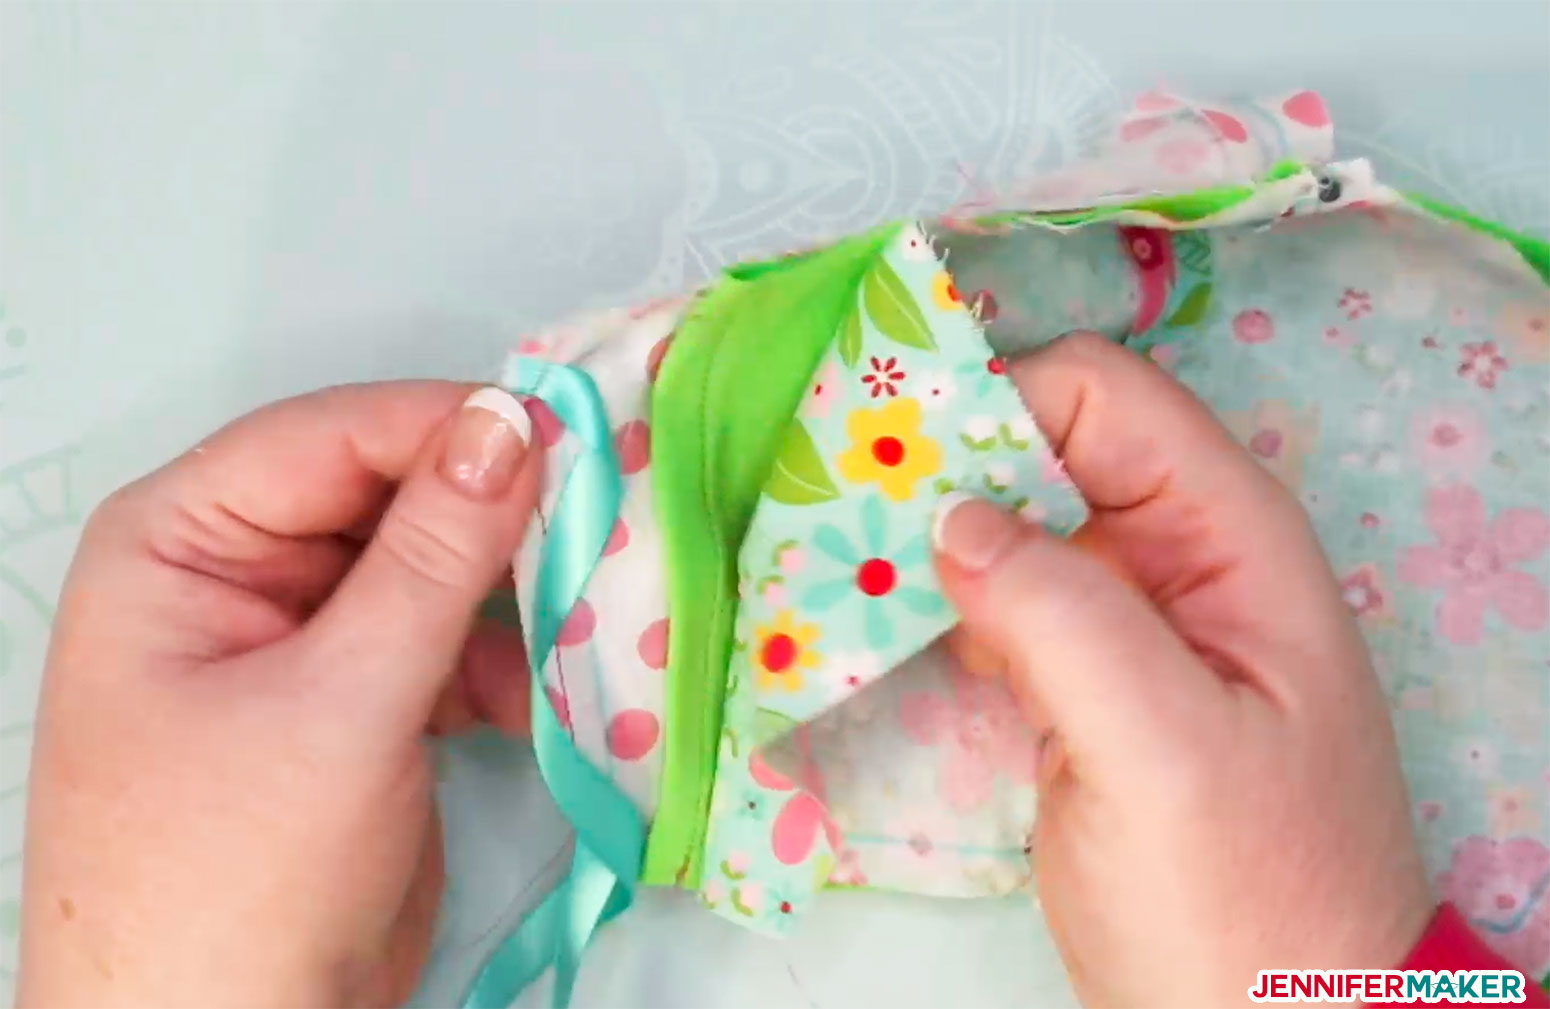
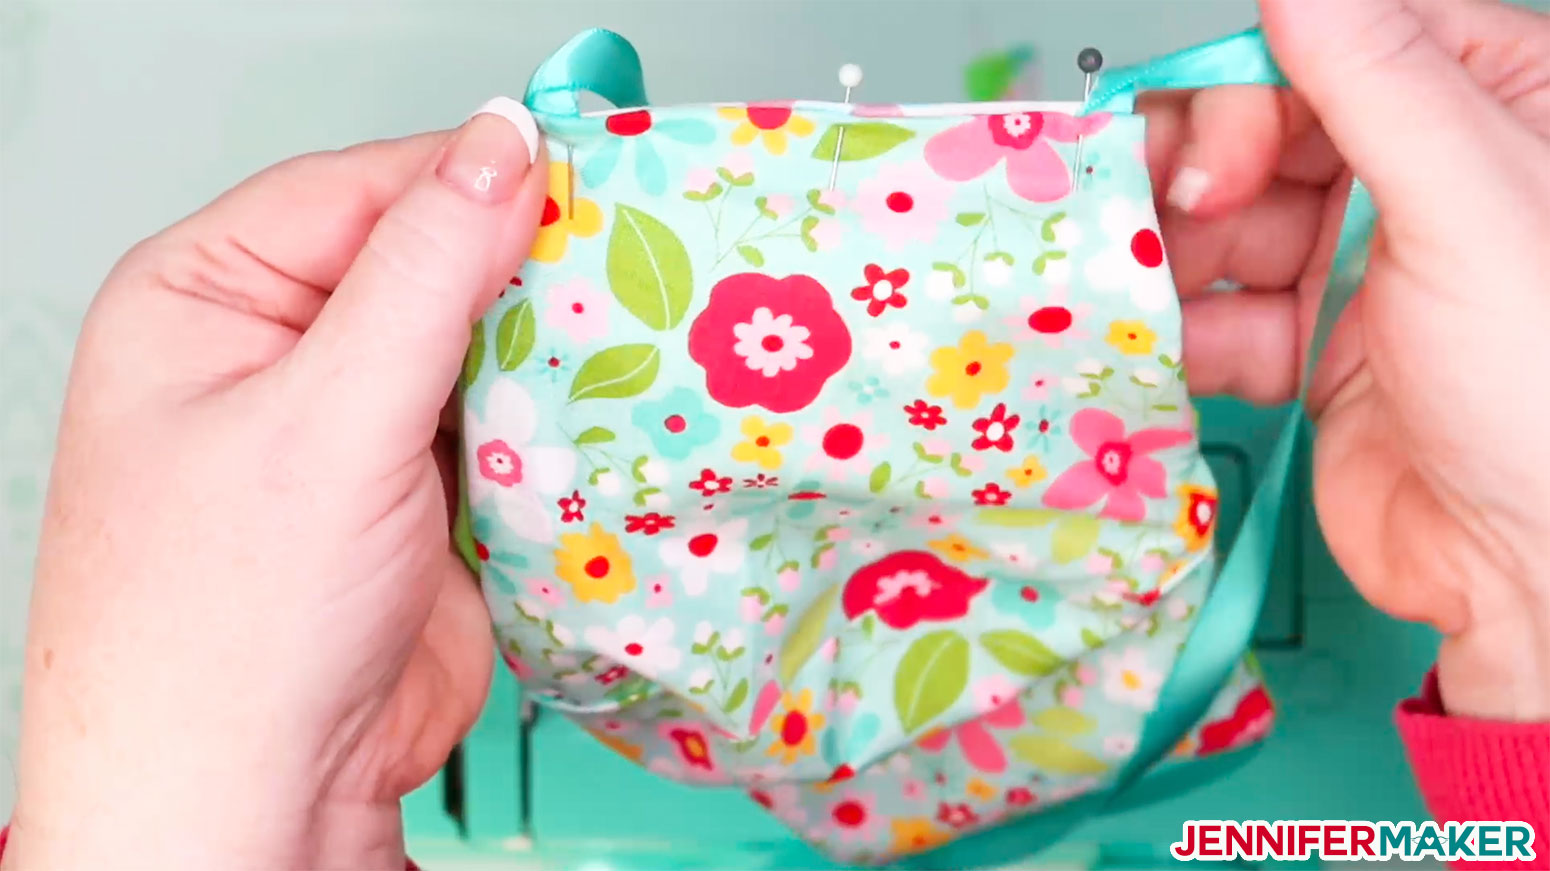
STEP 5: PIN AND BASTE YOUR RIBBON/TIE TO EACH CORNER OF YOUR DIY FACE MASK
Cut four 18" pieces of ribbon or string or whatever you have that is strong and NOT stretchy.
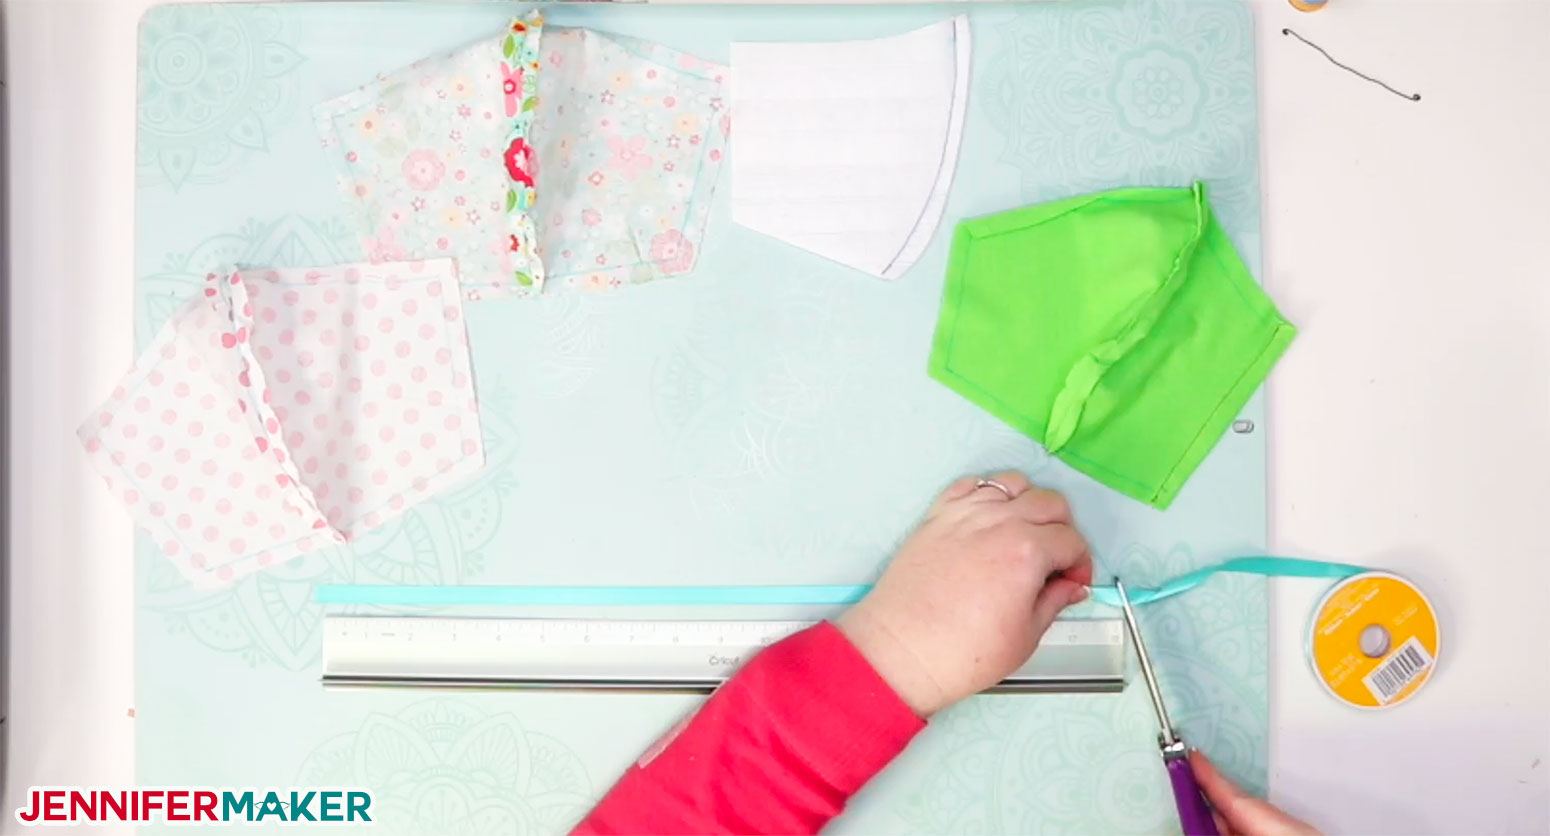
Pin one ribbon to each corner of your inner fabric layer about 3/8" down, like this:
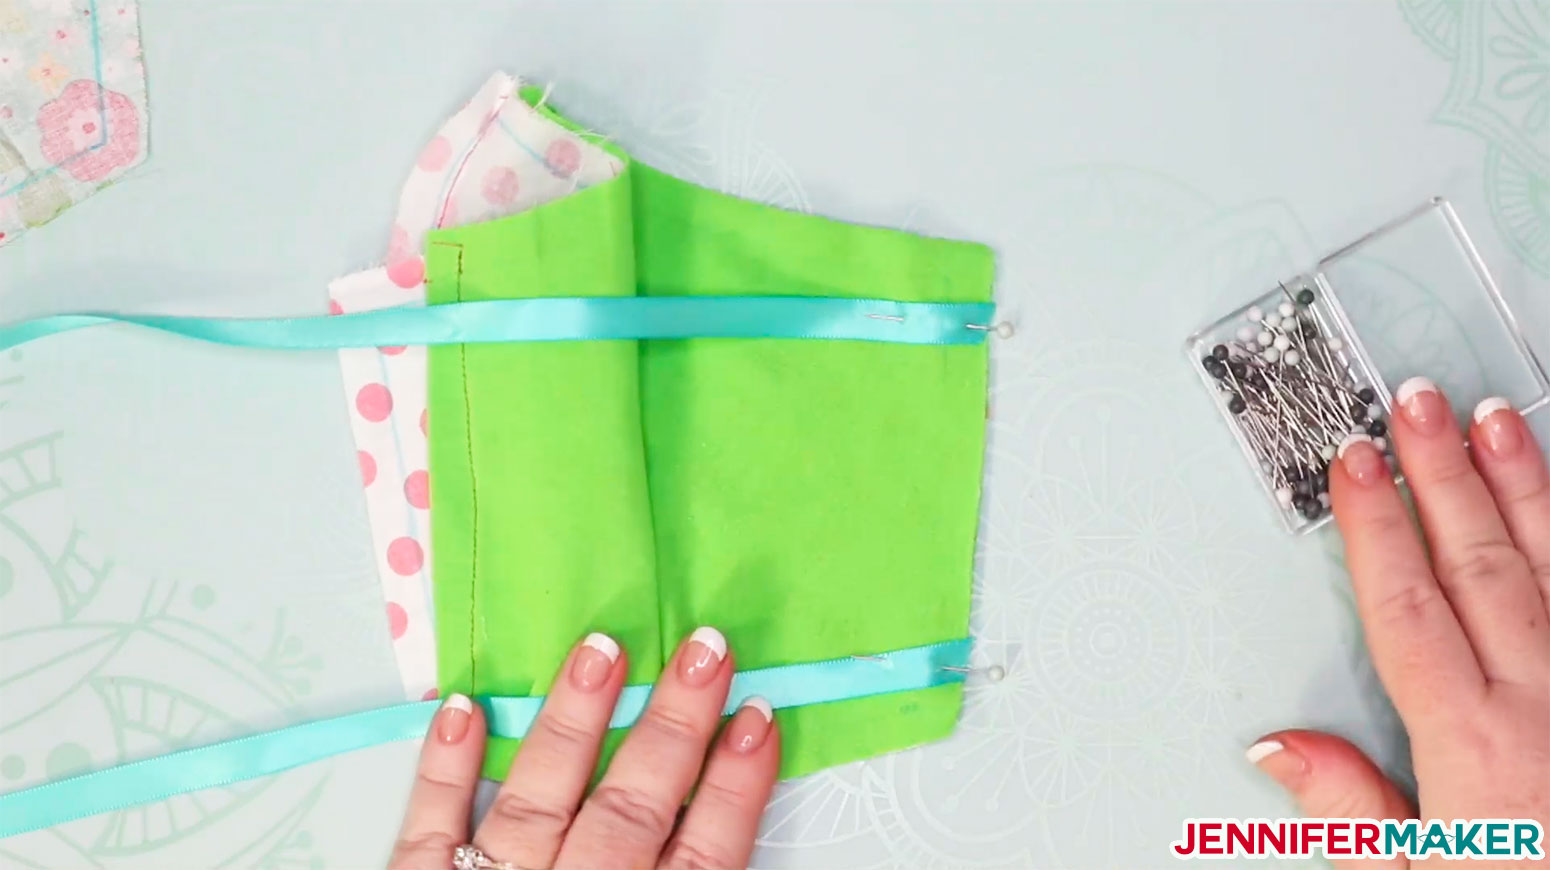
Baste each ribbon in place with a sewing machine or needle & thread.
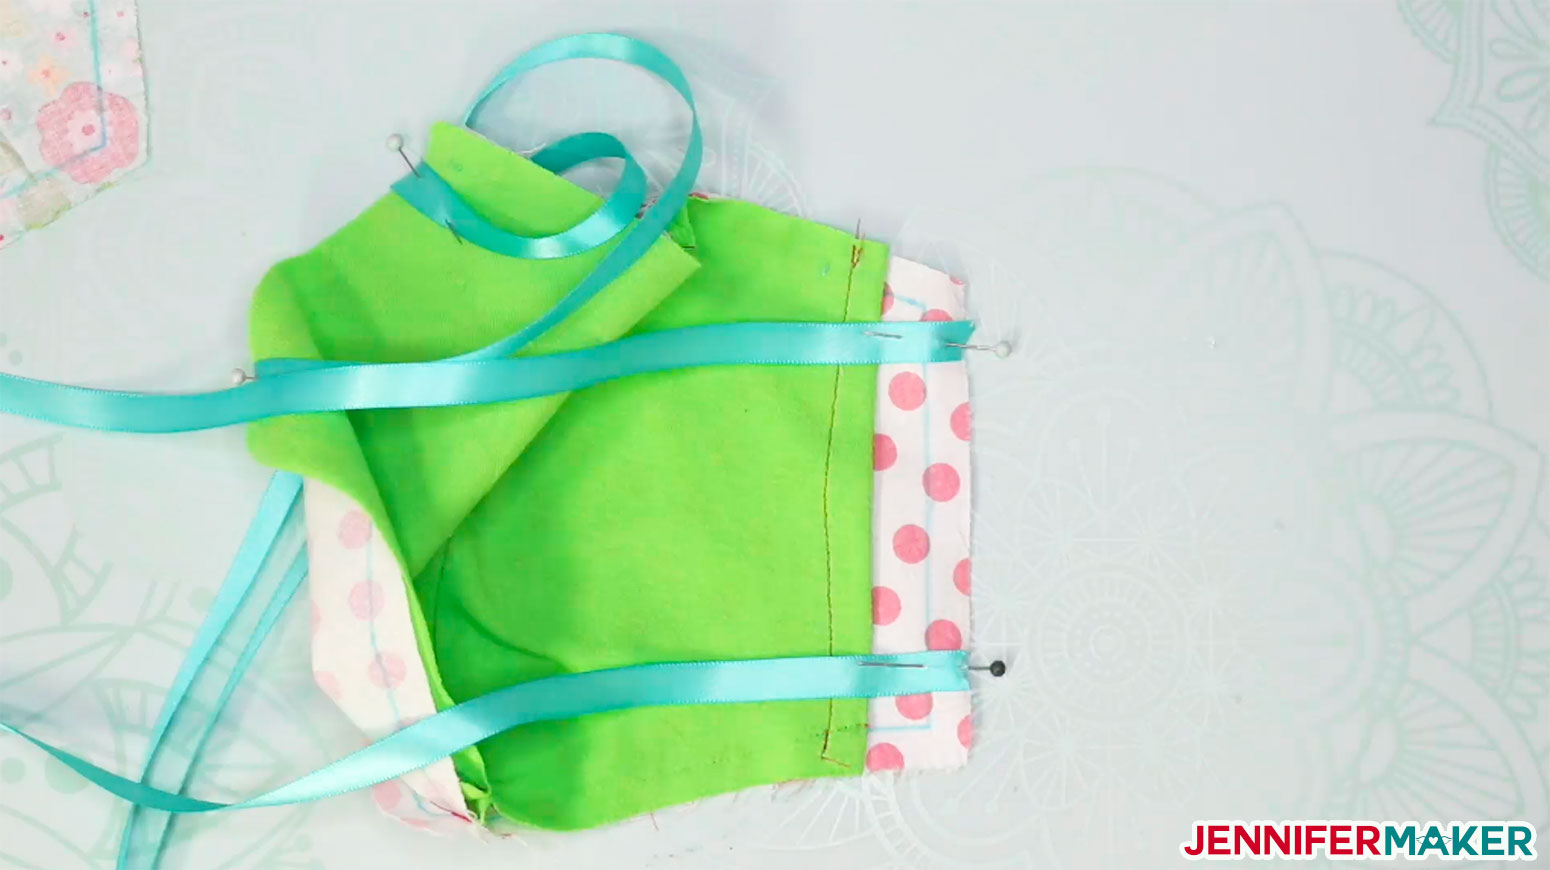
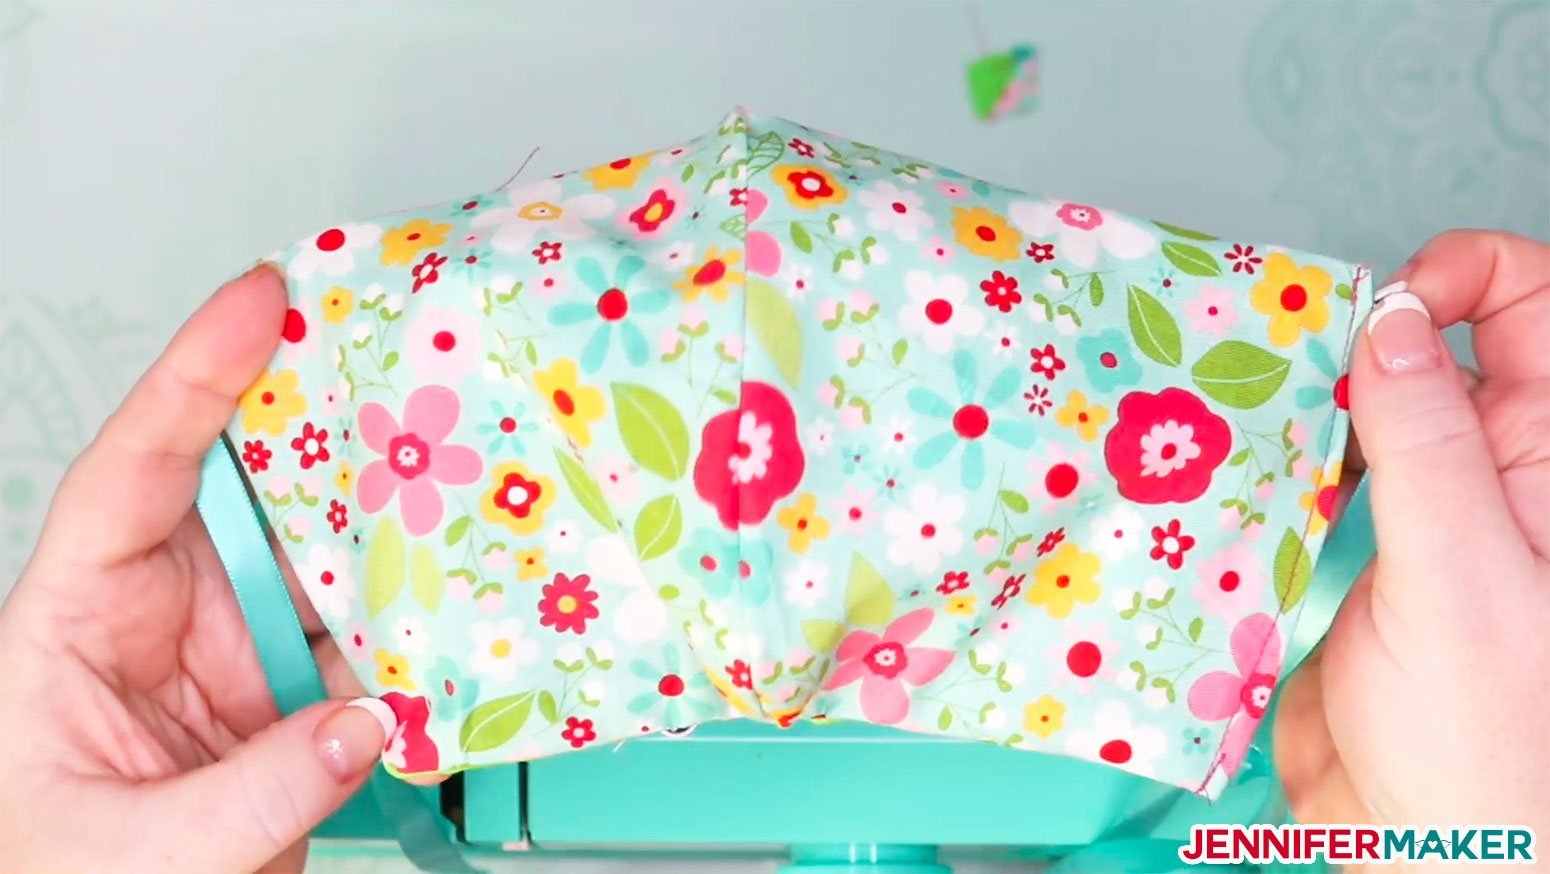
STEP 6: SEW UP YOUR DIY FACE MASK!
Place your outer fabric layer on top of your inner fabric layer, right sides together, like this:
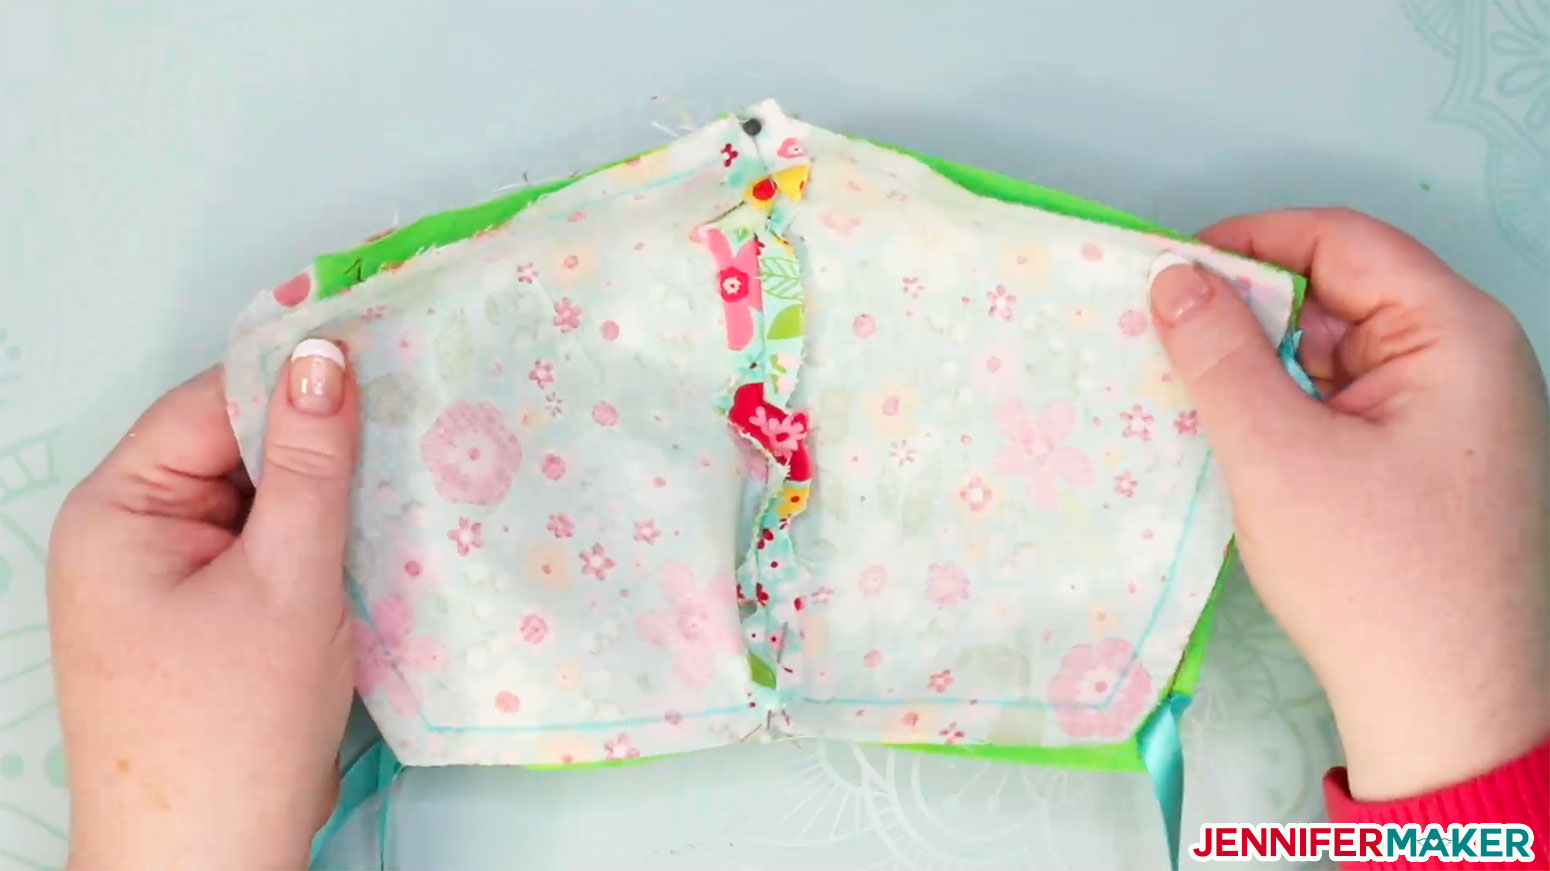
Tuck your ribbons inside to make sure you don't "catch" them while sewing your pieces together. I just pulled one set all the way through to the other side to make sure they were free and clear.
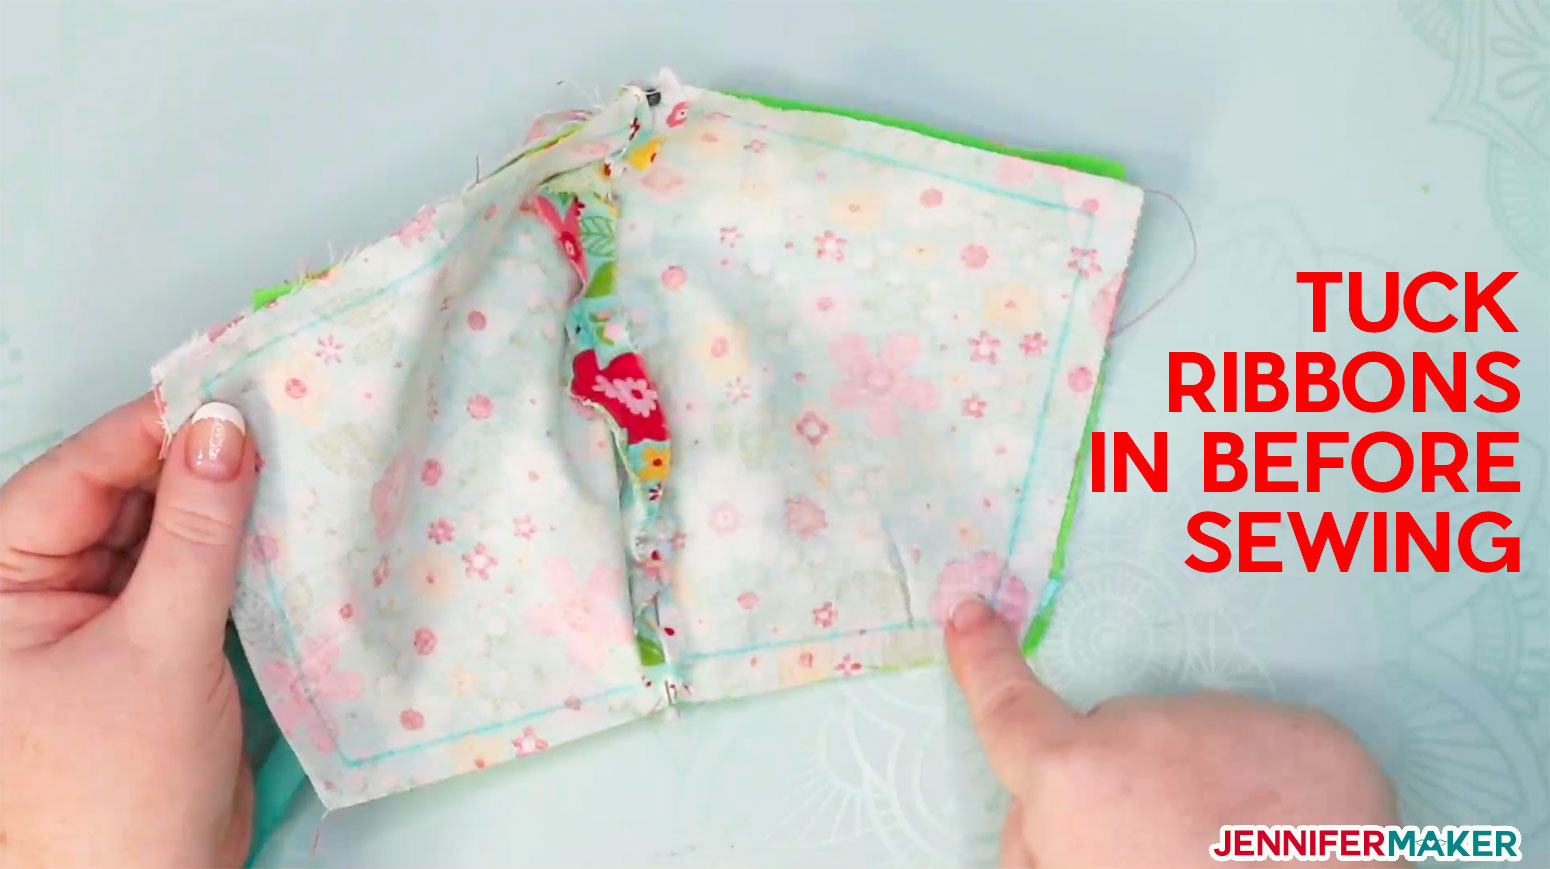
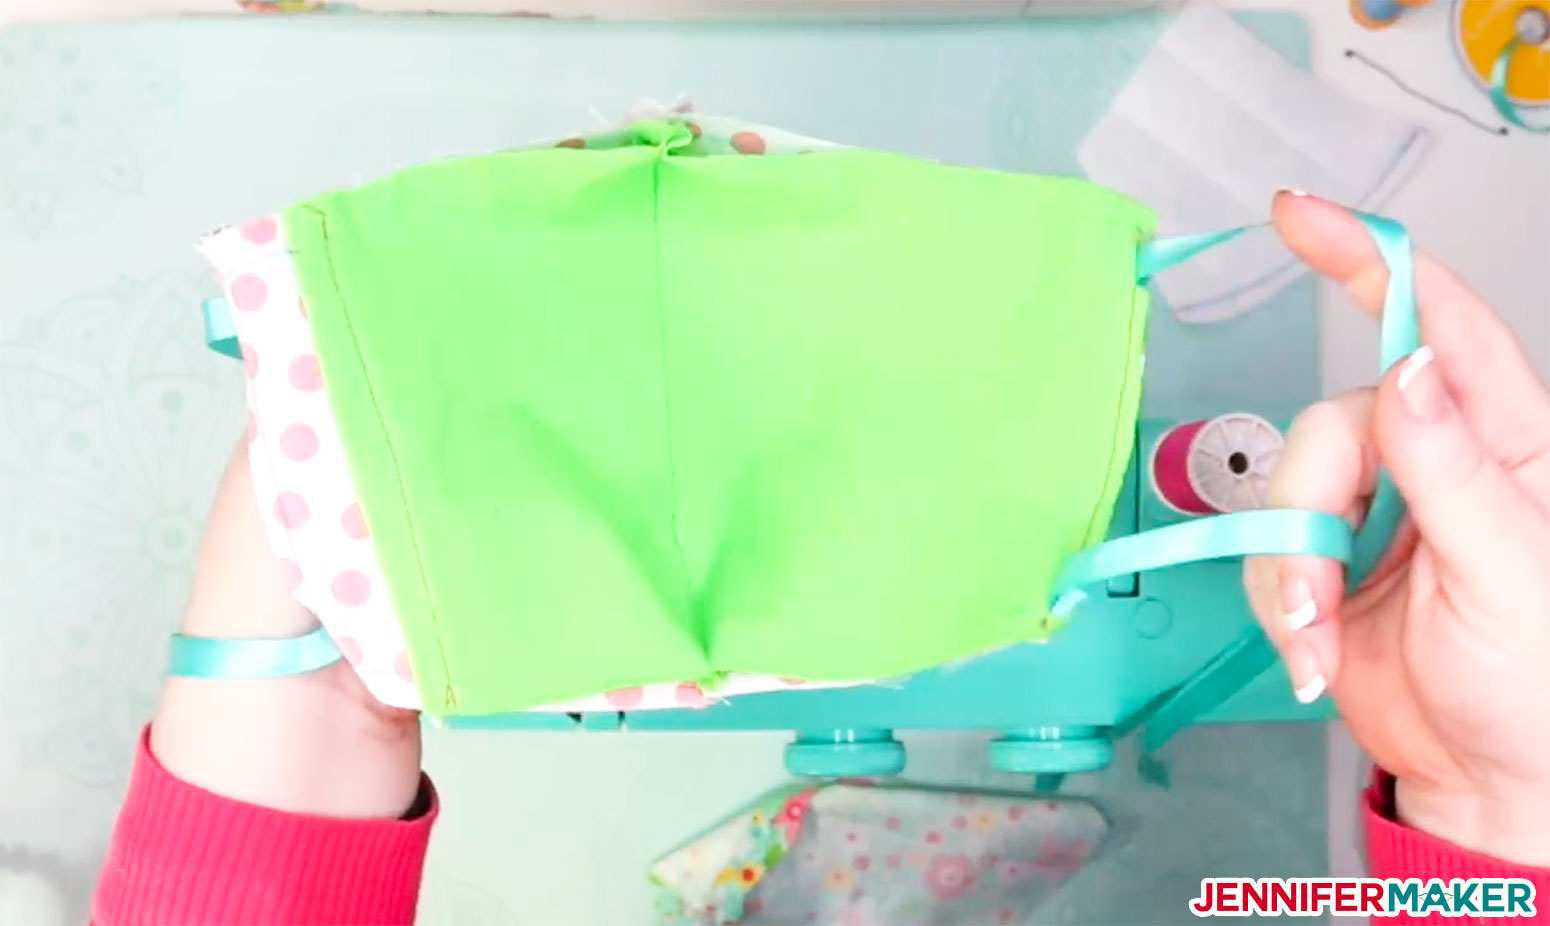
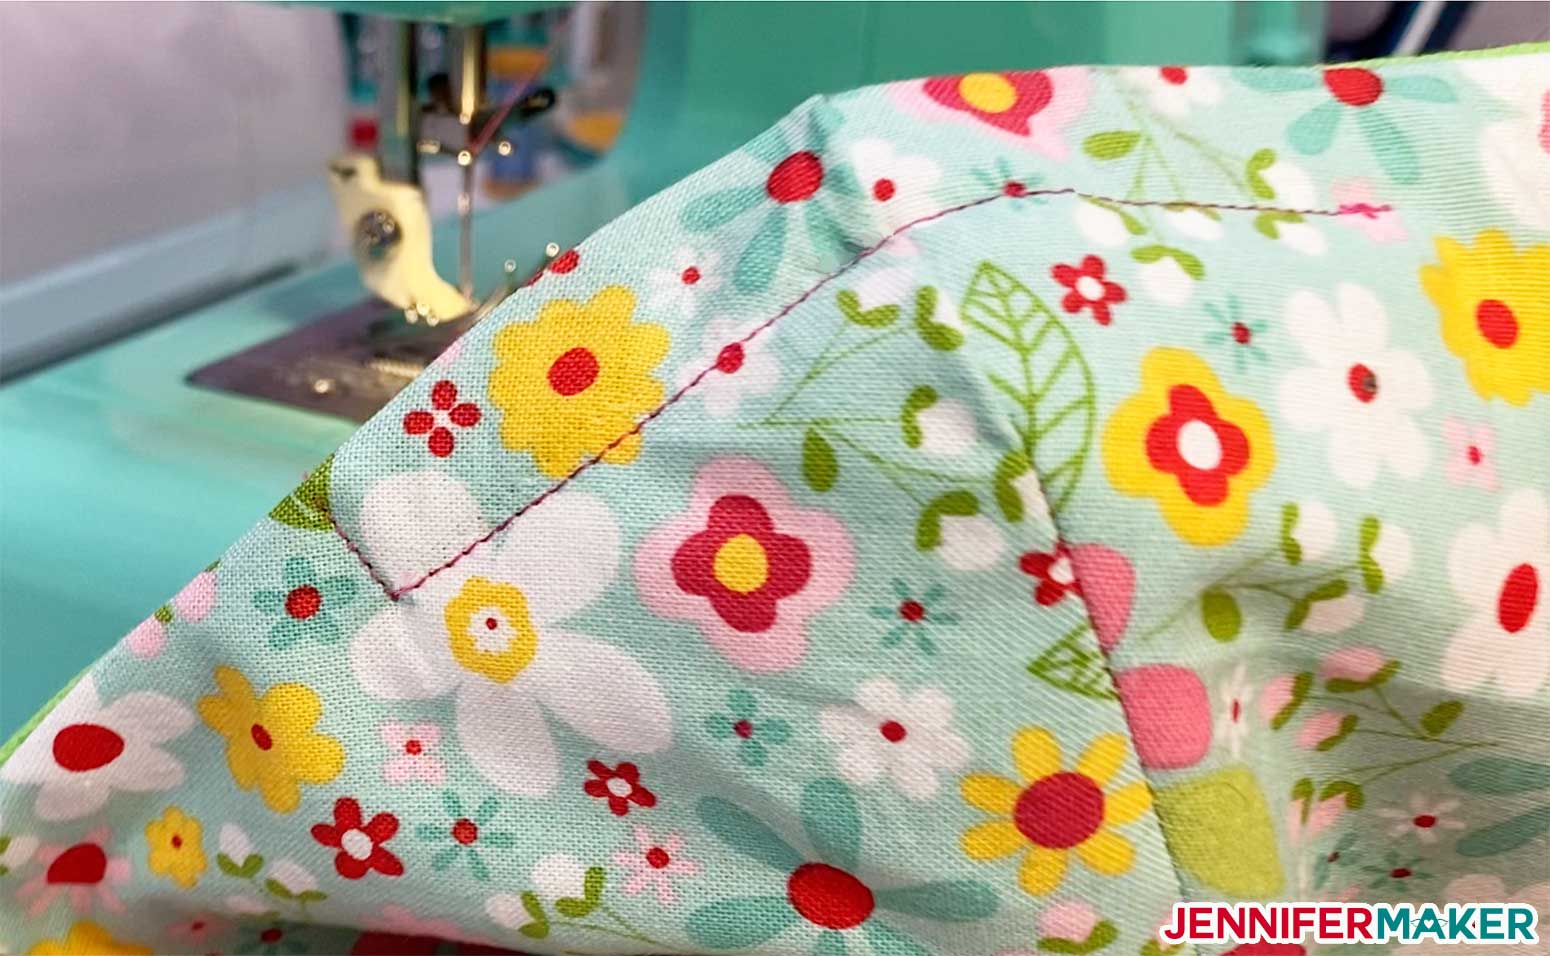
Sew around the top, edge, and bottom of the face mask layers, 3/8" from the edge, leaving one side open.
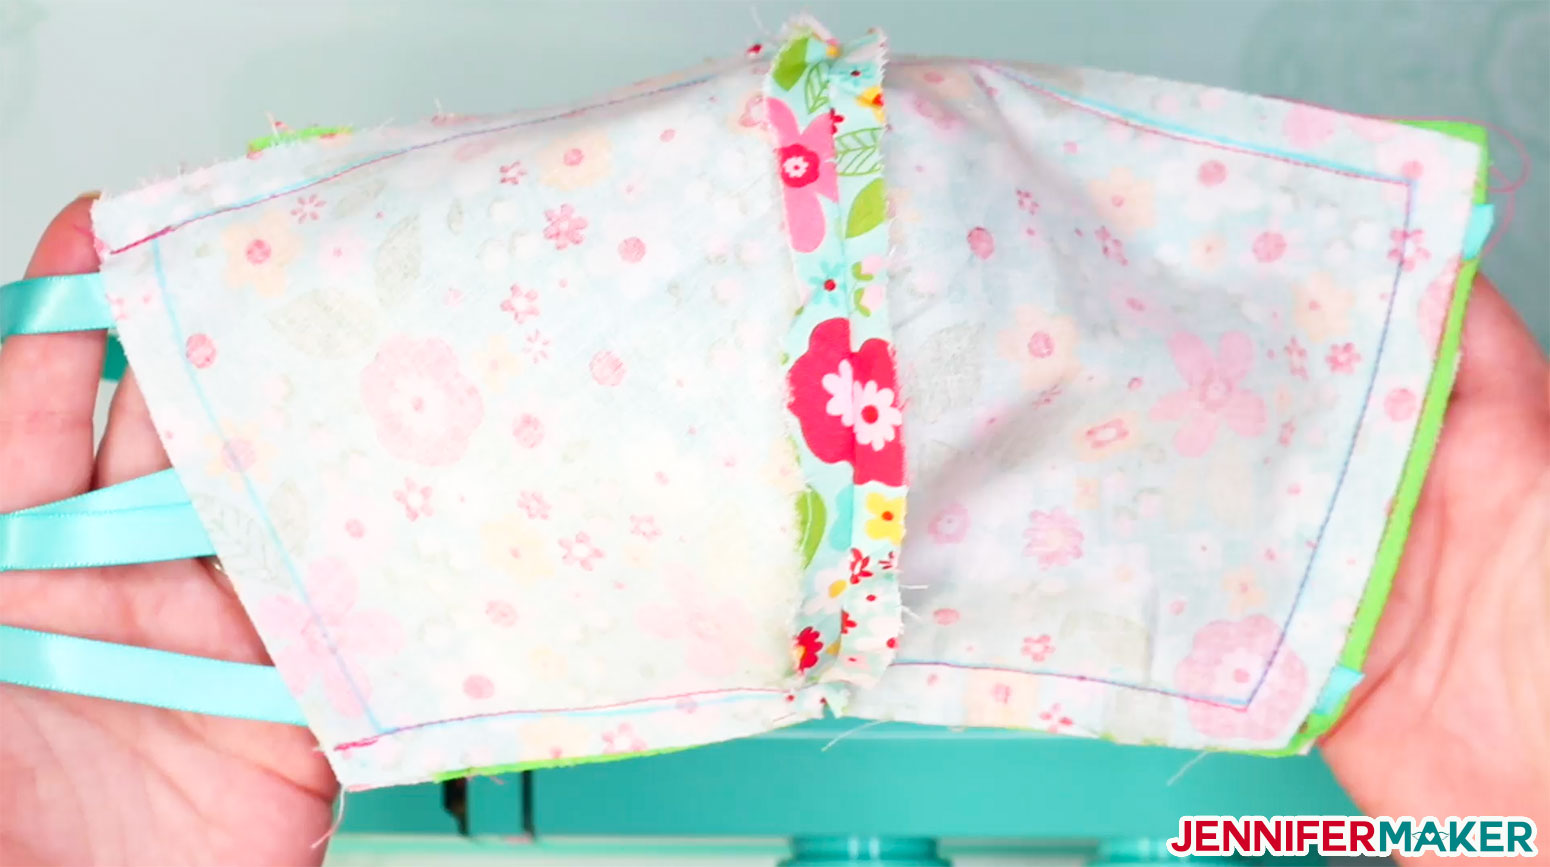
Clip each corner to reduce bulk.
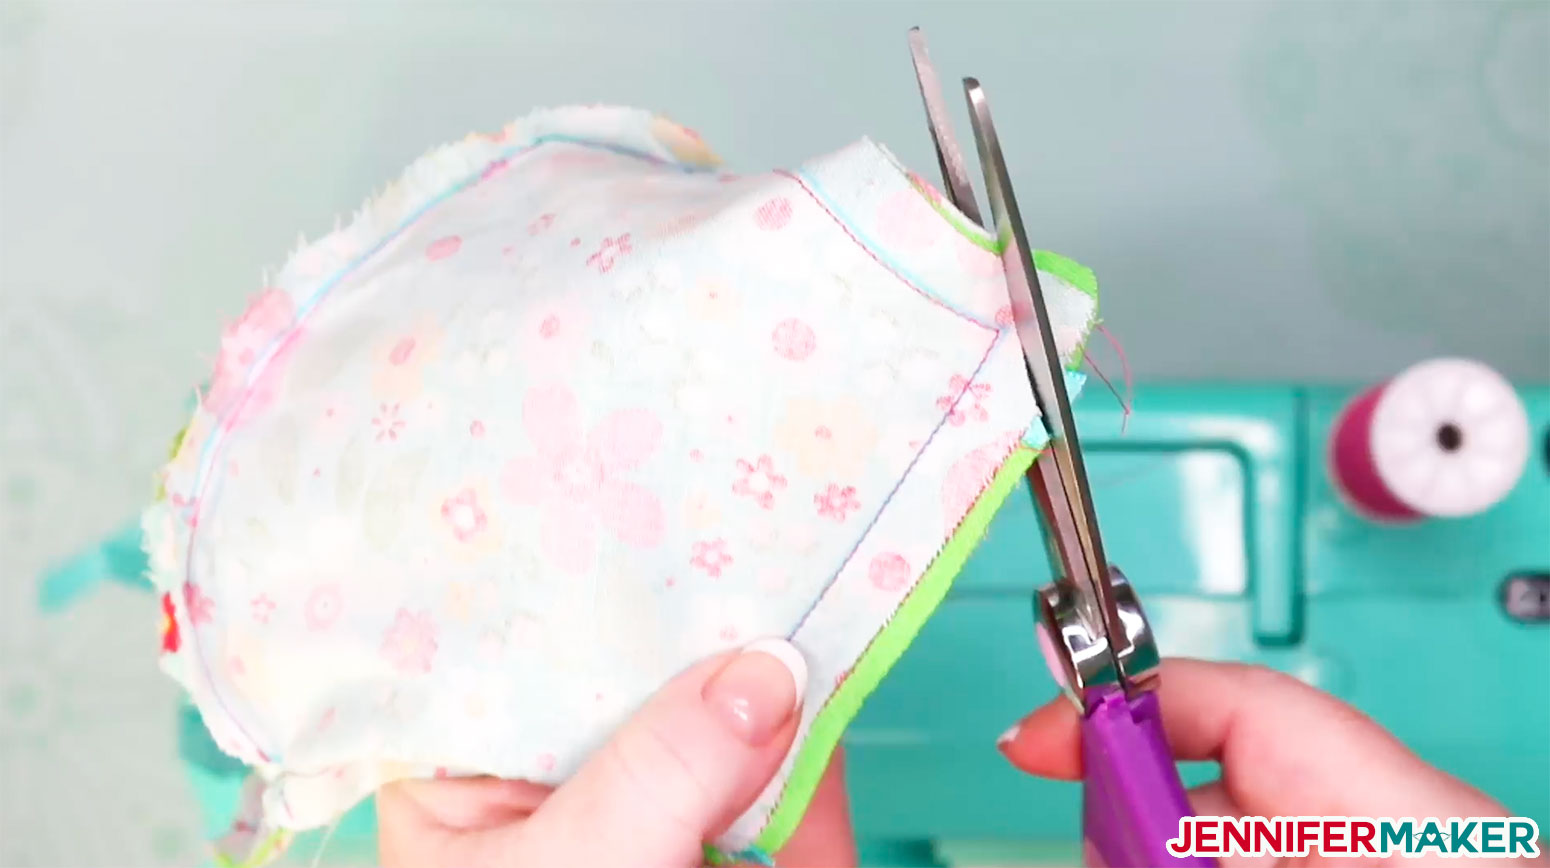
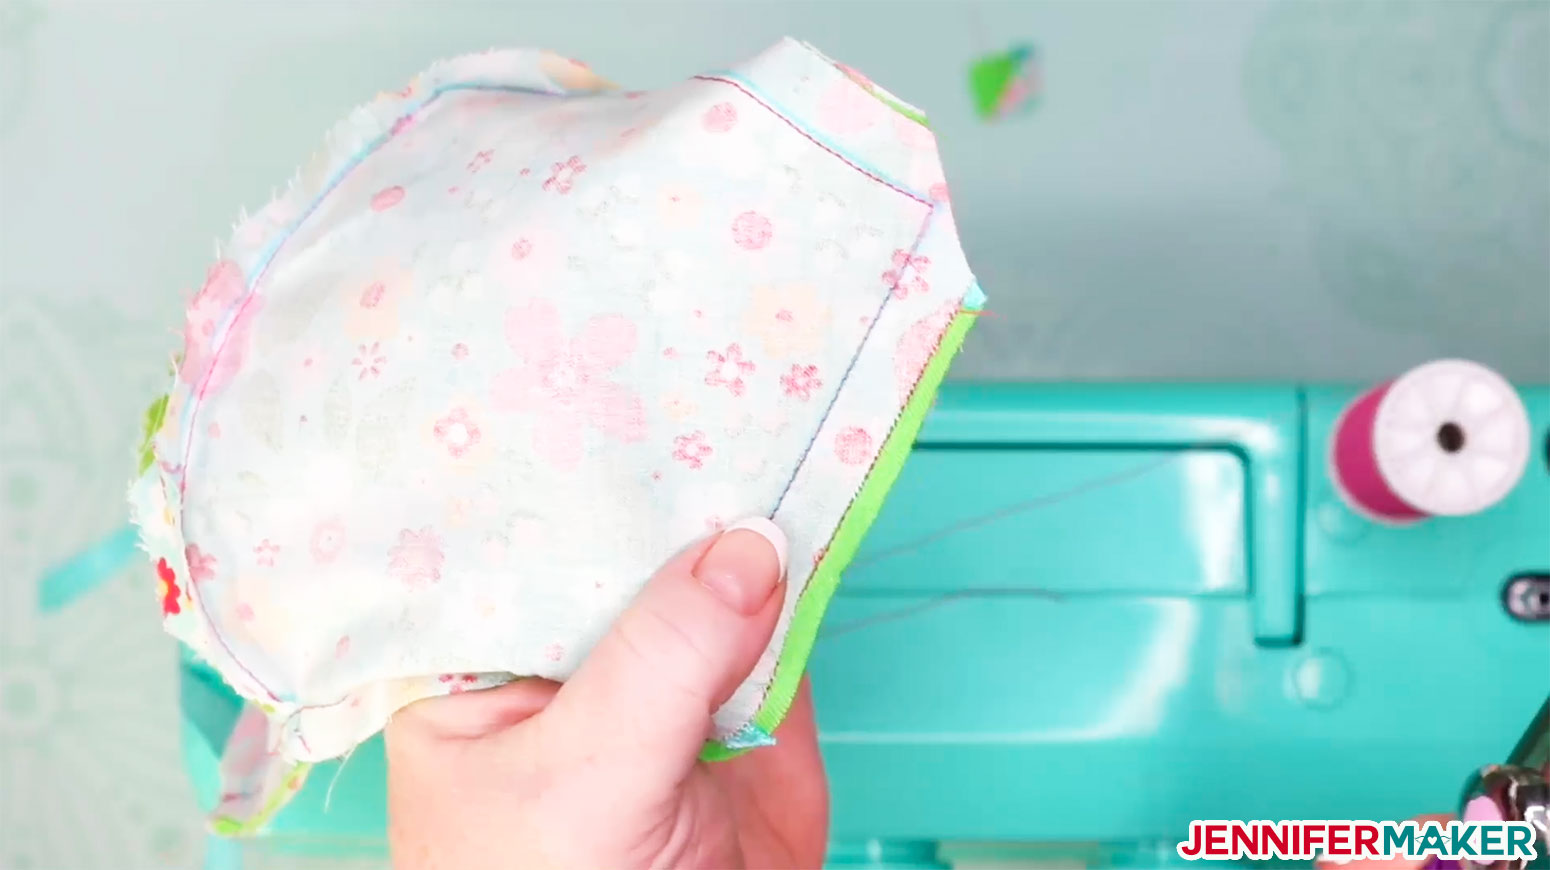
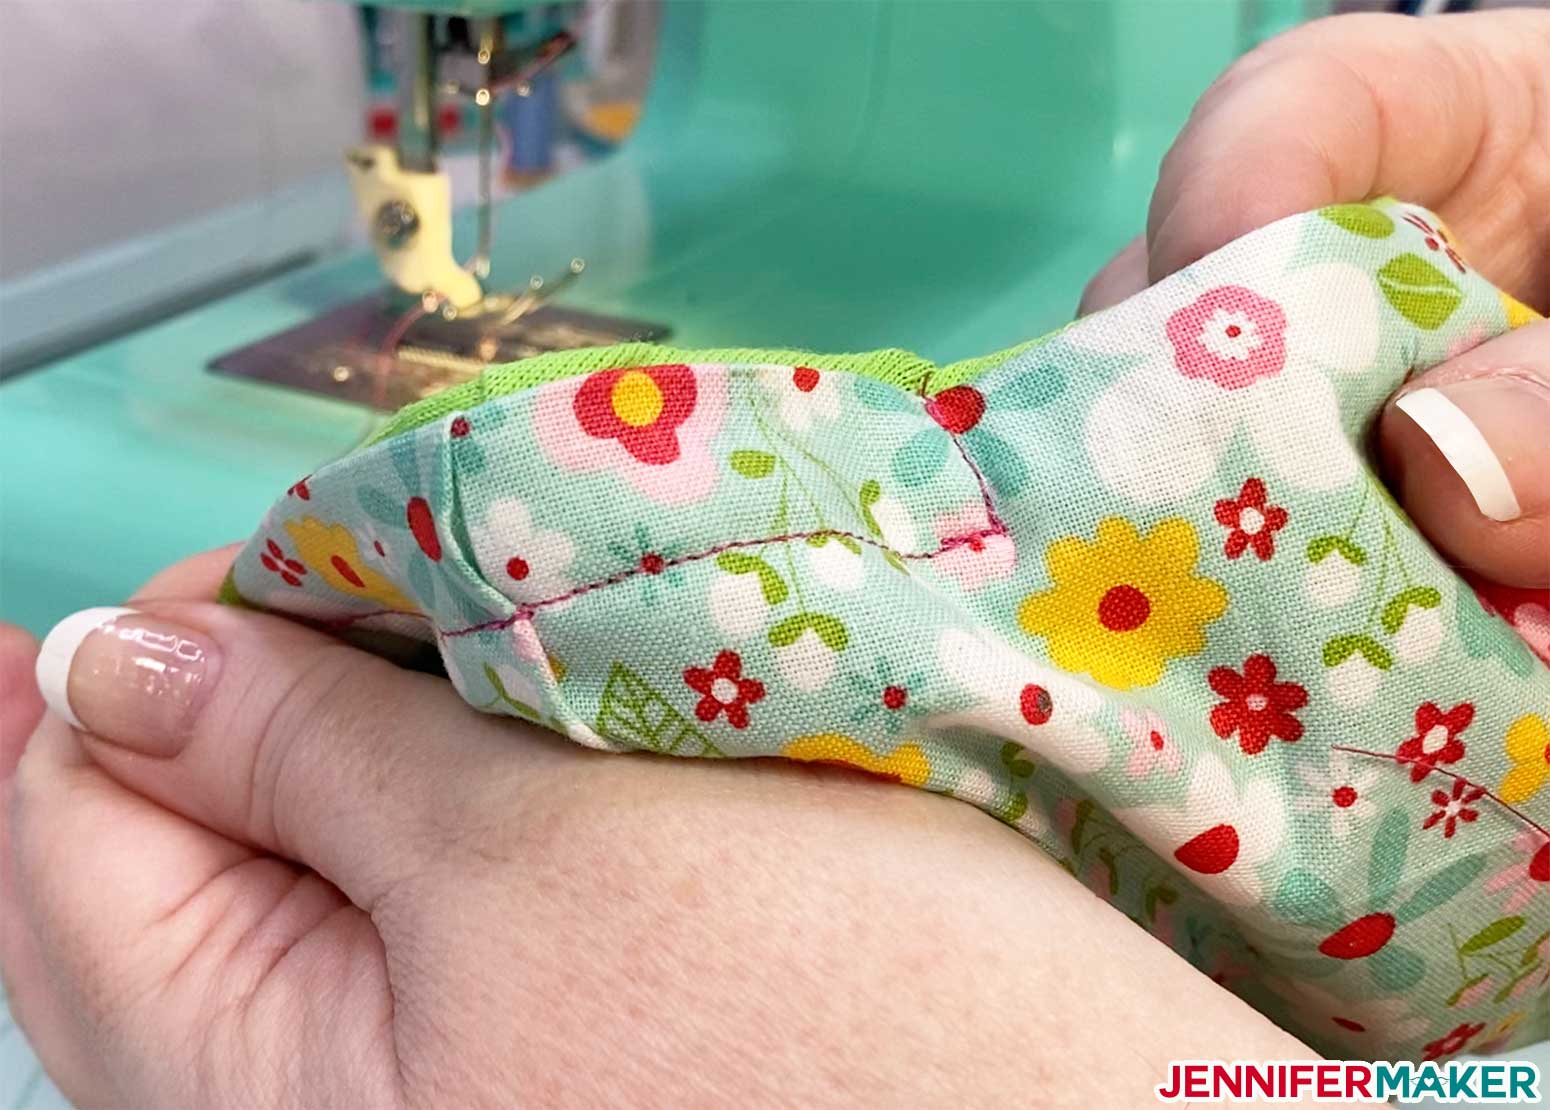
Carefully turn your DIY face mask right side out and poke out each corner.
Tip: Having problems getting the corners straight? Poke them from inside with the end of your scissors.
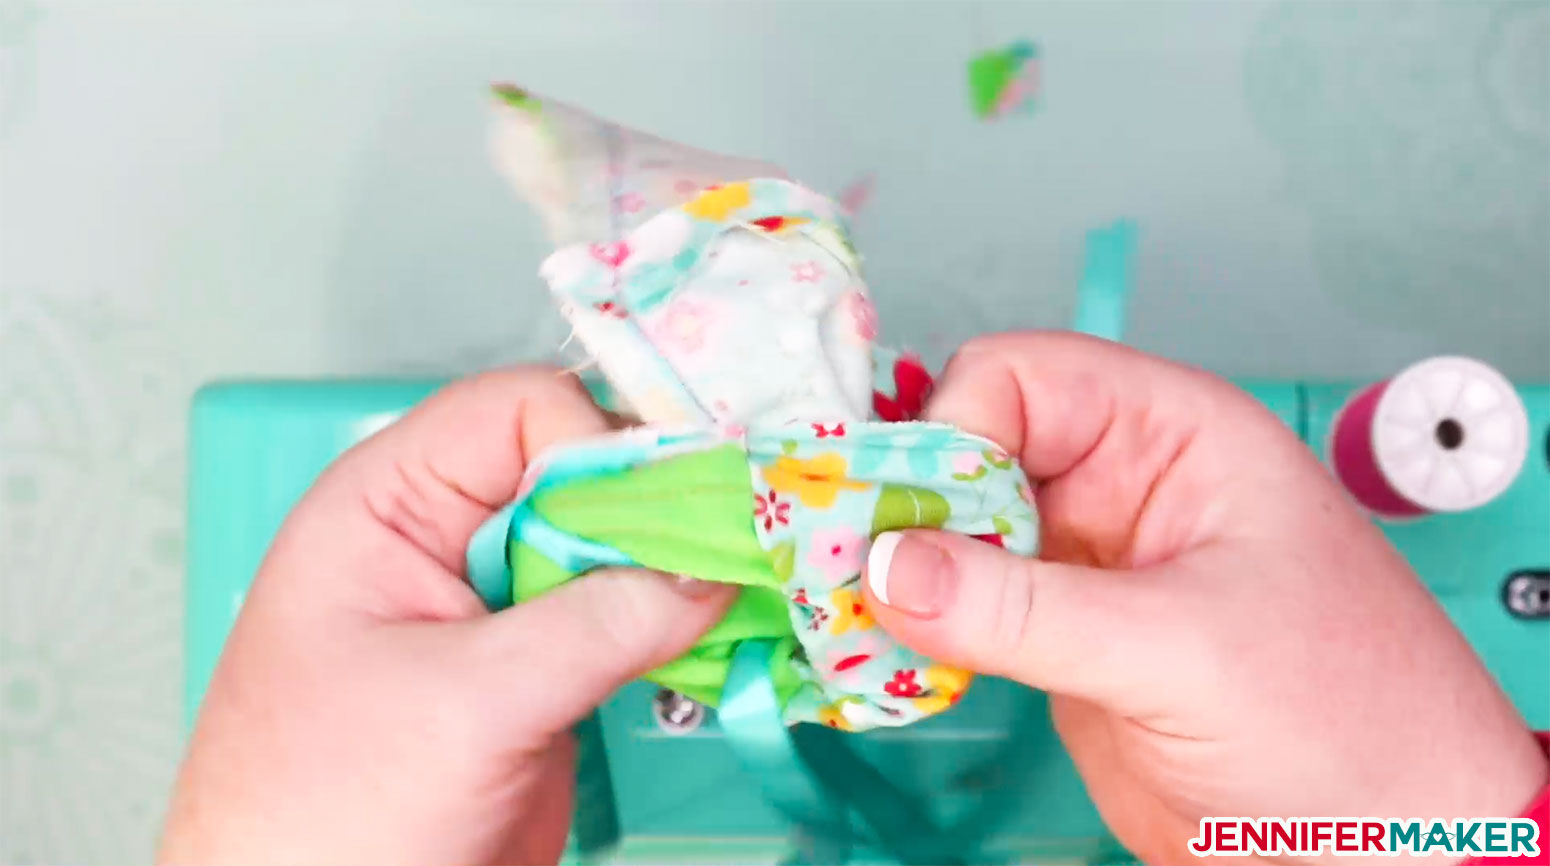
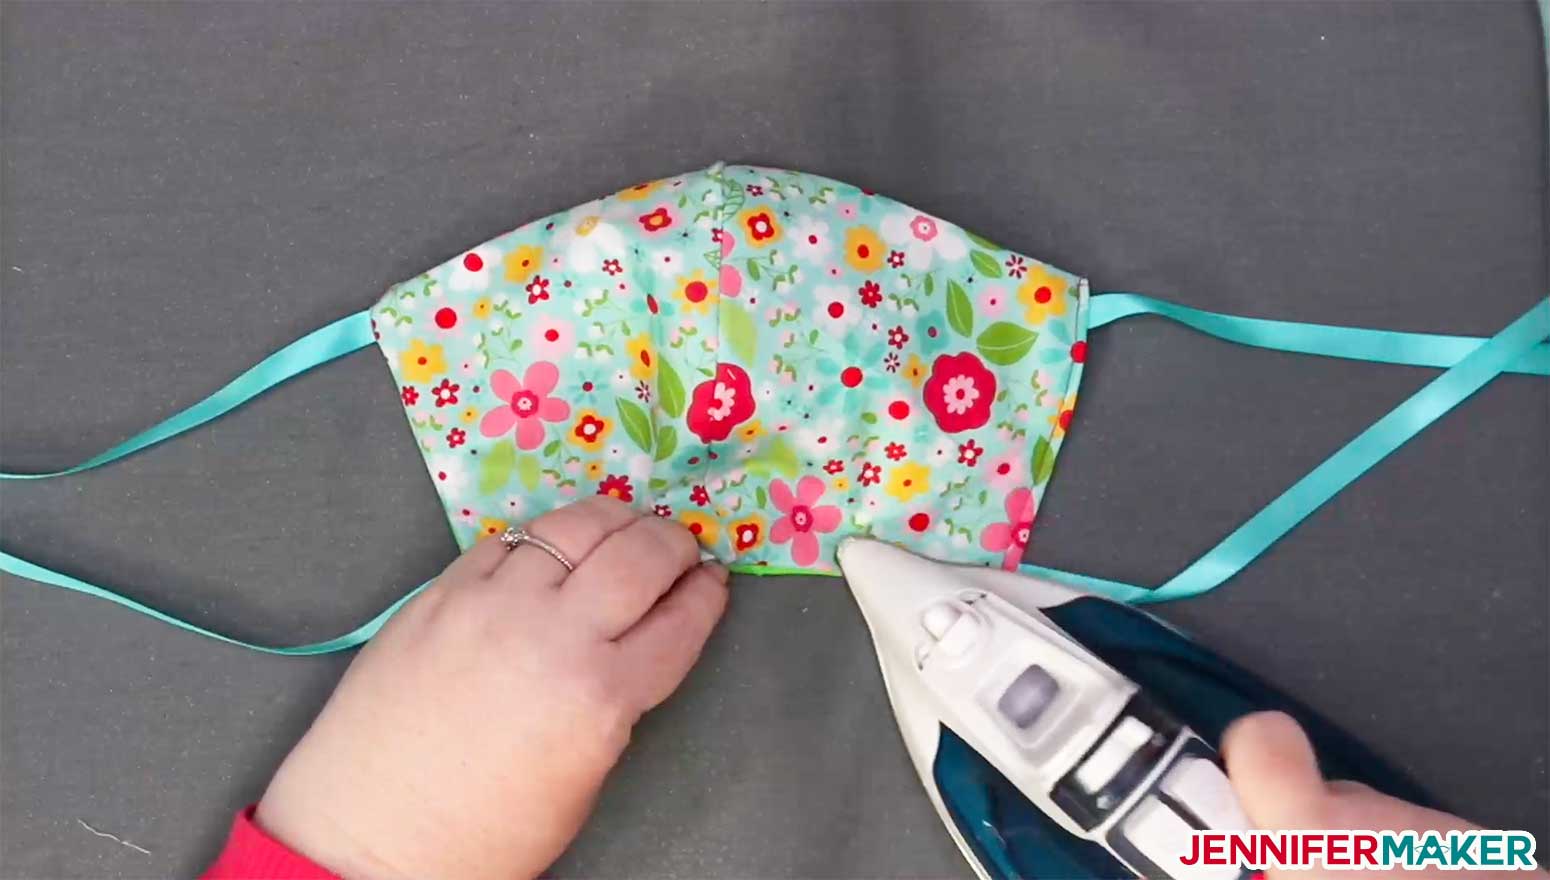
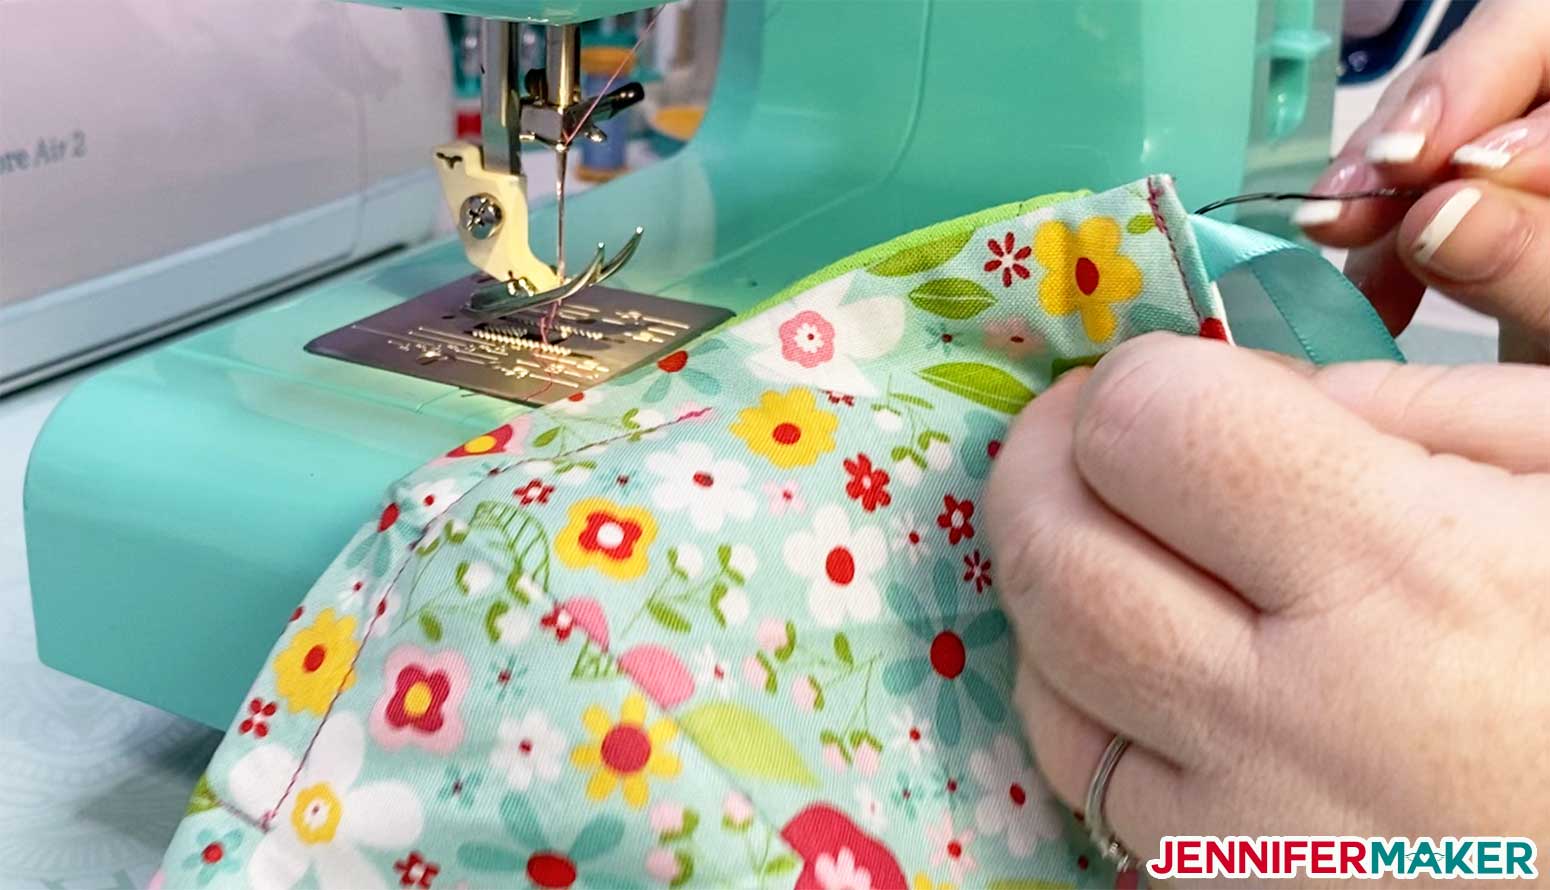
Turn in and enclose the side that is not sewn.
I found it helpful to pin it in place:
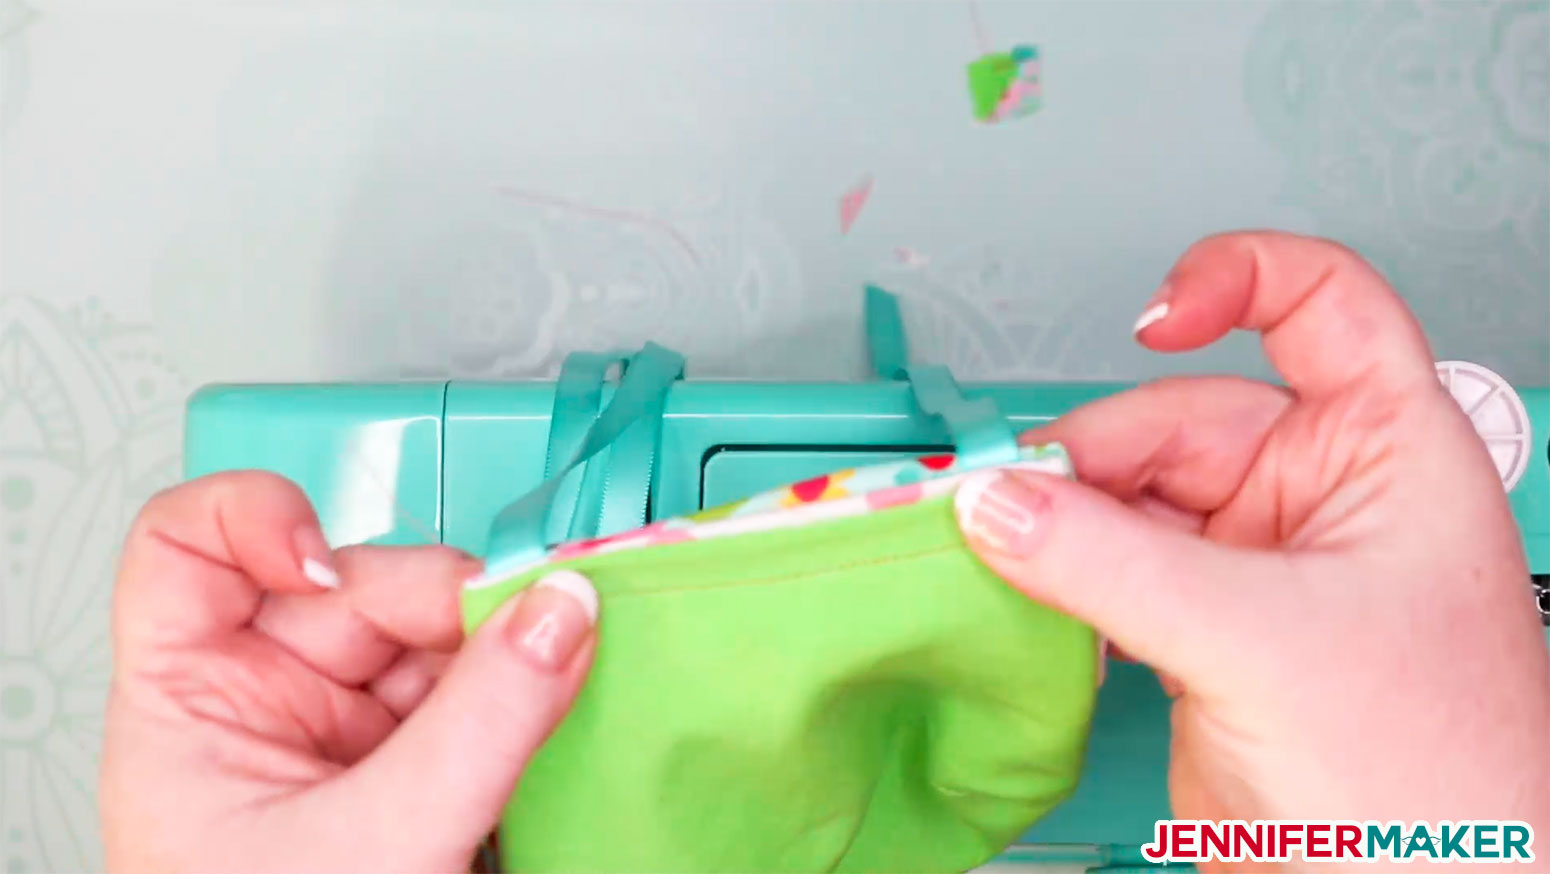
Carefully sew around the side closed, being sure to do a backstitch at the start and end to keep it secure.
Once it's all sewn up, iron the edges for a nice, crisp appearance and better fit.
See me complete Step 6: Watch the video!
STEP 7: (OPTIONAL) ADD A WIRE TO MAKE A NOSE GUARD
If you'd like a better fitting mask, you can add a nose guard with a piece of flexible 20-22 gauge wire. Cut off a piece about four inches long and curl each end in so it doesn't poke out of your mask:
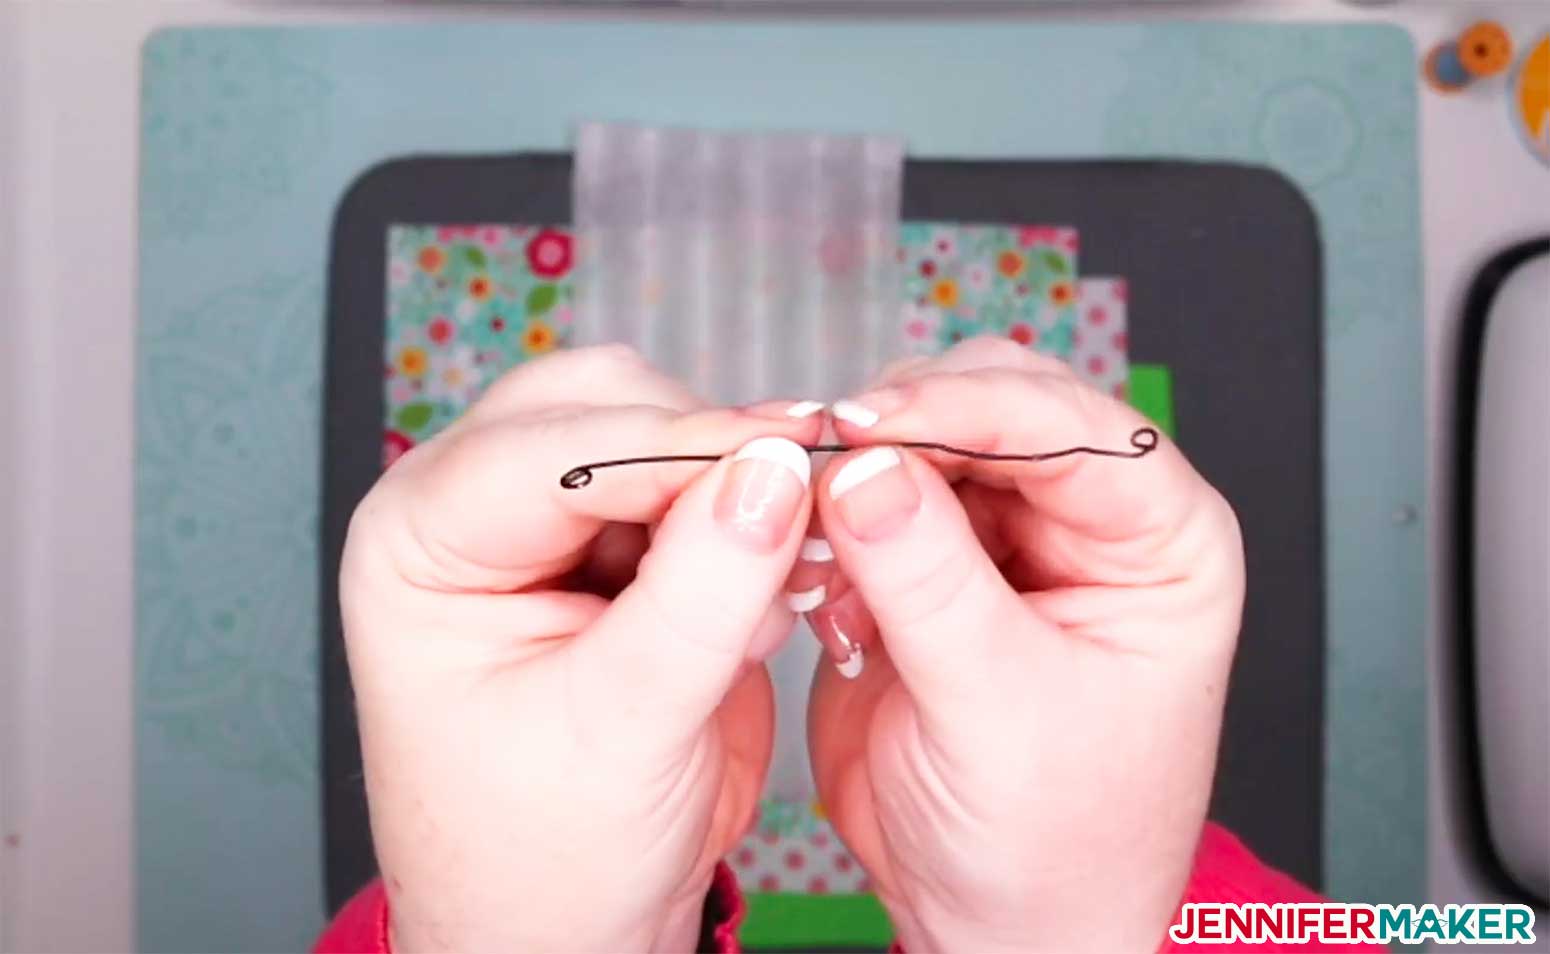
Place the wire along the top middle edge of your face mask and mark its position at either end with pins.

Now sew a channel about 3/8" to 1/2" down from the top edge of the face mask starting at the first pin and sew across parallel to the top of the mask to the second pin, but do not sew up to the edge.
Put your wire into the channel you sewed.
Now just sew up the channel to keep the wire in place!
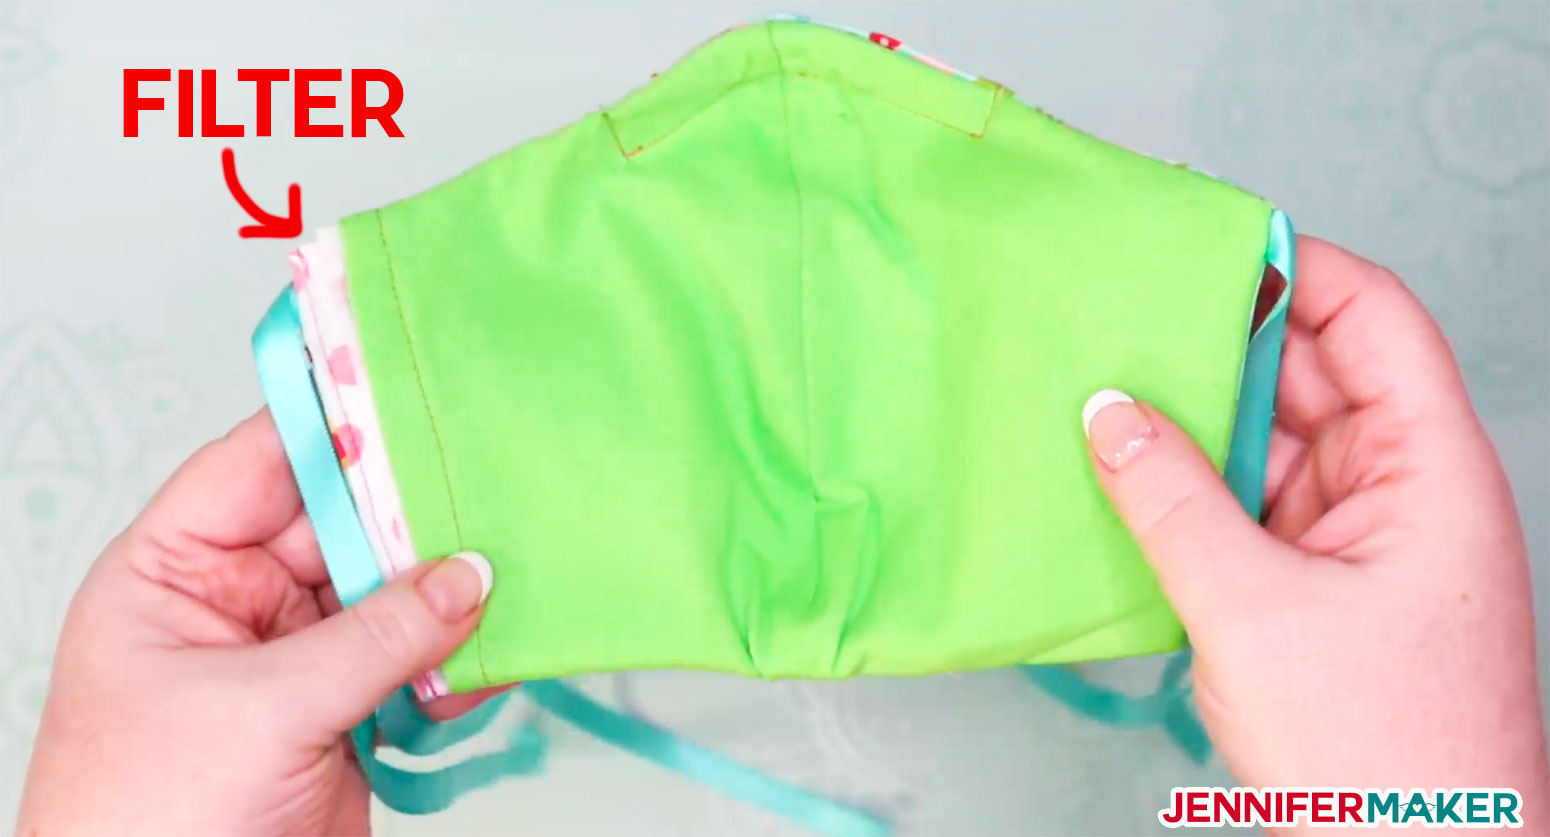
STEP 8: (OPTIONAL) PUT OR REPLACE YOUR FILTER
If you created the filter pocket, you can now put your filter in! I found it easiest to grab the left corner and put it in all the way to the inside left corner of the face mask, then smooth it out.
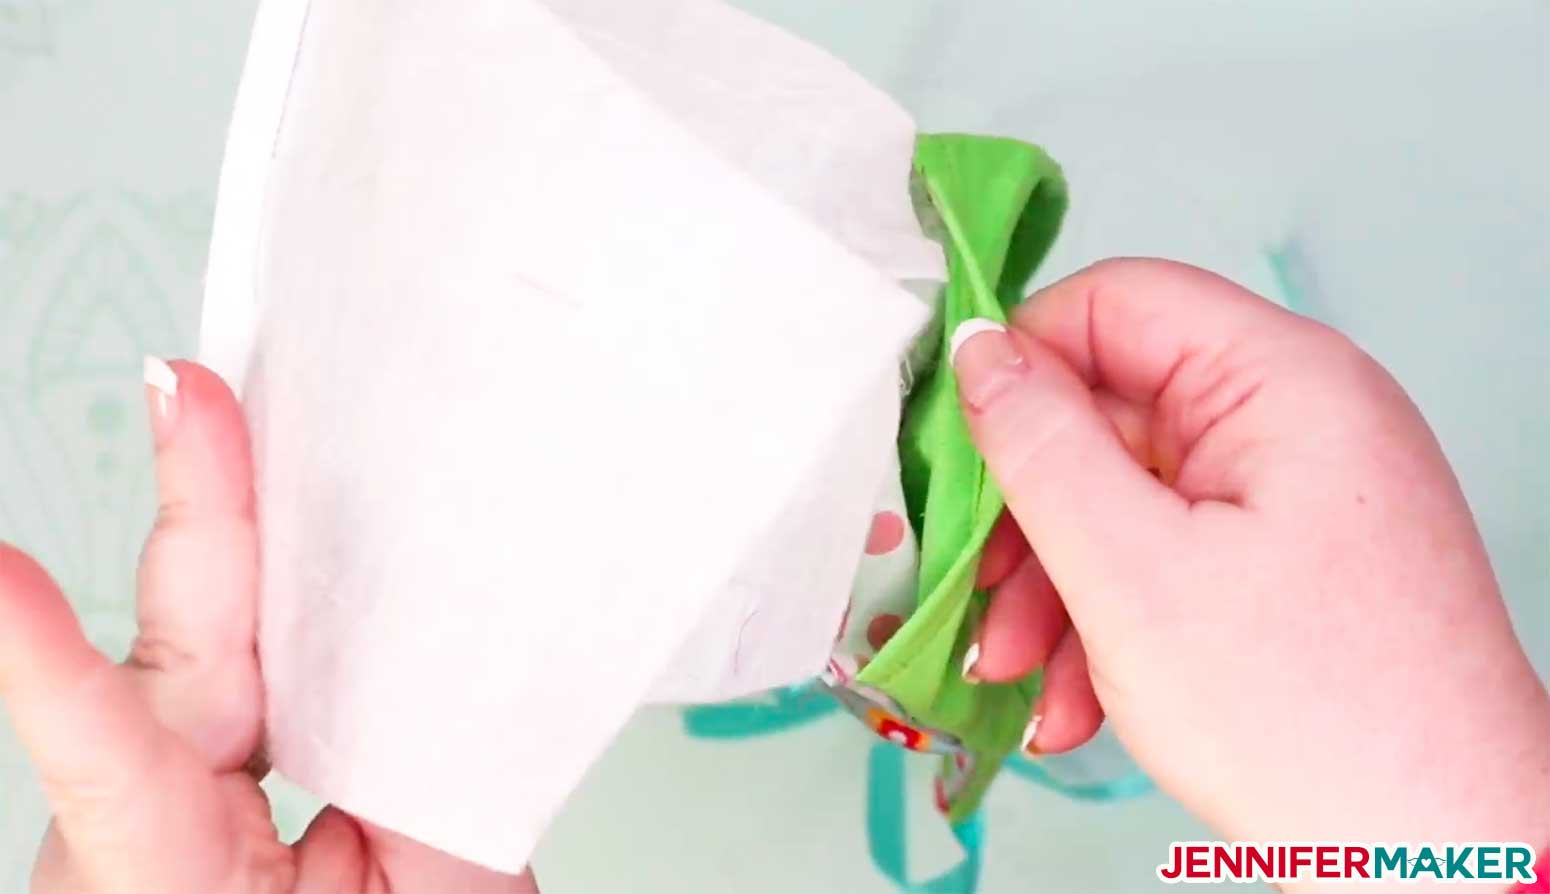
And here we go — the filter is in our DIY face mask
Komentar
Posting Komentar