4 Cozy Reading Nooks You’ll Want in Your Home Right Now Constructing a reading nook doesn’t have to be hard. Sometimes all you need is lots of pillows and a little unused space. Reading nooks are also a great way to use dead, unused, or awkward space within a home. Nooks can help maximize living space and provide additional seating, along with providing a personal sanctuary. With these four easy DIY reading nook projects, it won’t be long before you find yourself dreaming of getting lost in a good book. 1. Make Use of Dead Space with a Corner Bench Do you have a dead corner in your house that’s just…there? A great remedy for that empty space is a corner bench. Creating an L-shaped bench will maximize your space. Not only will it provide additional seating, but it can also become storage. Create this bench with bookshelves, cushions, and pillows for the ultimate reading nook space. When the bookshelves are placed together, you can then determine what size cushion you will need to go on ...
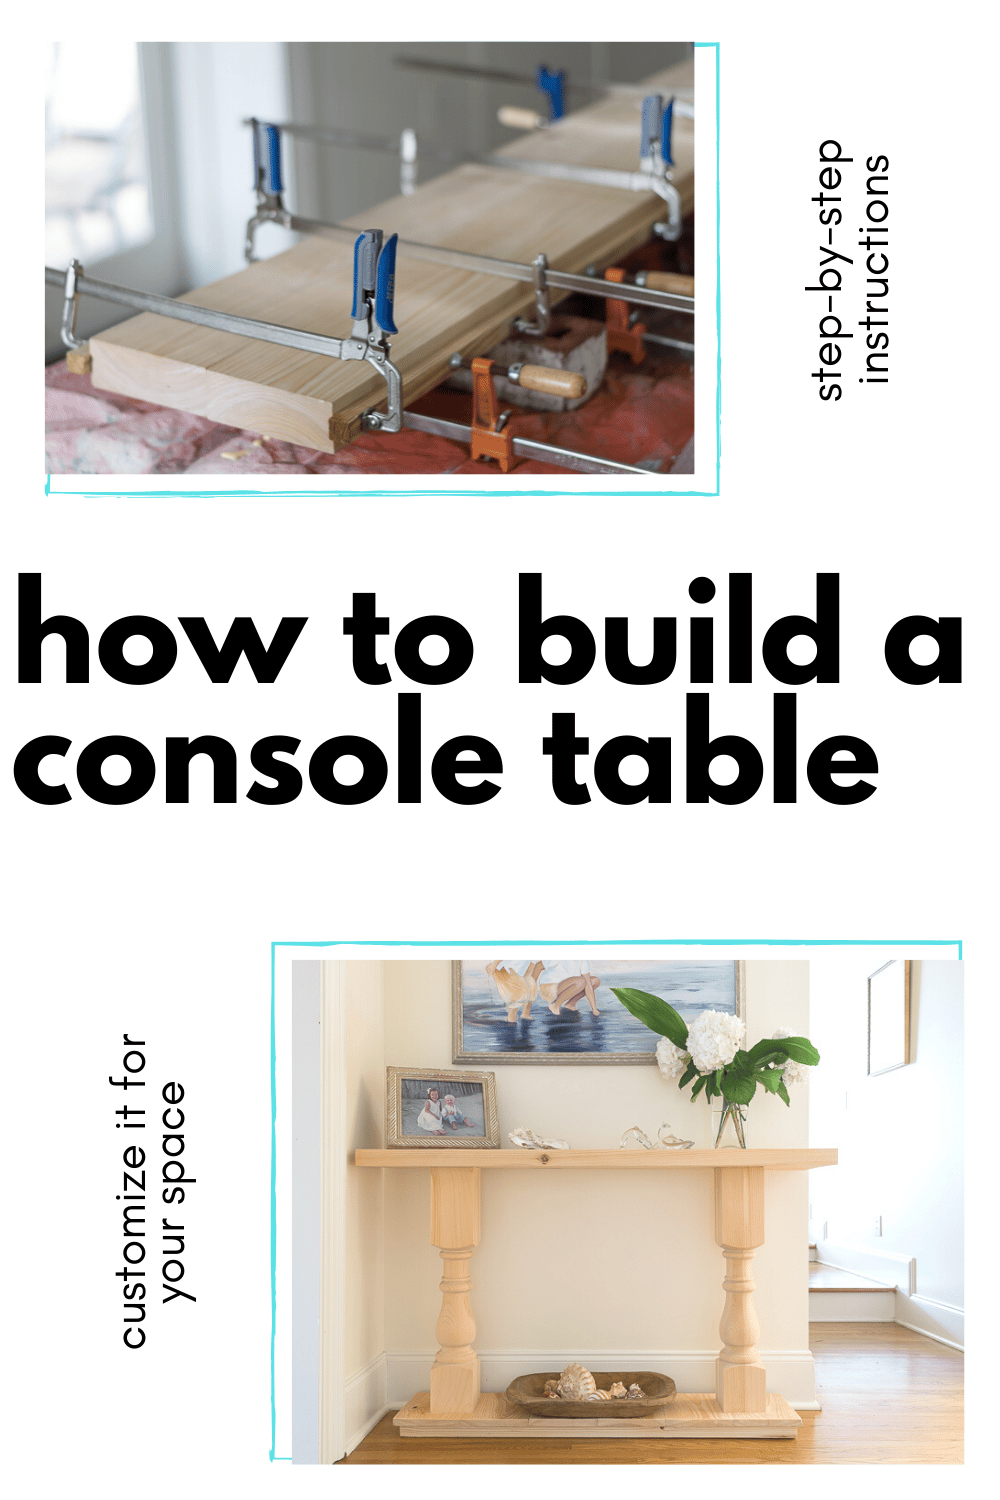
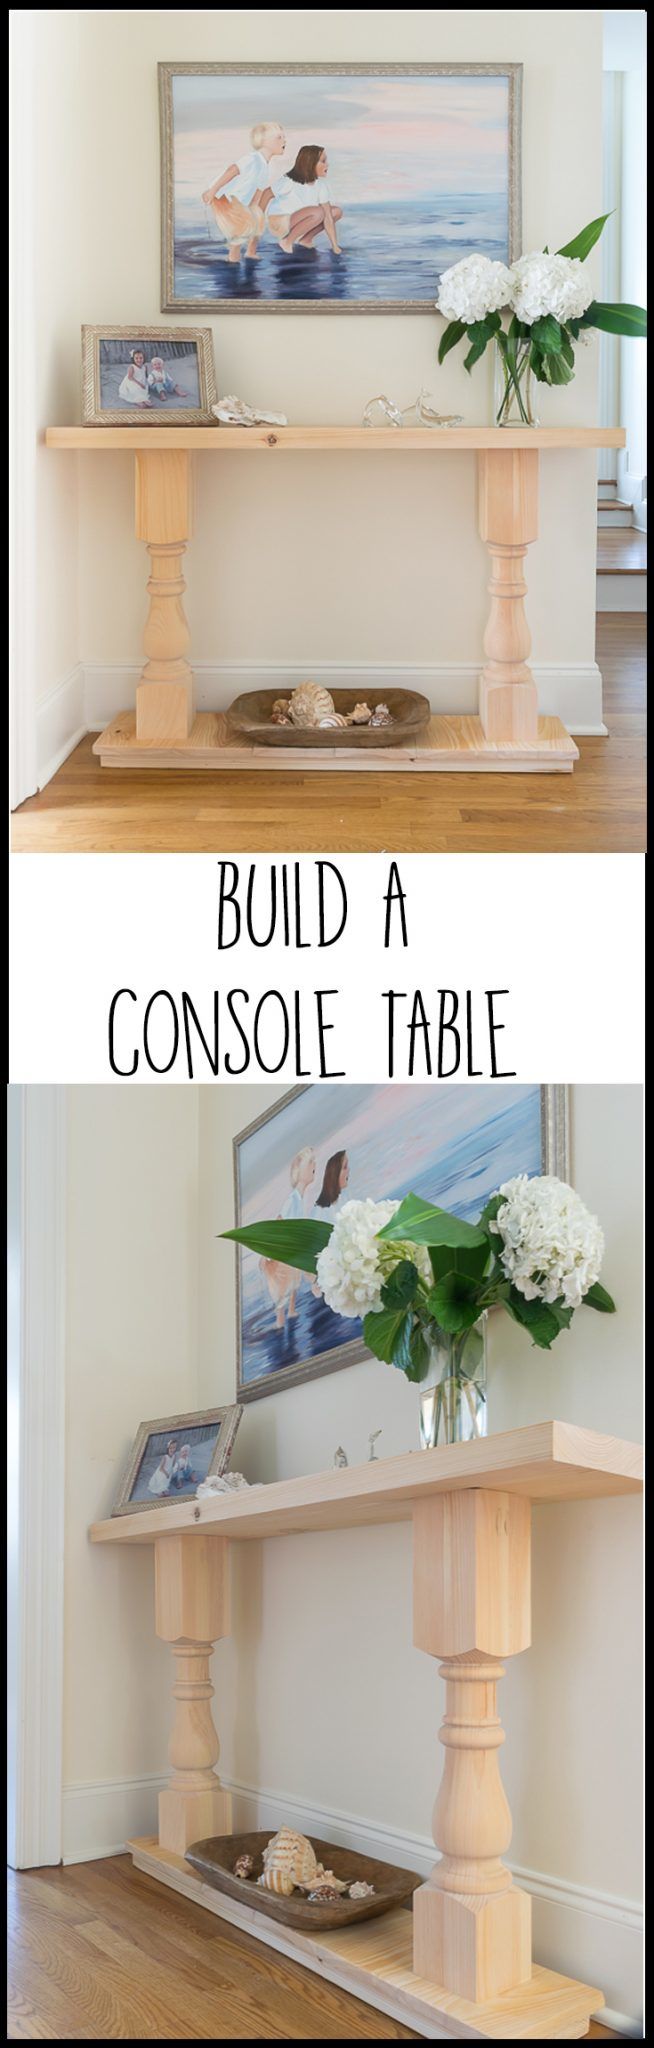
DIY - How to Build a Console Table
Materials :
- Legs.
- Wood for the top.
- Wood for the bottom.
- 2 pine 2″ by 4″s, each 8 feet long
- Kreg Jig with 1 1/2″ screws
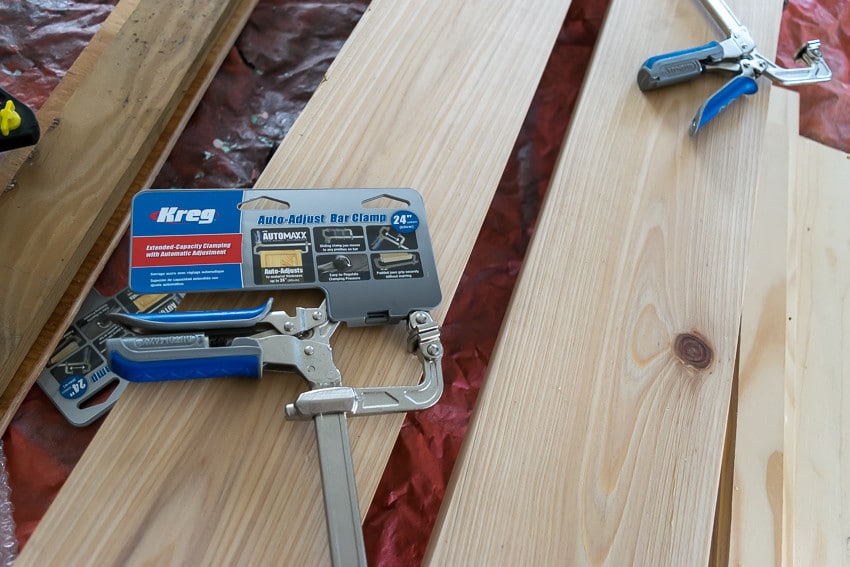
- Bar Clamps, I used my Kreg Auto-Adjust Bar Clamps, and a few pieces of scrap wood.
- Titebond II Glue
- Table Saw would be best, but we used a Circular Saw
- Belt Sander
- Drill
- Sandpaper, this flexible sandpaper from 3M is the bee’s knees!
- 4″ wood screws
Instructions:
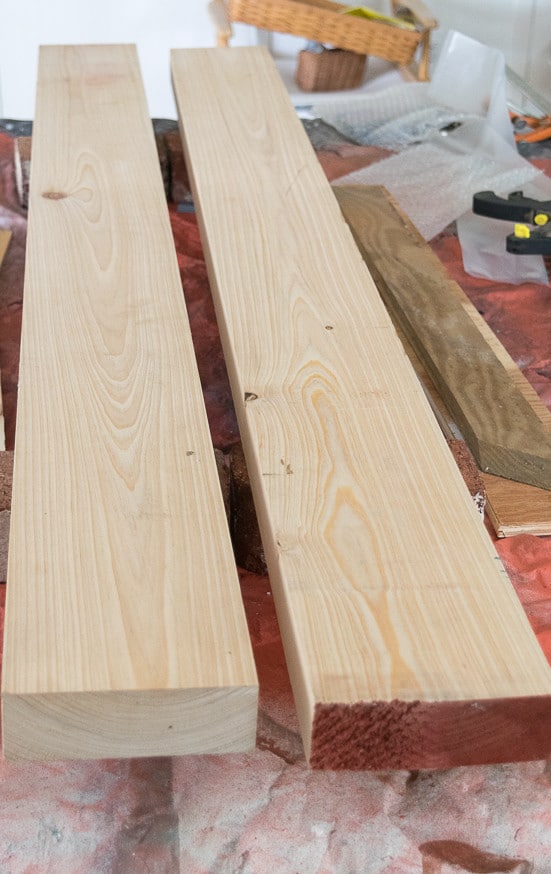
- Once you have your legs, you clearly need wood for the top and bottom. Before you bring your wood home, check it over to make sure it is as flat as possible.
- The first thing I did was to glue the two pieces of cypress together, side by side, for the top of the table
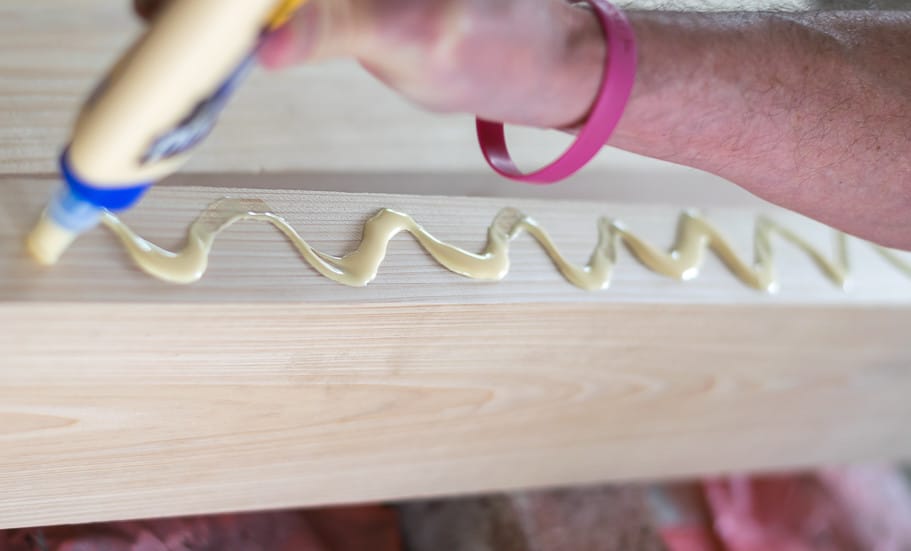
- I used the wood glue and clamps every 6″ for the length of the boards and put scrap wood between the clamps and my good cypress to prevent the clamps from leaving dents in my cypress. In total, I used 8 clamps; the 3 Kreg clamps I owned and borrowed the rest of the clamps from a friend. I really like the auto-adjust feature of the Automaxx.
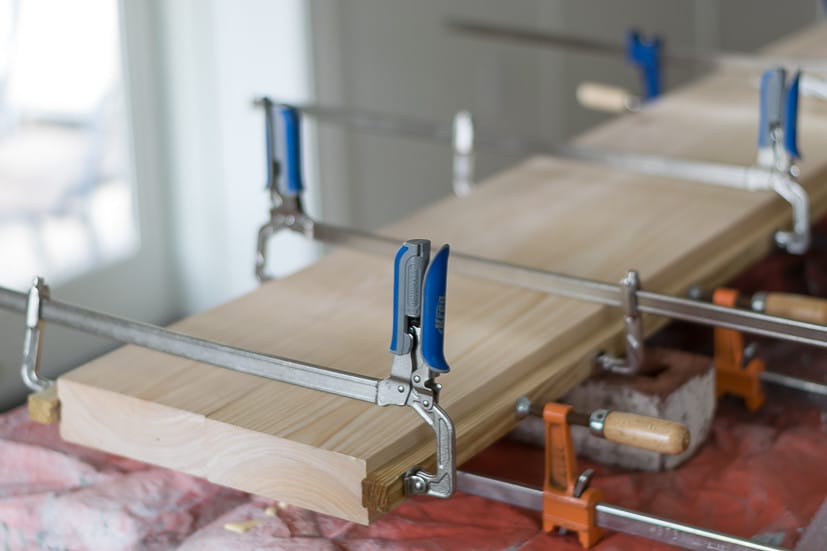
- The boards for the top of the sofa table sat undisturbed for about 24 hours to make sure they were firmly glued together.
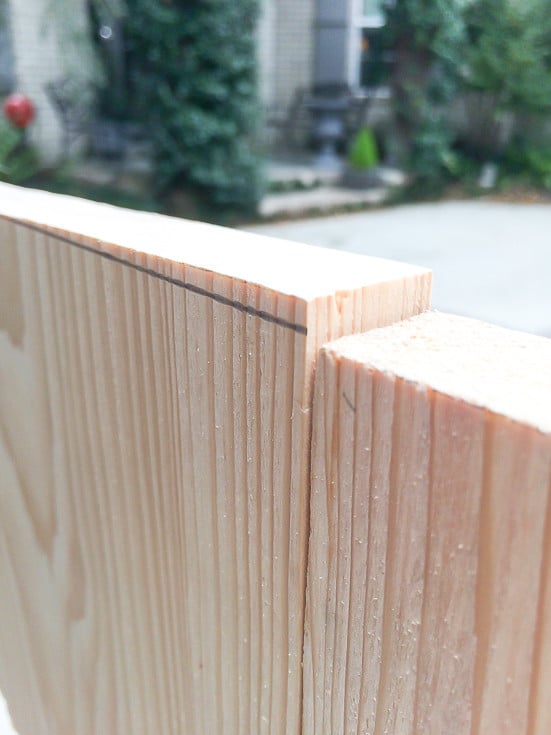
- While the top was being glued, we started on the base. The first thing we did was cut the thinner, 1″ cypress boards into 9.5″ sections. I wanted the base to be a little shorter than and not quite as deep as the top.
- We also made the base frame out of the 2′ by 4’s. I wanted the frame to be slightly shorter and thinner than the actual base, so I cut the 2″ x 4″ s to 45″. Each 2″ x 4″ is actually 3.5″, so I added one 1″ piece to make the frame 45″ by 8″. We just used the wood glue to hold the frame together.

- Then we glued the base to the base frame. Once again, the frame (8″ X 45″) was slightly smaller than the actual base dimensions of 9.5″ X 46.5″.
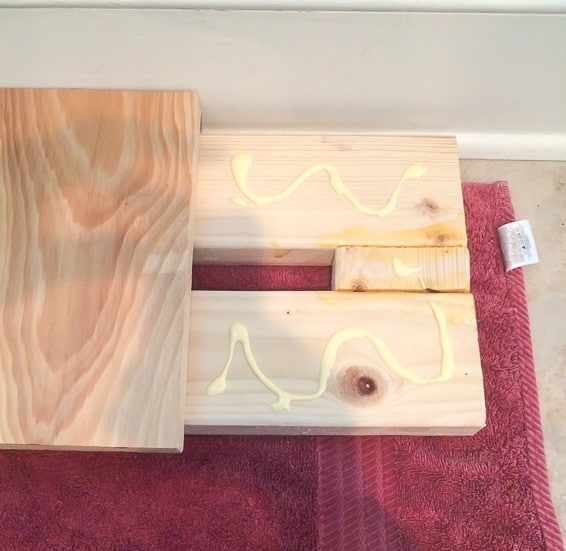
- We weighted the base of this DIY Sofa Table by placing bricks on top of it while the glue dried and cured.
- I used a belt sander, with 36 grit sanding belt, to even out the top where it was glued together. The belt sander was also very useful in leveling the baseboards which were a bit wonky as a result of our ‘not true’ cuts.
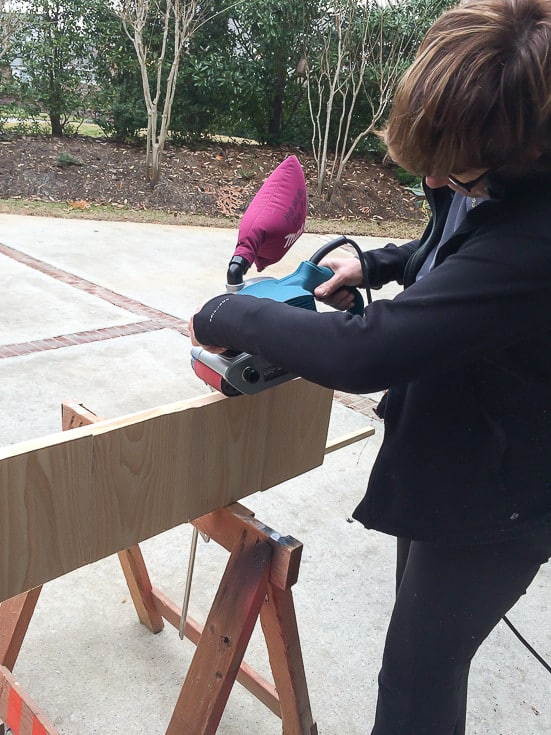
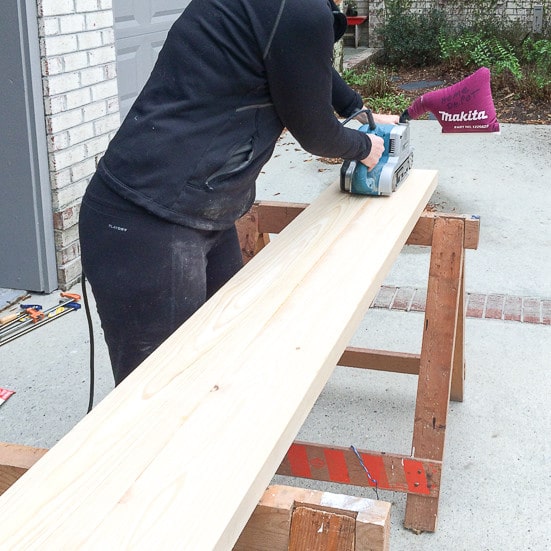
Then I used fine sandpaper (120 grit) to give the whole piece a good sanding.
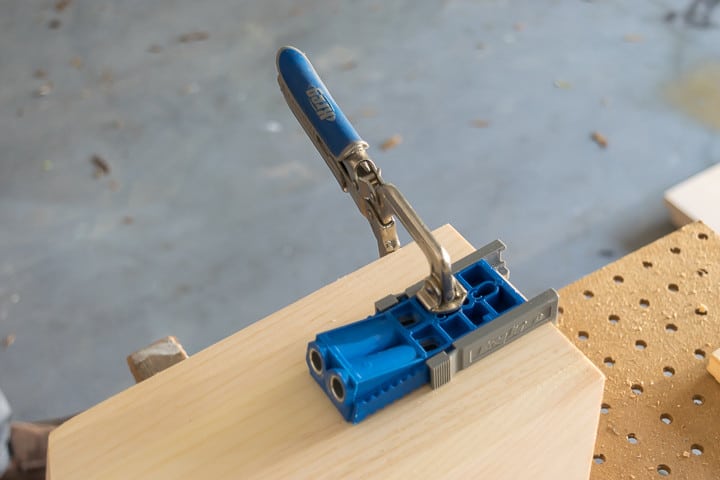
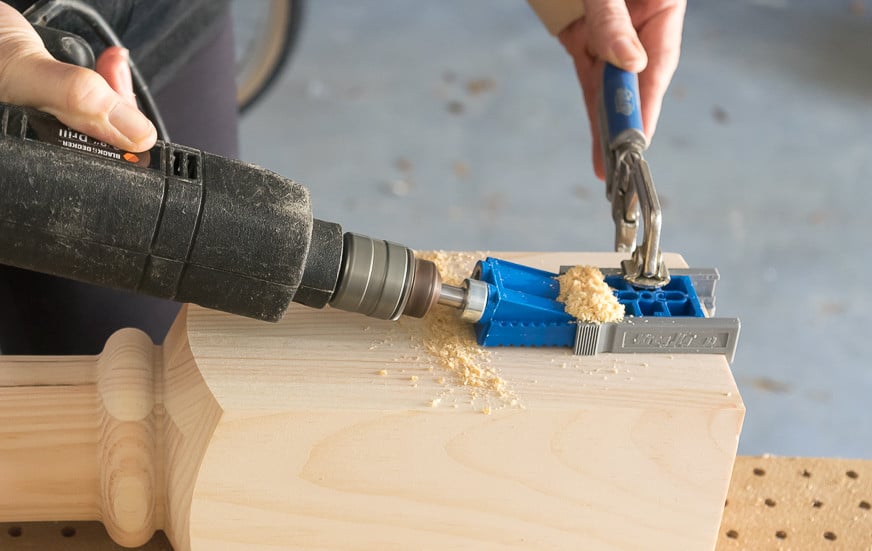
- Once everything was all sanded and level, it was time to put this beauty together! We used a Kreg Jig R3 to drill the pocket holes into the legs. This was the first time I had used the Kreg Jig and it made the whole pocket hole thing so straightforward and easy.
The Kreg Jig R3 comes with everything you need, including several sizes of screws, to complete a project.
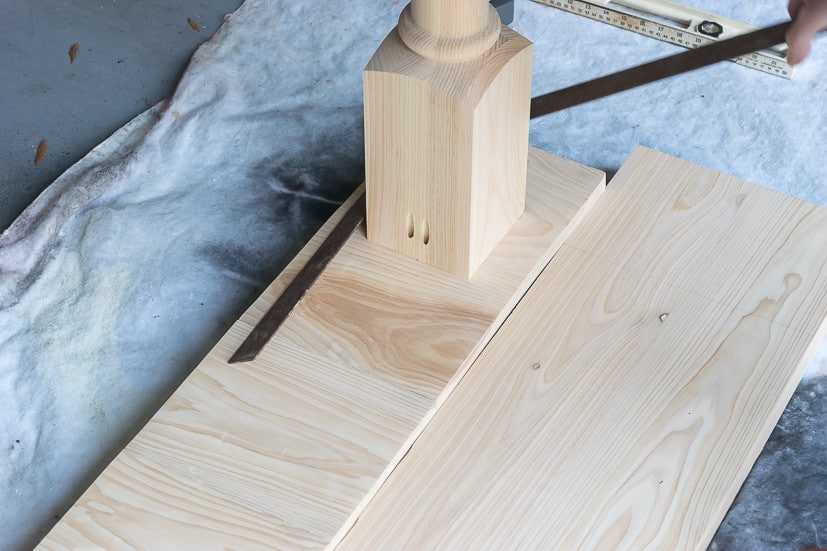
- Before we attached the legs to the top, we lined up the legs on base and then on the top. Don’t let this following picture confuse you, we are not attaching the legs to the base by the pocket holes…we are just lining everything up before we attach the legs to the top.
- Once we had the legs attached to the top of the table, we again lined up and attached the legs to the bottom with 4″ screws.

- The legs were 5″ wide, but we drew 3″ wide squares based on the center of the leg. We wanted to avoid our screws coming through the side of the leg and figured that an inch margin on each side would help ensure that. We drilled one hole in the middle of the leg and then 2 more on either side of that center screw.
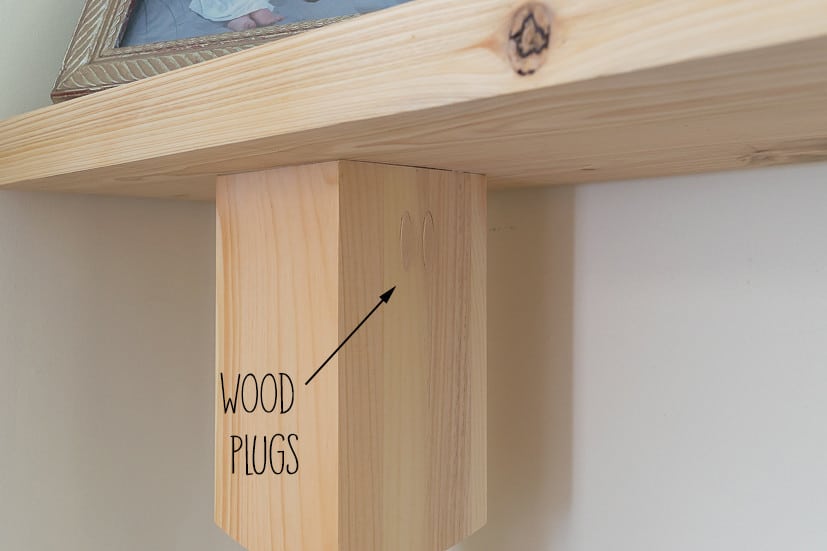
- Once everything was attached, I glued the wood plugs that came with the Kreg Jig R3 into the pocket holes.
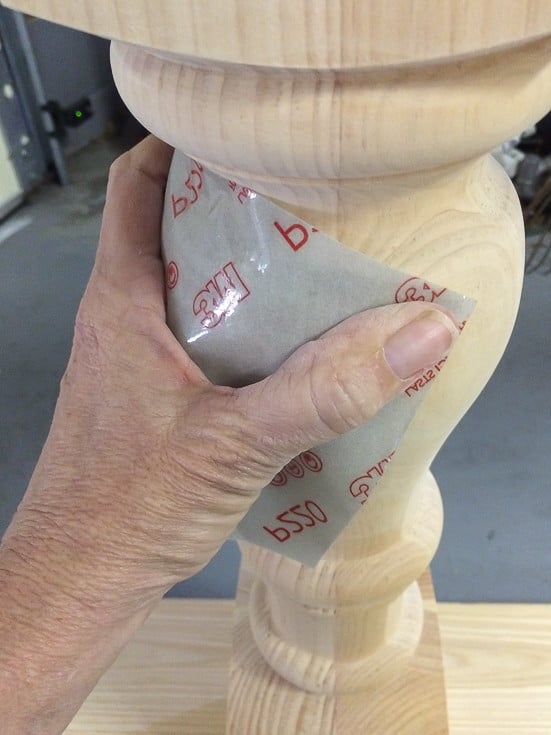
- Then I went over the whole table again with a fine-grit sandpaper. If you have to sand anything that’s not a flat surface, the flexible sandpaper from 3M is a dream come true. It made sanding the round and grooved surfaces on these legs so much easier.
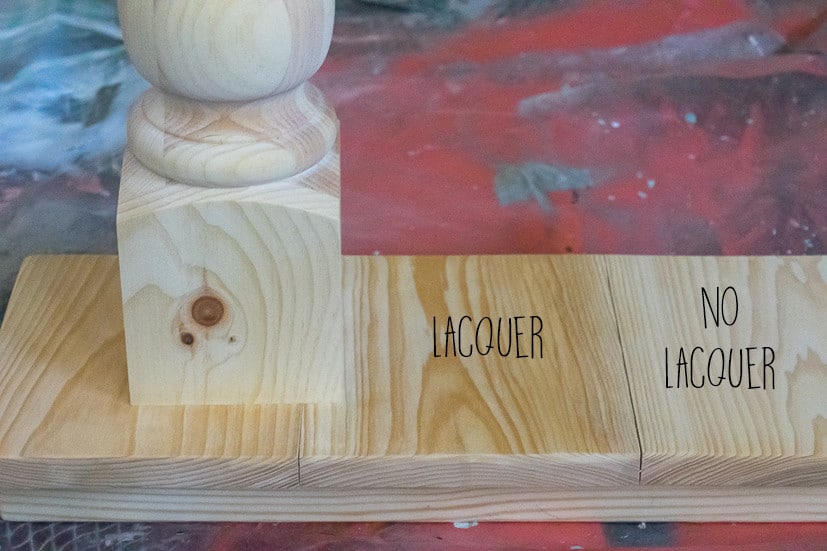
- I went over the whole sofa table with a tack cloth before I put my finish on it. I really went back and forth on what finish to put on the table (the whole Baskin-Robbins 31 flavors syndrome…so many choices…who can choose just one!). I finally decided I just wanted a very simple finish and at the recommendation of a local woodworker, I just used a spray lacquer in a clear, satin finish.
- I did lightly run steel wool over the wood between coats and after the last coat.
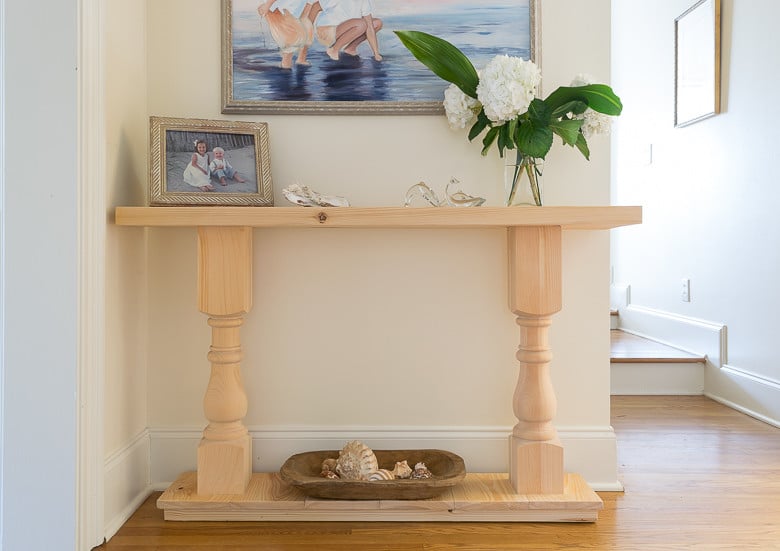
I am thrilled with the way this console table turned out, though I can’t say I won’t change the finish at some point. What do you think…keep natural like this? Age it? What would you do?
Don’t you just love it? Wait, did you see it from this angle?
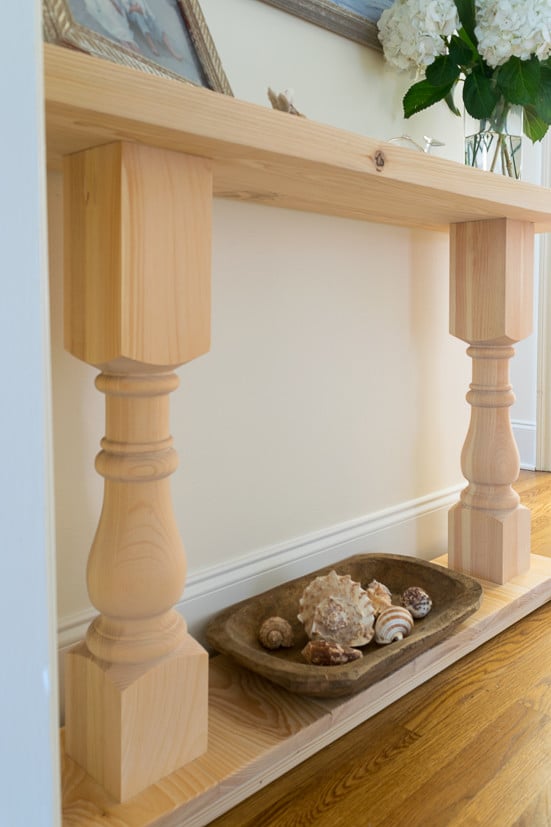
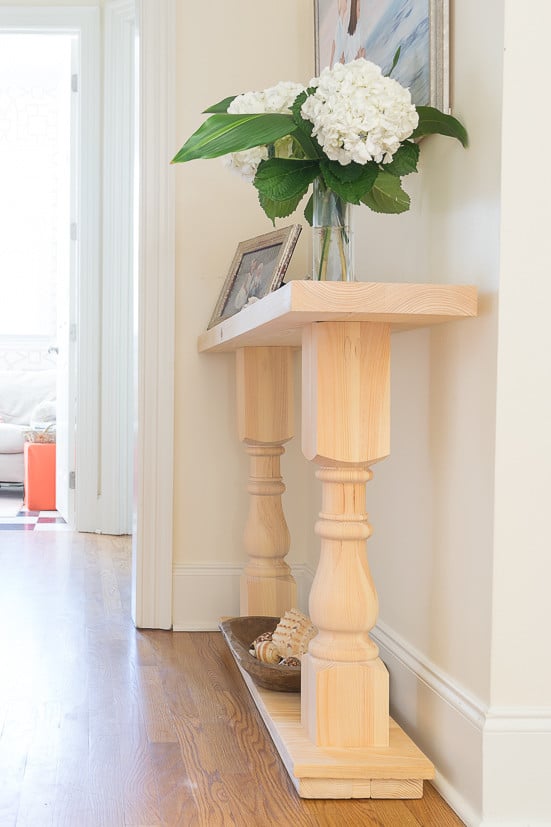
Or this angle?
This was a fun project for Terry and me to do together. But I think he’s a bit worried about what I’m going to do next; now that I am feeling rather invincible! I mean, I can build a console table! The horizon is limitless!
If you think that you might just want to build a console table or skinny sofa table someday, pin it for your future reference.

Komentar
Posting Komentar