4 Cozy Reading Nooks You’ll Want in Your Home Right Now Constructing a reading nook doesn’t have to be hard. Sometimes all you need is lots of pillows and a little unused space. Reading nooks are also a great way to use dead, unused, or awkward space within a home. Nooks can help maximize living space and provide additional seating, along with providing a personal sanctuary. With these four easy DIY reading nook projects, it won’t be long before you find yourself dreaming of getting lost in a good book. 1. Make Use of Dead Space with a Corner Bench Do you have a dead corner in your house that’s just…there? A great remedy for that empty space is a corner bench. Creating an L-shaped bench will maximize your space. Not only will it provide additional seating, but it can also become storage. Create this bench with bookshelves, cushions, and pillows for the ultimate reading nook space. When the bookshelves are placed together, you can then determine what size cushion you will need to go on ...
DIY Sisal Rope Basket

SISAL ROPE BASKET MAKEOVER
Items Needed for Project:
spray paint
sisal rope
hot glue gun and LOTS of glue sticks
Chalkboard (optional)
1. I decided to spray paint the inside white. I didn’t bother with the outside because I knew it would be covered, but I did not want the inside which you would see to be the green, so instead I opted for white.
2. After letting the spray paint dry, turn basket over and begin hot glueing rope around the bottom.

3. Use a lot of glue both on the basket and the rope in the row above. The goal is to get it to stick not only to the basket but to the row above so there is not a gap between rows.

4. Continue working your way around and up the basket row by row gluing as you go. One trick I used was after gluing one section, I would push it as close to the one above as I could and then move on to the next section.
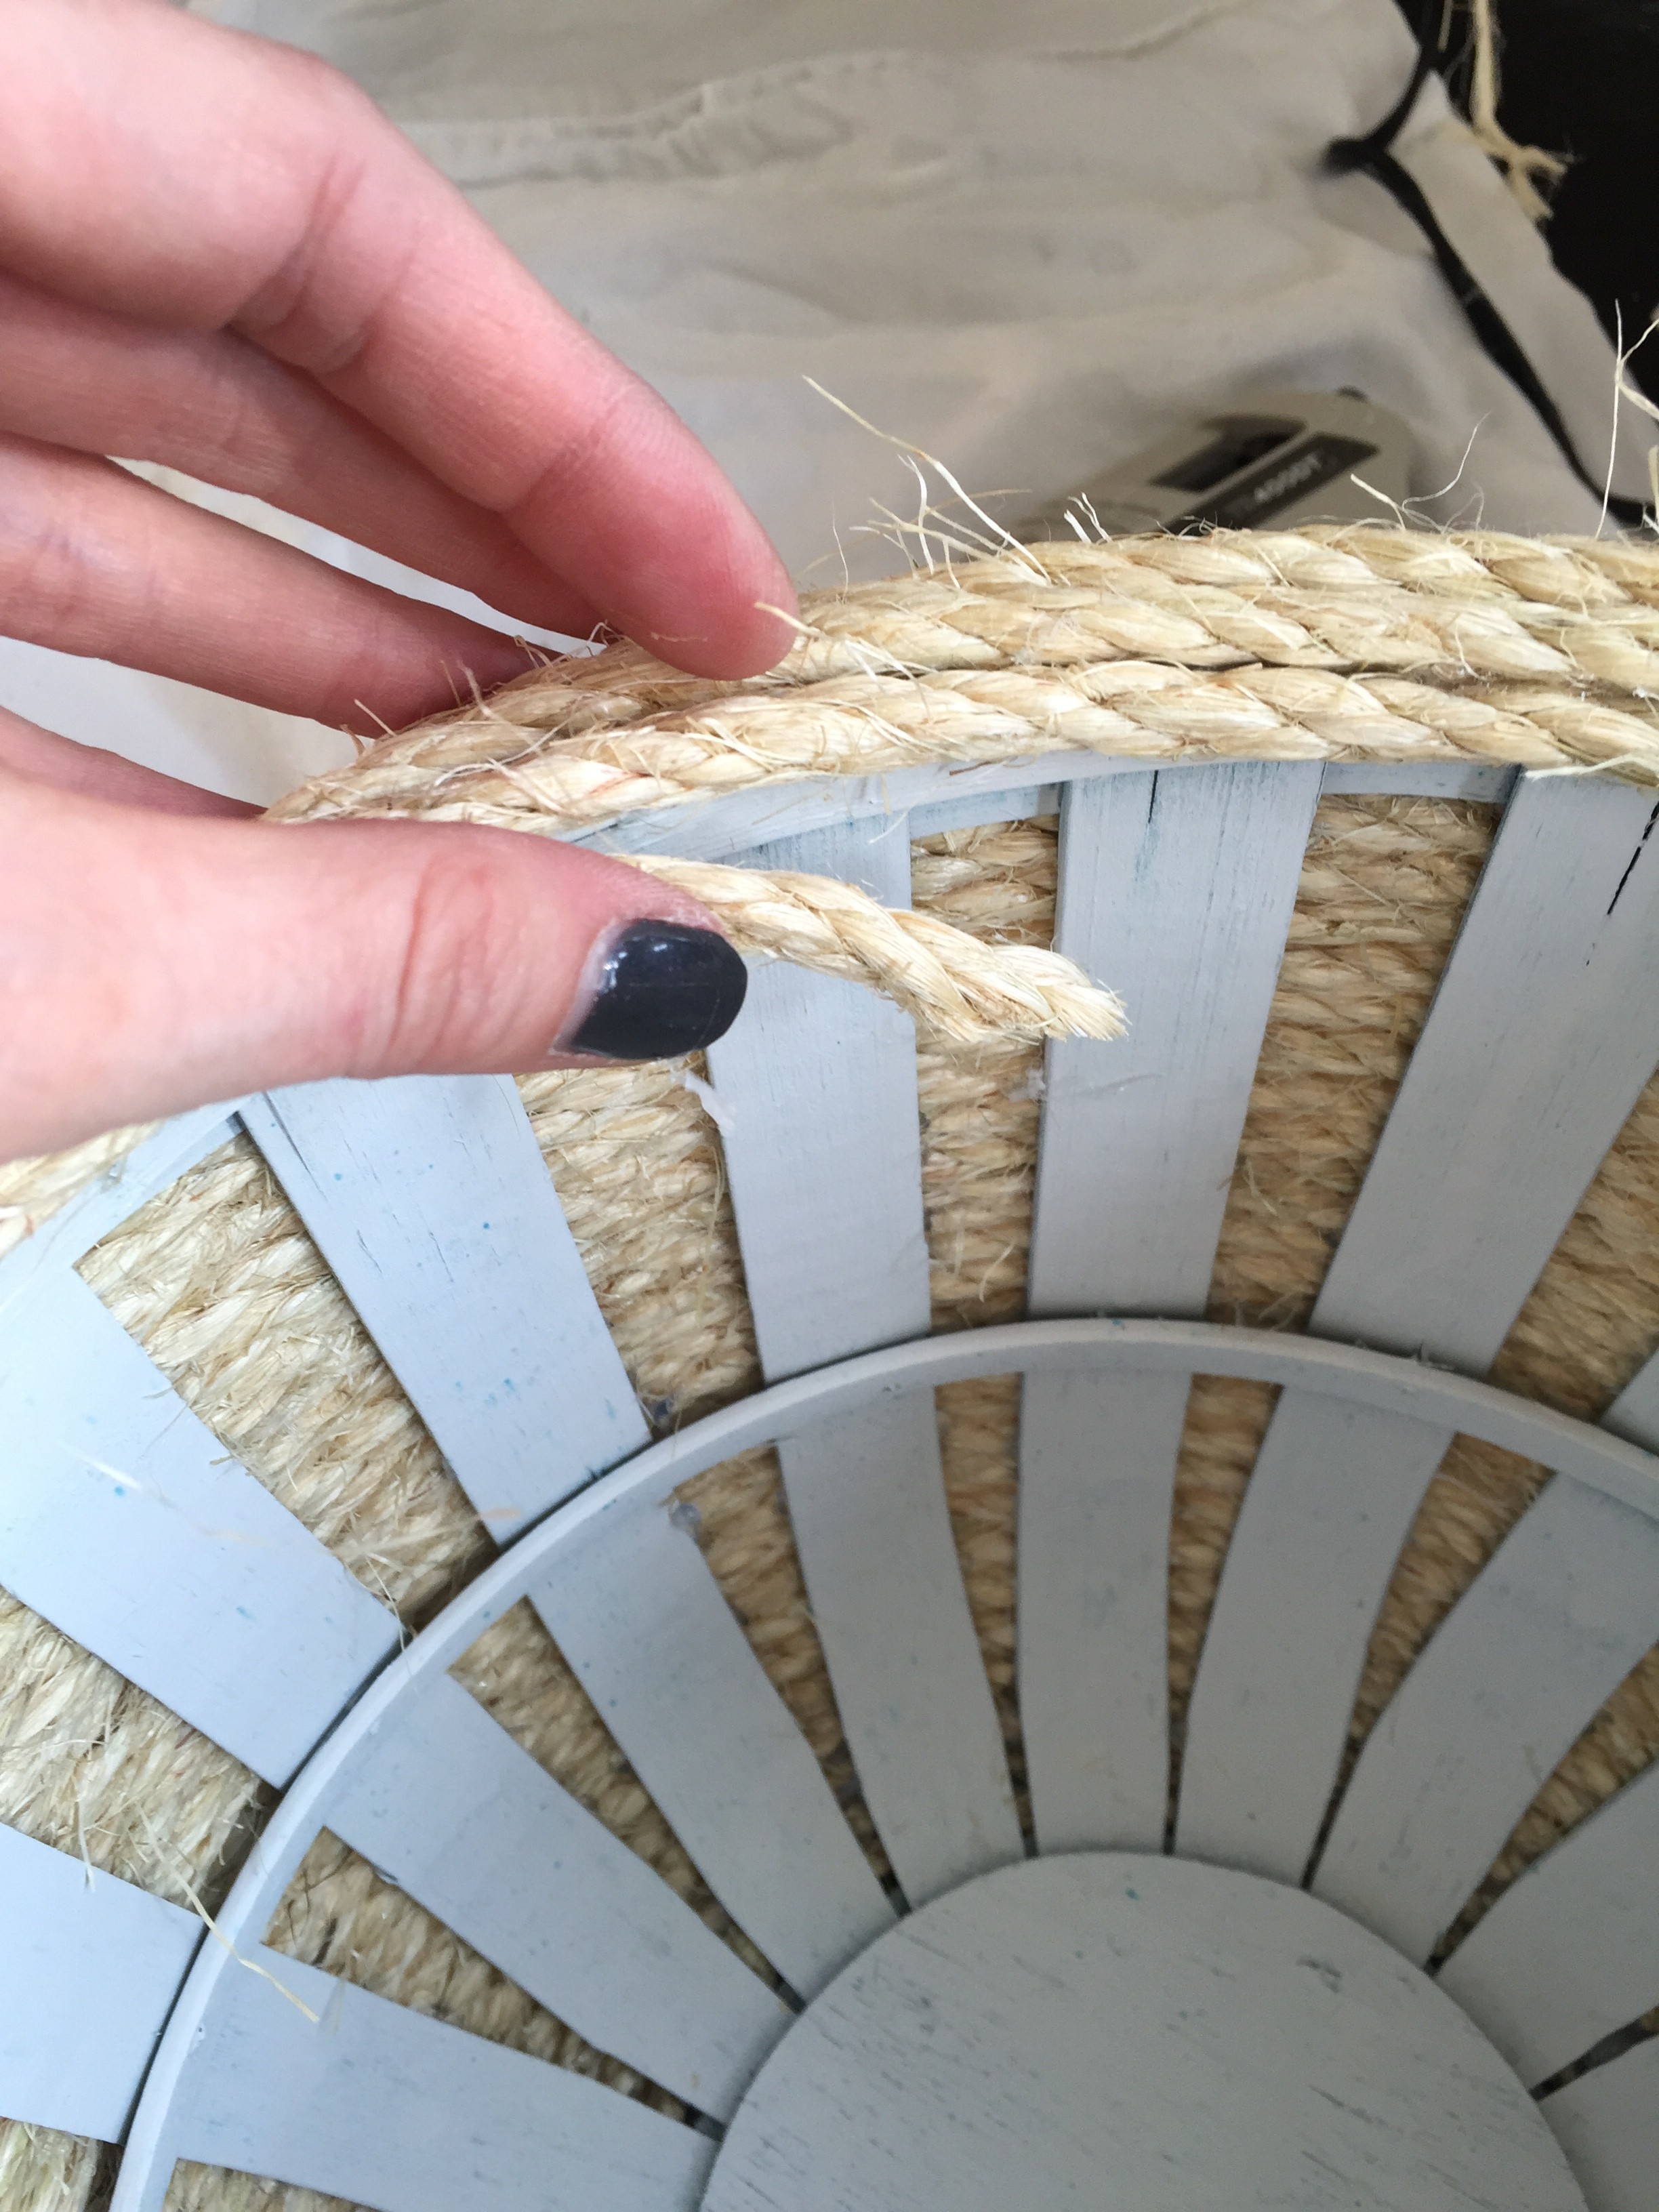
5. I decided to take the rope all the way around the lip of the basket and cut the strand off at an angle. Tuck and glue the finishing piece up and under to complete the look.

To finish it off, I decided to add a small chalkboard that I picked up at Michaels. I cut off the loop and hot glued it on the front.

I found the perfect spot to house some small books that I frequently use in my reading chair.


Source from here
Komentar
Posting Komentar