4 Cozy Reading Nooks You’ll Want in Your Home Right Now Constructing a reading nook doesn’t have to be hard. Sometimes all you need is lots of pillows and a little unused space. Reading nooks are also a great way to use dead, unused, or awkward space within a home. Nooks can help maximize living space and provide additional seating, along with providing a personal sanctuary. With these four easy DIY reading nook projects, it won’t be long before you find yourself dreaming of getting lost in a good book. 1. Make Use of Dead Space with a Corner Bench Do you have a dead corner in your house that’s just…there? A great remedy for that empty space is a corner bench. Creating an L-shaped bench will maximize your space. Not only will it provide additional seating, but it can also become storage. Create this bench with bookshelves, cushions, and pillows for the ultimate reading nook space. When the bookshelves are placed together, you can then determine what size cushion you will need to go on ...
DIY Tissue Paper Bleeding Art – For Beginners
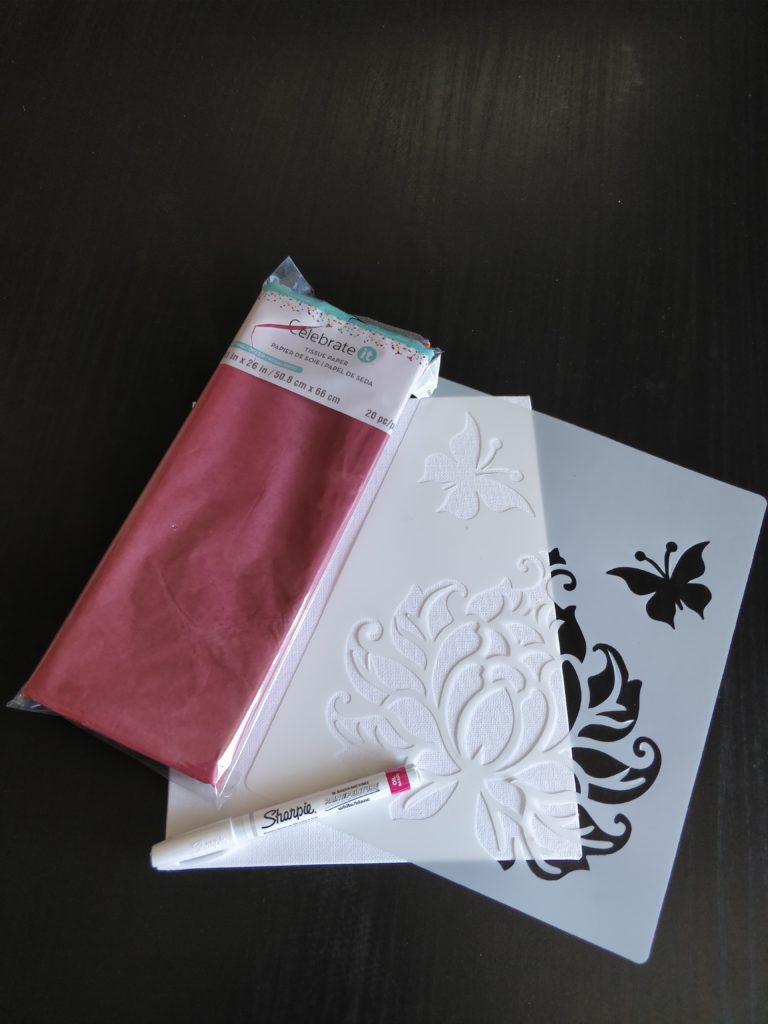
Materials
1. Tissue paper that bleeds
2. White Oil based Sharpie marker
3. Canvas board
4. Stencil
Tissue Paper Art Technique
1. Take your white Oil based Sharpie and color in your stencil onto the canvas board. It’s important you use the oil based Sharpie , since the tissue paper color will resist the Oil and the white color of the marker
It might be hard to see the white Sharpie on the white canvas board, just do your best – doesn’t have to be perfect.

2. Like in the previous project, wet your canvas lightly with water.
Take your torn up tissue paper pieces and put them on your wet canvas.
To make sure the tissue paper is evenly wet, lightly wet the top of the tissue paper once on the canvas ( with a brush or paper towel)

3. Let the tissue paper dry at least 5 Minutes ( completely dry to get the most vibrant color).
4. Once tissue is dry , peel off the tissue paper and your left with a cool tissue bleeding resist art. The pattern/ stencil work with your white Sharpie is now visible.

Komentar
Posting Komentar