4 Cozy Reading Nooks You’ll Want in Your Home Right Now Constructing a reading nook doesn’t have to be hard. Sometimes all you need is lots of pillows and a little unused space. Reading nooks are also a great way to use dead, unused, or awkward space within a home. Nooks can help maximize living space and provide additional seating, along with providing a personal sanctuary. With these four easy DIY reading nook projects, it won’t be long before you find yourself dreaming of getting lost in a good book. 1. Make Use of Dead Space with a Corner Bench Do you have a dead corner in your house that’s just…there? A great remedy for that empty space is a corner bench. Creating an L-shaped bench will maximize your space. Not only will it provide additional seating, but it can also become storage. Create this bench with bookshelves, cushions, and pillows for the ultimate reading nook space. When the bookshelves are placed together, you can then determine what size cushion you will need to go on ...
HOW TO MAKE DIY MOUTH MASK

Supplies and tools
This is a relatively simple project so it doesn’t require a lot of materials and tools to be completed. You need:
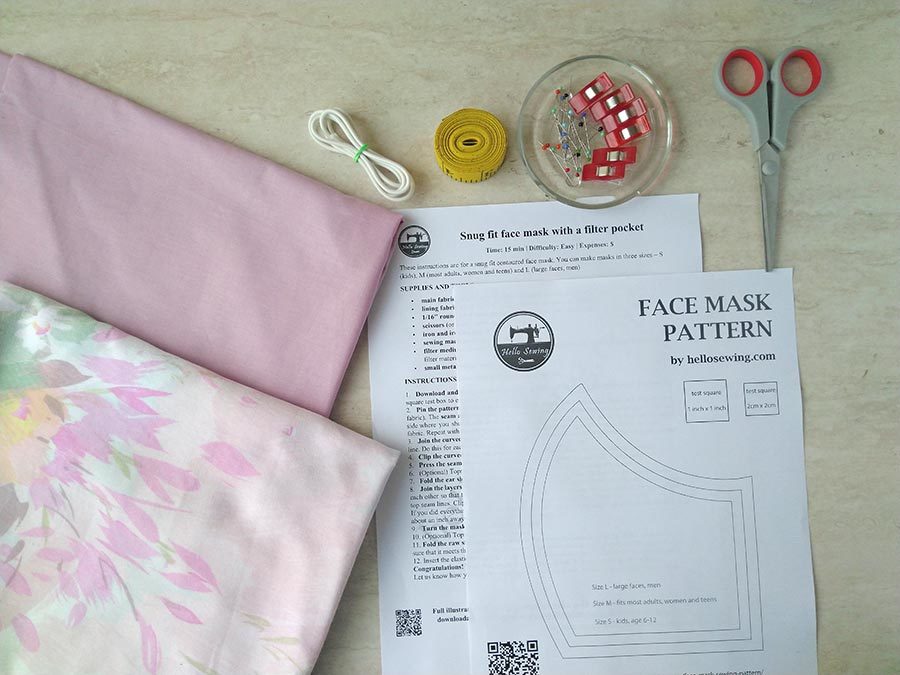
- main fabric – about 13″x 7″, cotton – all-white or medical themed (tightly woven cotton, such as quilting cotton or cotton used in quality bed sheets)
- lining fabric about 13″ x 6″, cotton (tightly woven)
- filter (optional)
- 1/16″ round elastic (preferable, currently available option, 1/8″ or 1/4″ flat elastic
- scissors (or better yet rotary cutter and a cutting mat)
- iron and ironing board
- sewing clips or pins
- a sewing machine (I recommend this one for beginners as it gets the work done and is reasonably priced.
- OR needle and thread if you are hand sewing
INSTRUCTIONS:
1. Download the pattern and cut the fabric
 The pattern you will be downloading does not have to be scaled down in any way. Its original dimensions are 8.5 x 11 inches, which is about the size of a letter, small enough for easy printing. If you are not sure whether the dimensions are right, there is a small test square – 1-inch x 1 inch (US) and 2cm x2cm (for those outside the US) on it so go ahead and measure it.
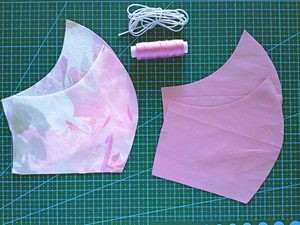
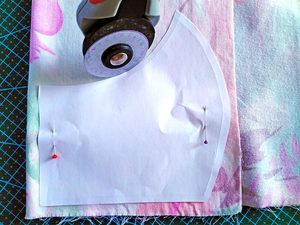
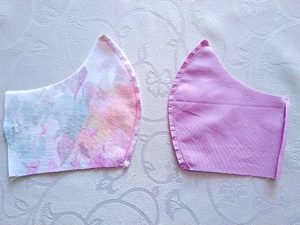
Download the pattern, print it out, and cut it accordingly. Before you put it onto your main fabric to cut it, fold the fabric in half so that the pretty sides are facing each other. Pin the pattern onto this folded fabric and cut the fabric.
The seam allowance is 1/2 inch and is already included on all sides except for the ear side where you should add an additional one-inch seam allowance.
Repeat this step with the lining fabric as well. This time, however, do not add a seam allowance for the ear section.
TIPS: Several seamstresses asked us for fabric recommendations. Basically, any thickly-woven cotton is fine and it is even better if you can add a filter medium.
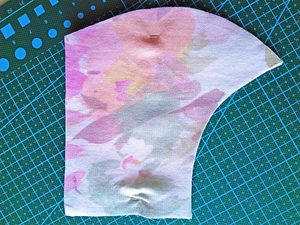
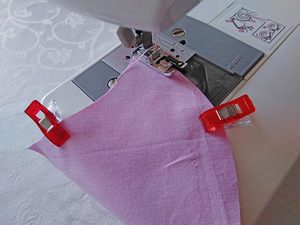
2. Sew the curve line of the face mask
 Make sure the right (pretty) of sides are on each other.
Sew along the curved line on both pieces.
Then draw a line quarter-inch away from the original sideline, on the inner layer. Do this for both side seams of the inner layer.
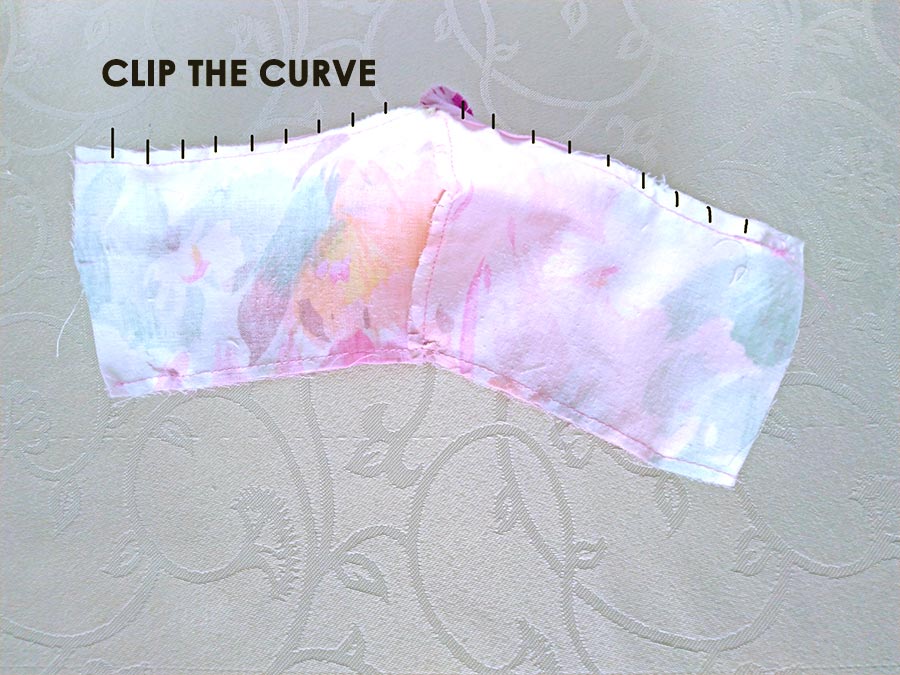
 Next, you will need to clip the seam allowance on the curve part of the mask half an inch apart, both on the outer and the inner layer. Doing this allows the edge to stretch nicely instead of bulking up when you flip it inside out.
Now turn both pieces inside out and use the iron to press the seam allowances to different sides. If you want your mask to have a more professional look, topstitch near the seam line so that the seam allowances stay flat. Fold the side at the line you drew earlier and put the raw edge inside to hide it before topstitching it in place. Do this on each of the rear sides of the inner layer.
It’s time to join the two layers together now. Put the inner layer on top of the outer, right sides facing each other so that the upper and lower edges align. Make a stitch at the bottom and top seam lines. If you did everything right up to this point, you will find that the edge of the outer layer is about an inch away from the side seam line on the inner layer. If this isn’t the case, retrace your steps and see where you made a mistake so that you can fix it.
 Clip that curve on the seam allowance where the two layers meet and leave about half of an inch from the ends untouched. Flip the mask inside out again. Press the seams flat.
Fold the top and bottom raw edges of the outer layer twice and topstitch along the edge. Do this on the bottom seam line as well.
3. Add the elastic band and finalize your mask
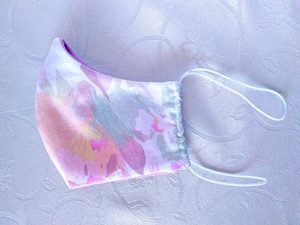
Now you will be making a channel for the elastic band. Fold the raw edge of the outer layer about a quarter of an inch away from the edge. Fold once again until that edge meets the edge of the inner layer.
Topstitch a vertical line across the part you just folded and you will be left with a vertical tube through which you can pull the elastic band.
– For 2 separate ear loops – you’ll need 2 x 6″-8″ of elastic for the adult sizes or 2 x 5 – 5 1/2″ (kids)
– For one continuous piece that goes around the head – use 1 x 15-17″ of elastic (again, depending on the size of the face)
TIP: Many makers report a shortage of thin round elastic. You can use hair ties, ribbons, or even make ties out of fabric.
4. Insert flexible nose wire (Optional)
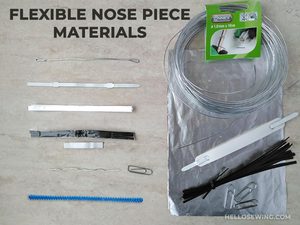
The mask will fit your face more closely if you add a flexible nose piece and mold it over your nose. I suggest using a 7″ long craft wire, a couple of twist ties, or pipe cleaners but as those are not always available, we got creative.
5. Insert filter (optional) and use the mask
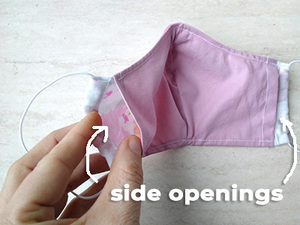 You will also notice an opening between the outer and inner layers. This is where you can put the filter in. Change it regularly and keep your mask clean by washing it in the washing machine after each use.
What to use as a FILTER? Note that these filters are not medically rated and their ability to protect is unknown:
As far as the filter goes you may use a piece of vacuum cleaner bag or HEPA filter without fiberglass, non woven fabric, or even an air-dried anti-bacterial wet wipe as a filter. While those won’t be able to stop the virus, they will be able to filter out more particles than fabrics alone. It probably all boils down to finding a balance between breath-ability and filtering. You’ll have to make your own call here, and it would be smart to research whether and what filter to use.

Source from here
Komentar
Posting Komentar