4 Cozy Reading Nooks You’ll Want in Your Home Right Now Constructing a reading nook doesn’t have to be hard. Sometimes all you need is lots of pillows and a little unused space. Reading nooks are also a great way to use dead, unused, or awkward space within a home. Nooks can help maximize living space and provide additional seating, along with providing a personal sanctuary. With these four easy DIY reading nook projects, it won’t be long before you find yourself dreaming of getting lost in a good book. 1. Make Use of Dead Space with a Corner Bench Do you have a dead corner in your house that’s just…there? A great remedy for that empty space is a corner bench. Creating an L-shaped bench will maximize your space. Not only will it provide additional seating, but it can also become storage. Create this bench with bookshelves, cushions, and pillows for the ultimate reading nook space. When the bookshelves are placed together, you can then determine what size cushion you will need to go on ...
How to Sew a Face Mask with Filter Pocket {Easy Pattern}

Materials
- 9″ x 13″ piece of tightly woven cotton fabric
- 2 – 7″ pieces of 1/8″ flat elastic for men (6 1/2″ length for women)
- filter material of your choice (optional)
- sewing machine
- thread
- scissors
- pins
- wonder clips
- ruler
- (optional) rotary cutter and mat (I have the bigger size)
- iron

HOW TO MAKE A FACE MASK WITH FILTER POCKET
It is actually super easy to make a filter mask with this step by step guide.
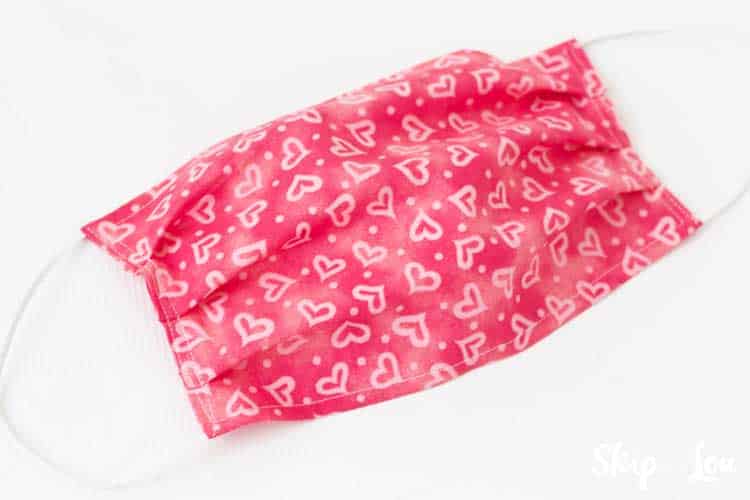
Fold the fabric in half right sides together. Stitch across the top edge with 1/2 inch seam leaving a 3 inch opening in the middle.

Bring seam to center to make it easy to press the seam open. Press seam open.

Bring the seam to the top. Line the edge of the seam allowance with the top fold. The opening in the seam creates the pocket. Press.

Place elastic inside the tube of fabric.

It is very important that the elastic lay straight (perpendicular) along the fold on each side. I find it easiest to tuck it in there and clip with a wonder clip and remove clip just before sewing.

If you don’t get it lined up it will cause the elastic to catch at a funny angle when turned right side out. You can see my mistake below and it caused the mask to not fit properly.

Stitch along both ends with a 1/4 inch seam.

Turn right side out. Press.

It is not necessary, but you can topstitch along the bottom fold of the pocket opening. This helps to keep the flap down when placing and removing the filter. It is a bit tricky to make sure you only stitch the fold, not through any other part of the mask. It doesn’t have to go the whole length of the opening. The top of the fold will be held in place with the final topstitching all the way around the mask.

Make three pleats on each end. Pin. Just eyeball the placement. Make sure the pleats are facing down on the front side. My ends measure about 3 – 3 1/2 inches after pleating.

Stich all the way around the mask 1/4 inch from the edge.

Stitch again along each end over the pleats 1/8th inch from the edge.

FILTER MASK
Of course, this mask works great without placing a filter inside, but here is how you add a filter.
Cut one sheet of blue shop towels into four pieces. Slip two pieces of towel inside the mask through the pocket opening.

BLUE SHOP TOWELS
Suay Sew Shop found the ideal material turned out to be stretchy blue shop towels made from a polyester hydro knit.
Inserting two of these towels into an ordinary cotton mask brought filtration up to 93% of particles as small as 0.3 microns, the smallest their machine could test. Meanwhile, the cotton masks filtered 60% of particles at best in their tests, Schempf said.
Polyester hydro knit towels are readily available at hardware and automotive stores. The two brands they tested were ToolBox’s shop towel and ZEP’s industrial blue towel. Interestingly, Scott’s pro shop towels, which are also made with a hydro knit fabric, didn’t work as well, Schempf said —– Business Insider
DIY FACE MASK (NO FILTER)
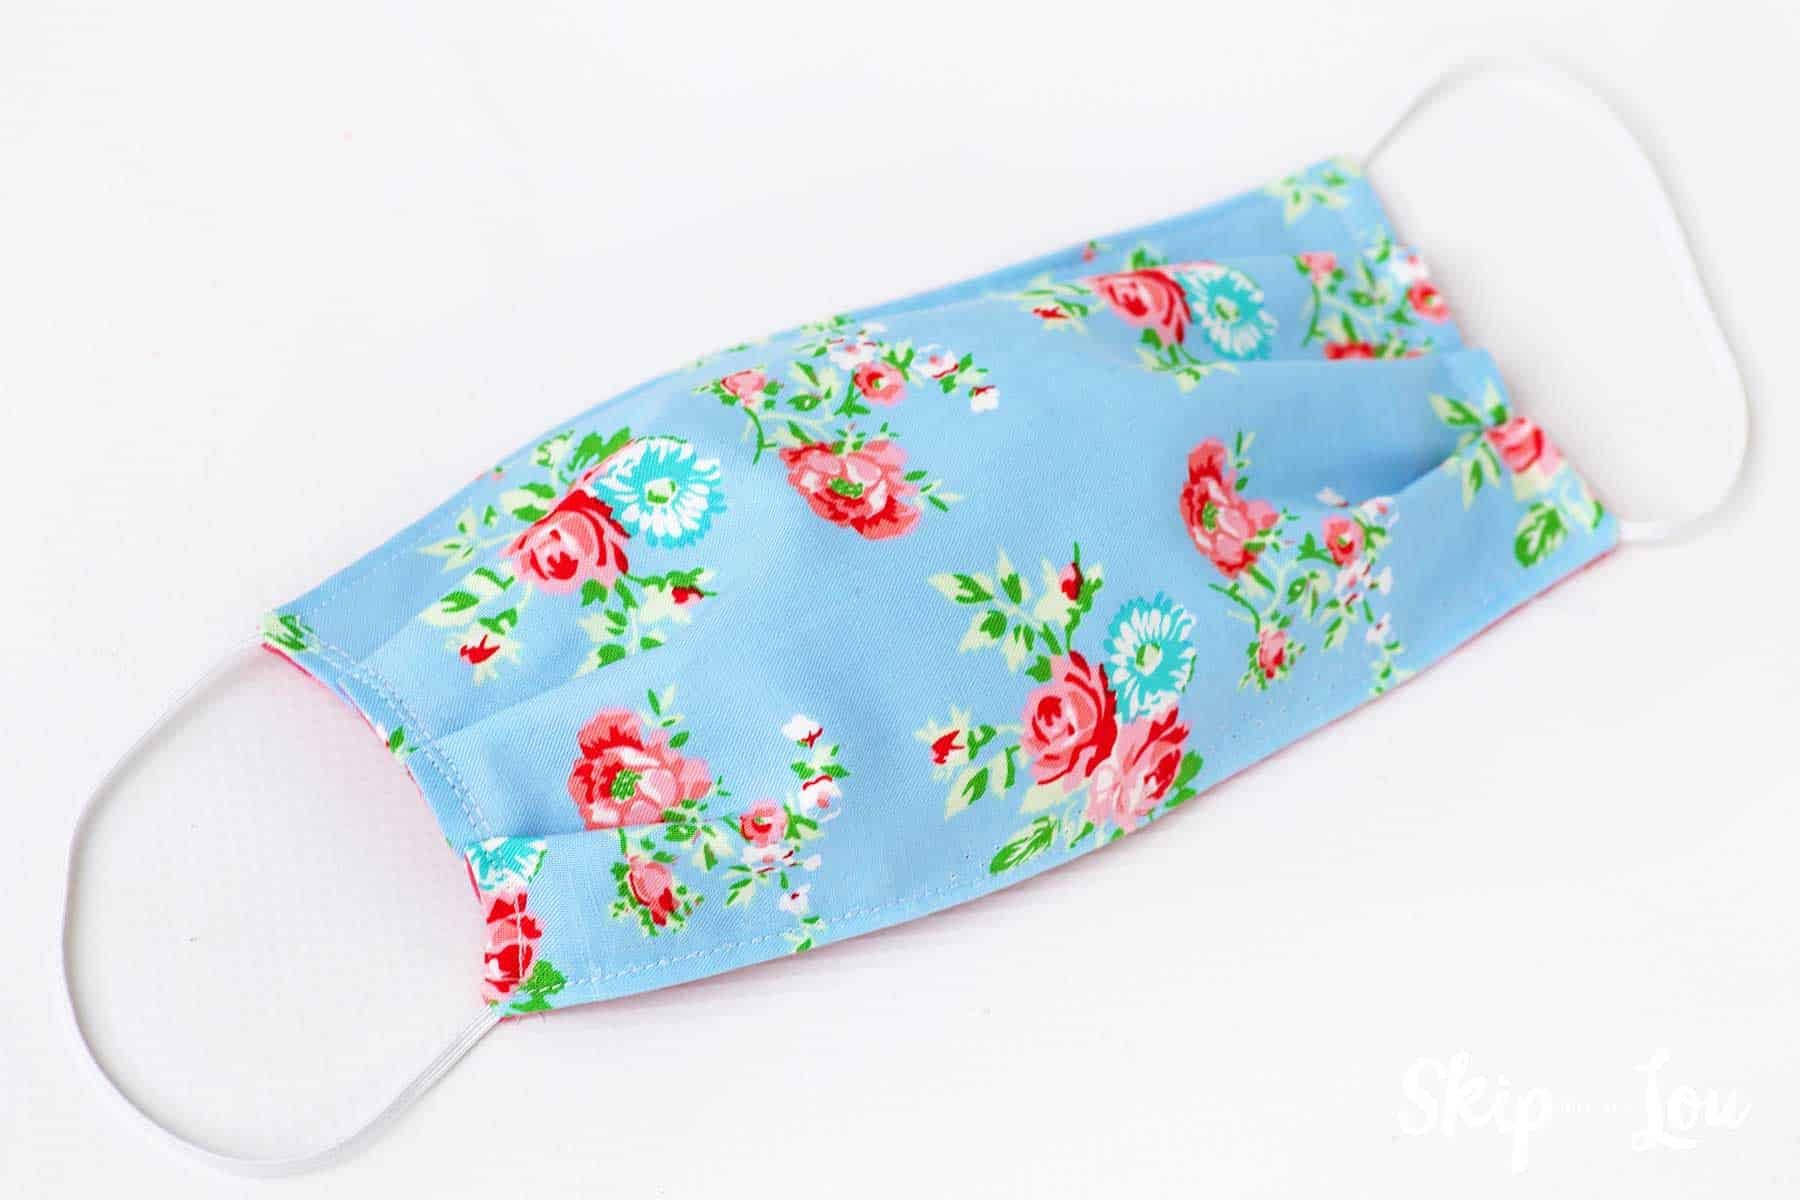
If you are looking for more information on sewn face masks my first pattern has a few more details about making masks. I also share measurements for a child’s mask.
 Source from here
Komentar
Posting Komentar