4 Cozy Reading Nooks You’ll Want in Your Home Right Now Constructing a reading nook doesn’t have to be hard. Sometimes all you need is lots of pillows and a little unused space. Reading nooks are also a great way to use dead, unused, or awkward space within a home. Nooks can help maximize living space and provide additional seating, along with providing a personal sanctuary. With these four easy DIY reading nook projects, it won’t be long before you find yourself dreaming of getting lost in a good book. 1. Make Use of Dead Space with a Corner Bench Do you have a dead corner in your house that’s just…there? A great remedy for that empty space is a corner bench. Creating an L-shaped bench will maximize your space. Not only will it provide additional seating, but it can also become storage. Create this bench with bookshelves, cushions, and pillows for the ultimate reading nook space. When the bookshelves are placed together, you can then determine what size cushion you will need to go on ...
Macrame Plant Hanger DIY

SUPPLIES YOU WILL NEED TO MAKE THIS PROJECT:
- Jute
- Scissors
- Something to hang your plant hanger on. I used a nail to create the project and then hung them from the ceiling using hooks.
- Plants in small pots. I used small pots from IKEA, but most other small pot would work.
HOW TO MAKE A MACRAME PLANT HANGER TUTORIAL
STEP 1: CUT THE CORD
- Start by cutting out nine pieces of jute twine to your desired length. If you don’t need the hanger to be extra long, and to accommodate an average size plant, start with 100″ pieces.
- Fold the strings in half, and tie a small string in the middle. When you hold the strings by that small string, you should end up with 18 pieces that are half the length you originally started with.
- Hang the project from a nail in the wall, so you can work with it more easily. (You could do this by taking a picture down, and working with the nail that was hanging it.) You can also work this project on a table. It is just a little easier when it is hanging.
STEP 2: CREATE MACRAME BRAIDS AND KNOTS
- Divide the 18 strings into three sections with six strings each.
- Braid each section until you reach the desired length. For an extra long plant hanger this will be approximately 24″. For just an average length, braid about 14″.
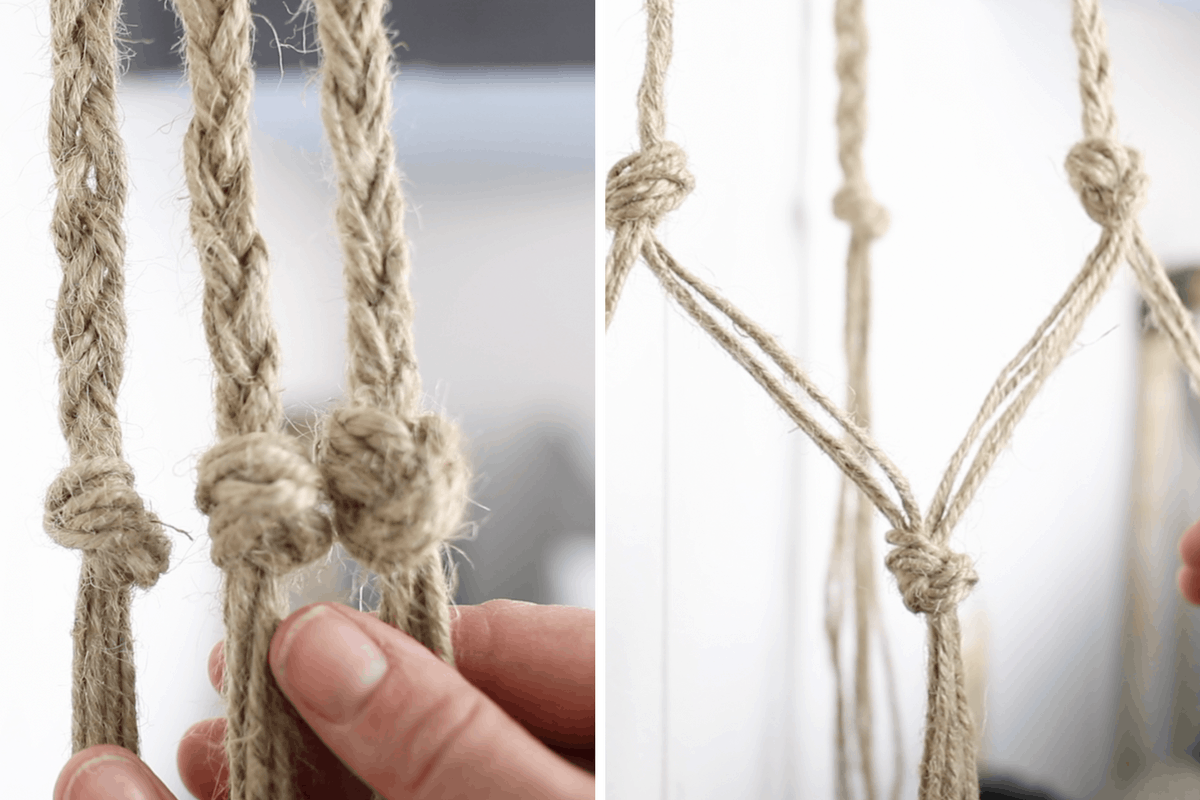
- Tie a knot at the end of each braid.
- Next, go down from the braid knot about 6″(or less if you are making a tiny one). Divide the bottom of the braid in half, so that you have three pieces on each side. Join one braid to the next one over by tying three from each braid (six total) with a knot. Repeat in a circular fashion util all three braids are connected.
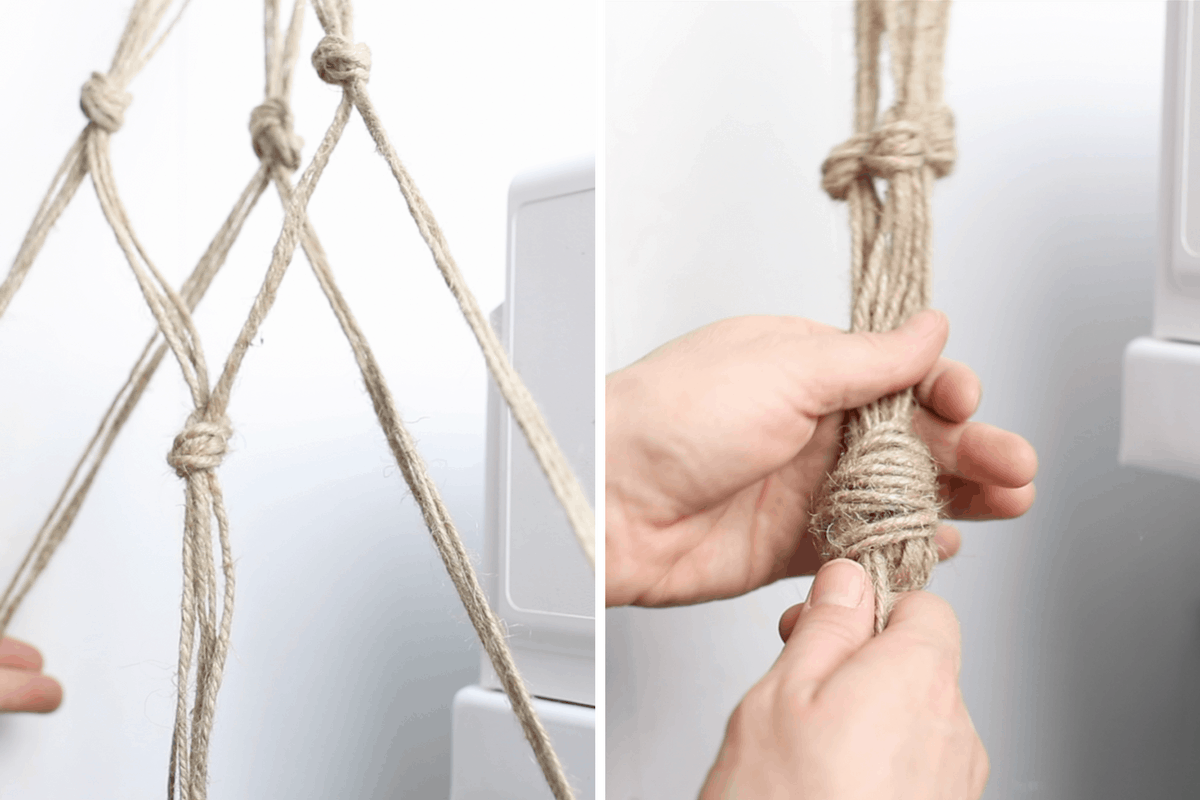
- Go down about another 6″ (or less if you are making a tiny one) and make another row of knots.
STEP 3: FINISH MACRAME PLANT HANGER WITH LARGE KNOT
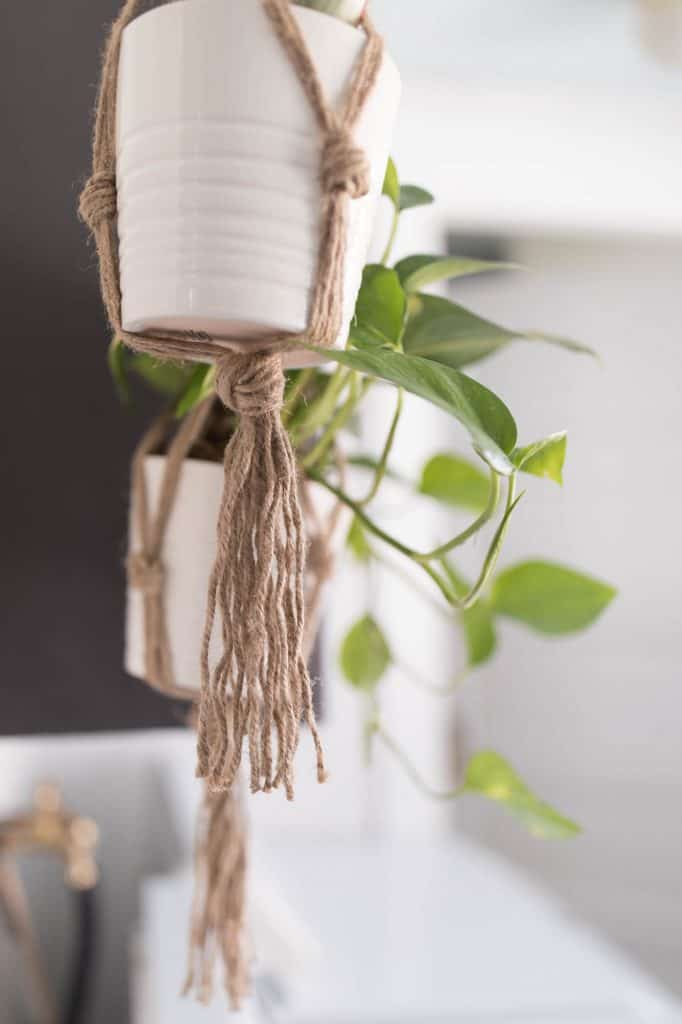
- Finally, go down a final 6″ and make one giant knot with all 18 pieces.
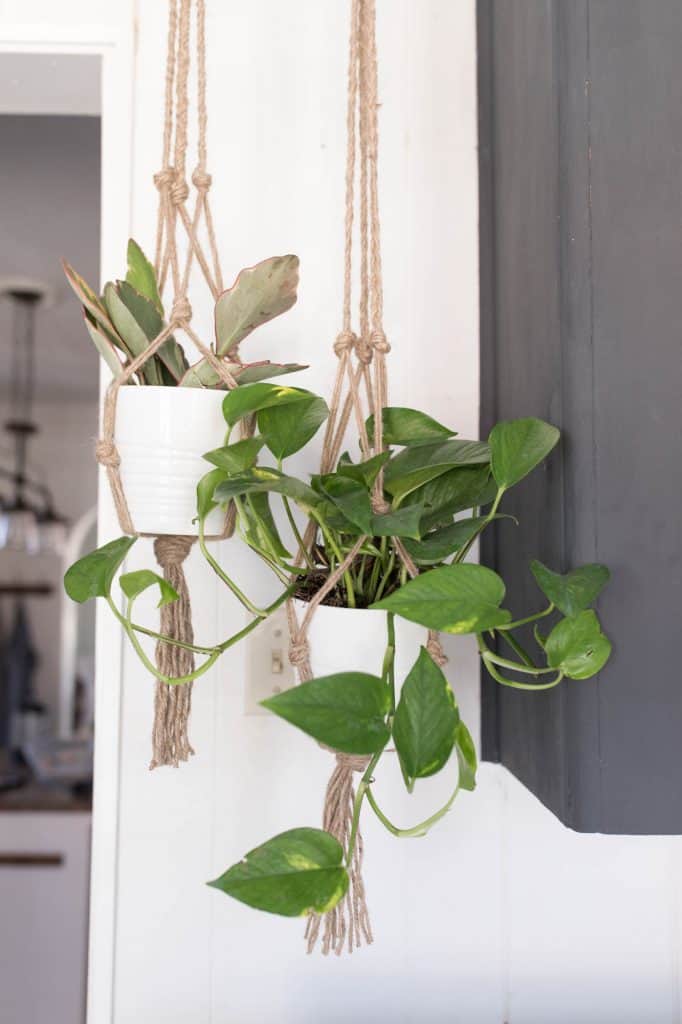
- Trim the strings.
- Place potted plant into the macrame plant holder.
That’s it!
 Source from here
Komentar
Posting Komentar